BL08W-XAFS
SAMPLE PREPARATION
Any unauthorized reproduction, copying, or alteration of information on this website is prohibited.
Latest news and schedules for beamline upgrades are available on this page. Please also check it for updates.
Powder Samples
Required Materials
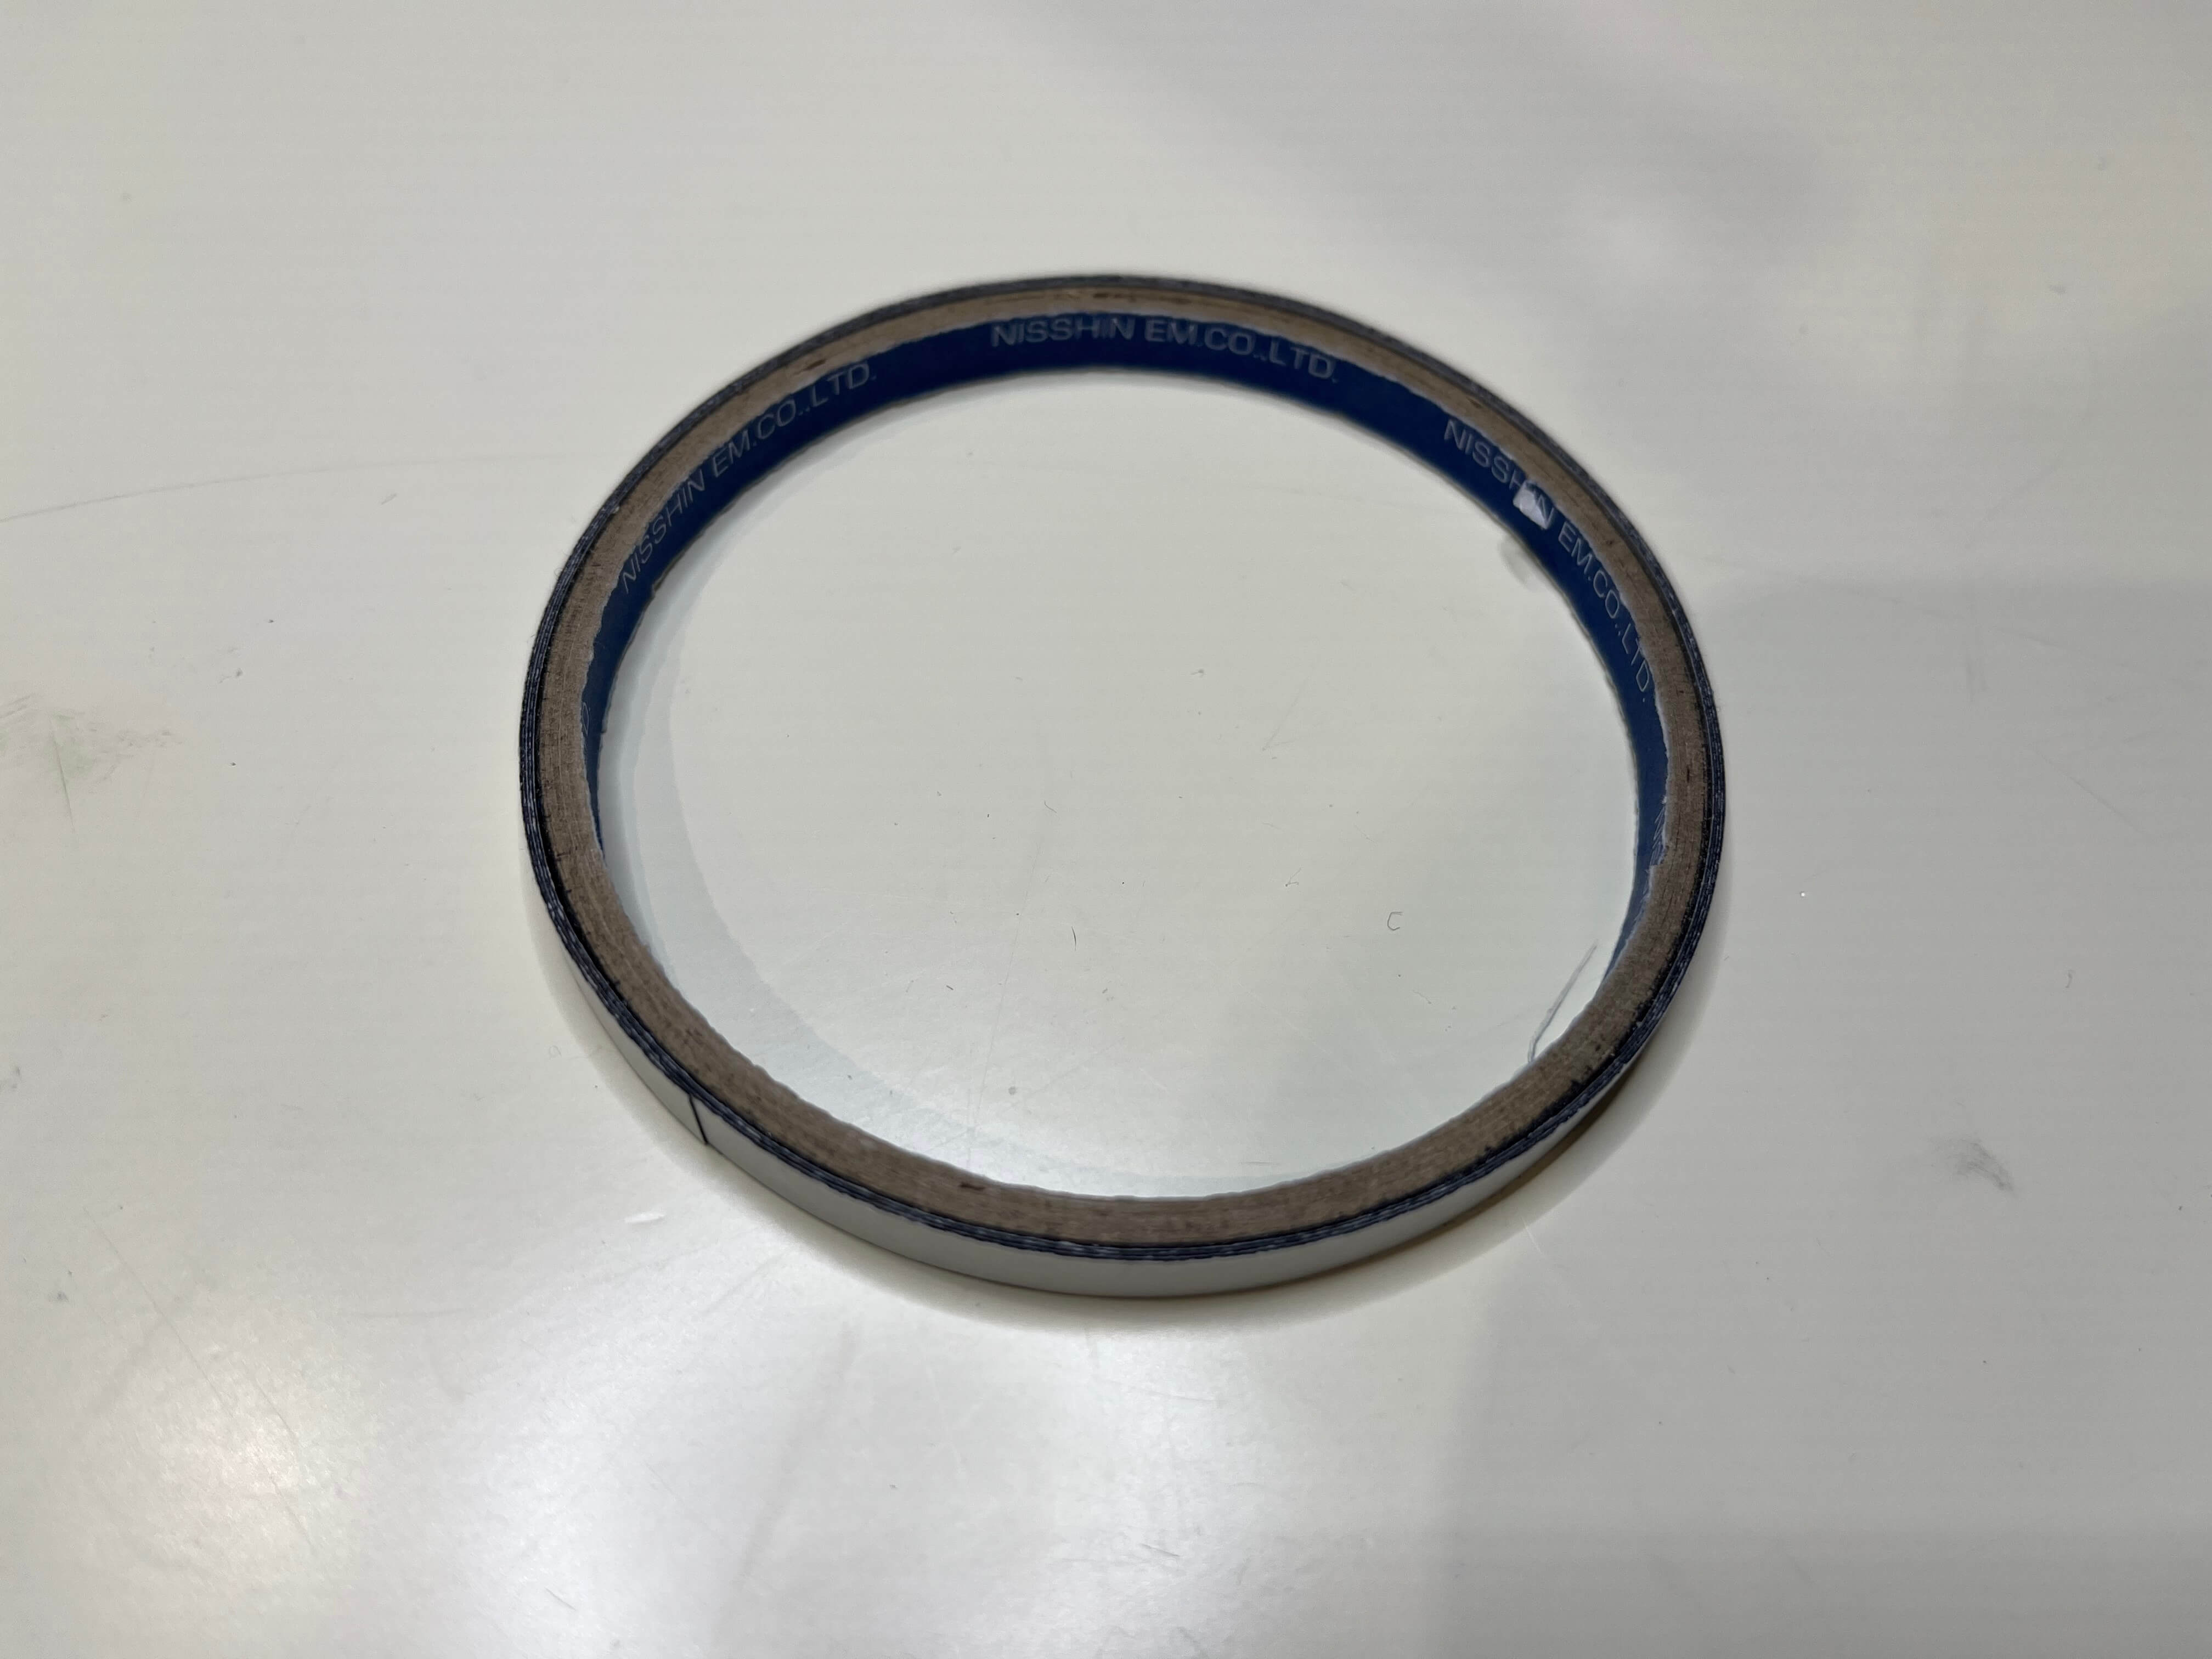
Carbon tape
Weighing paper
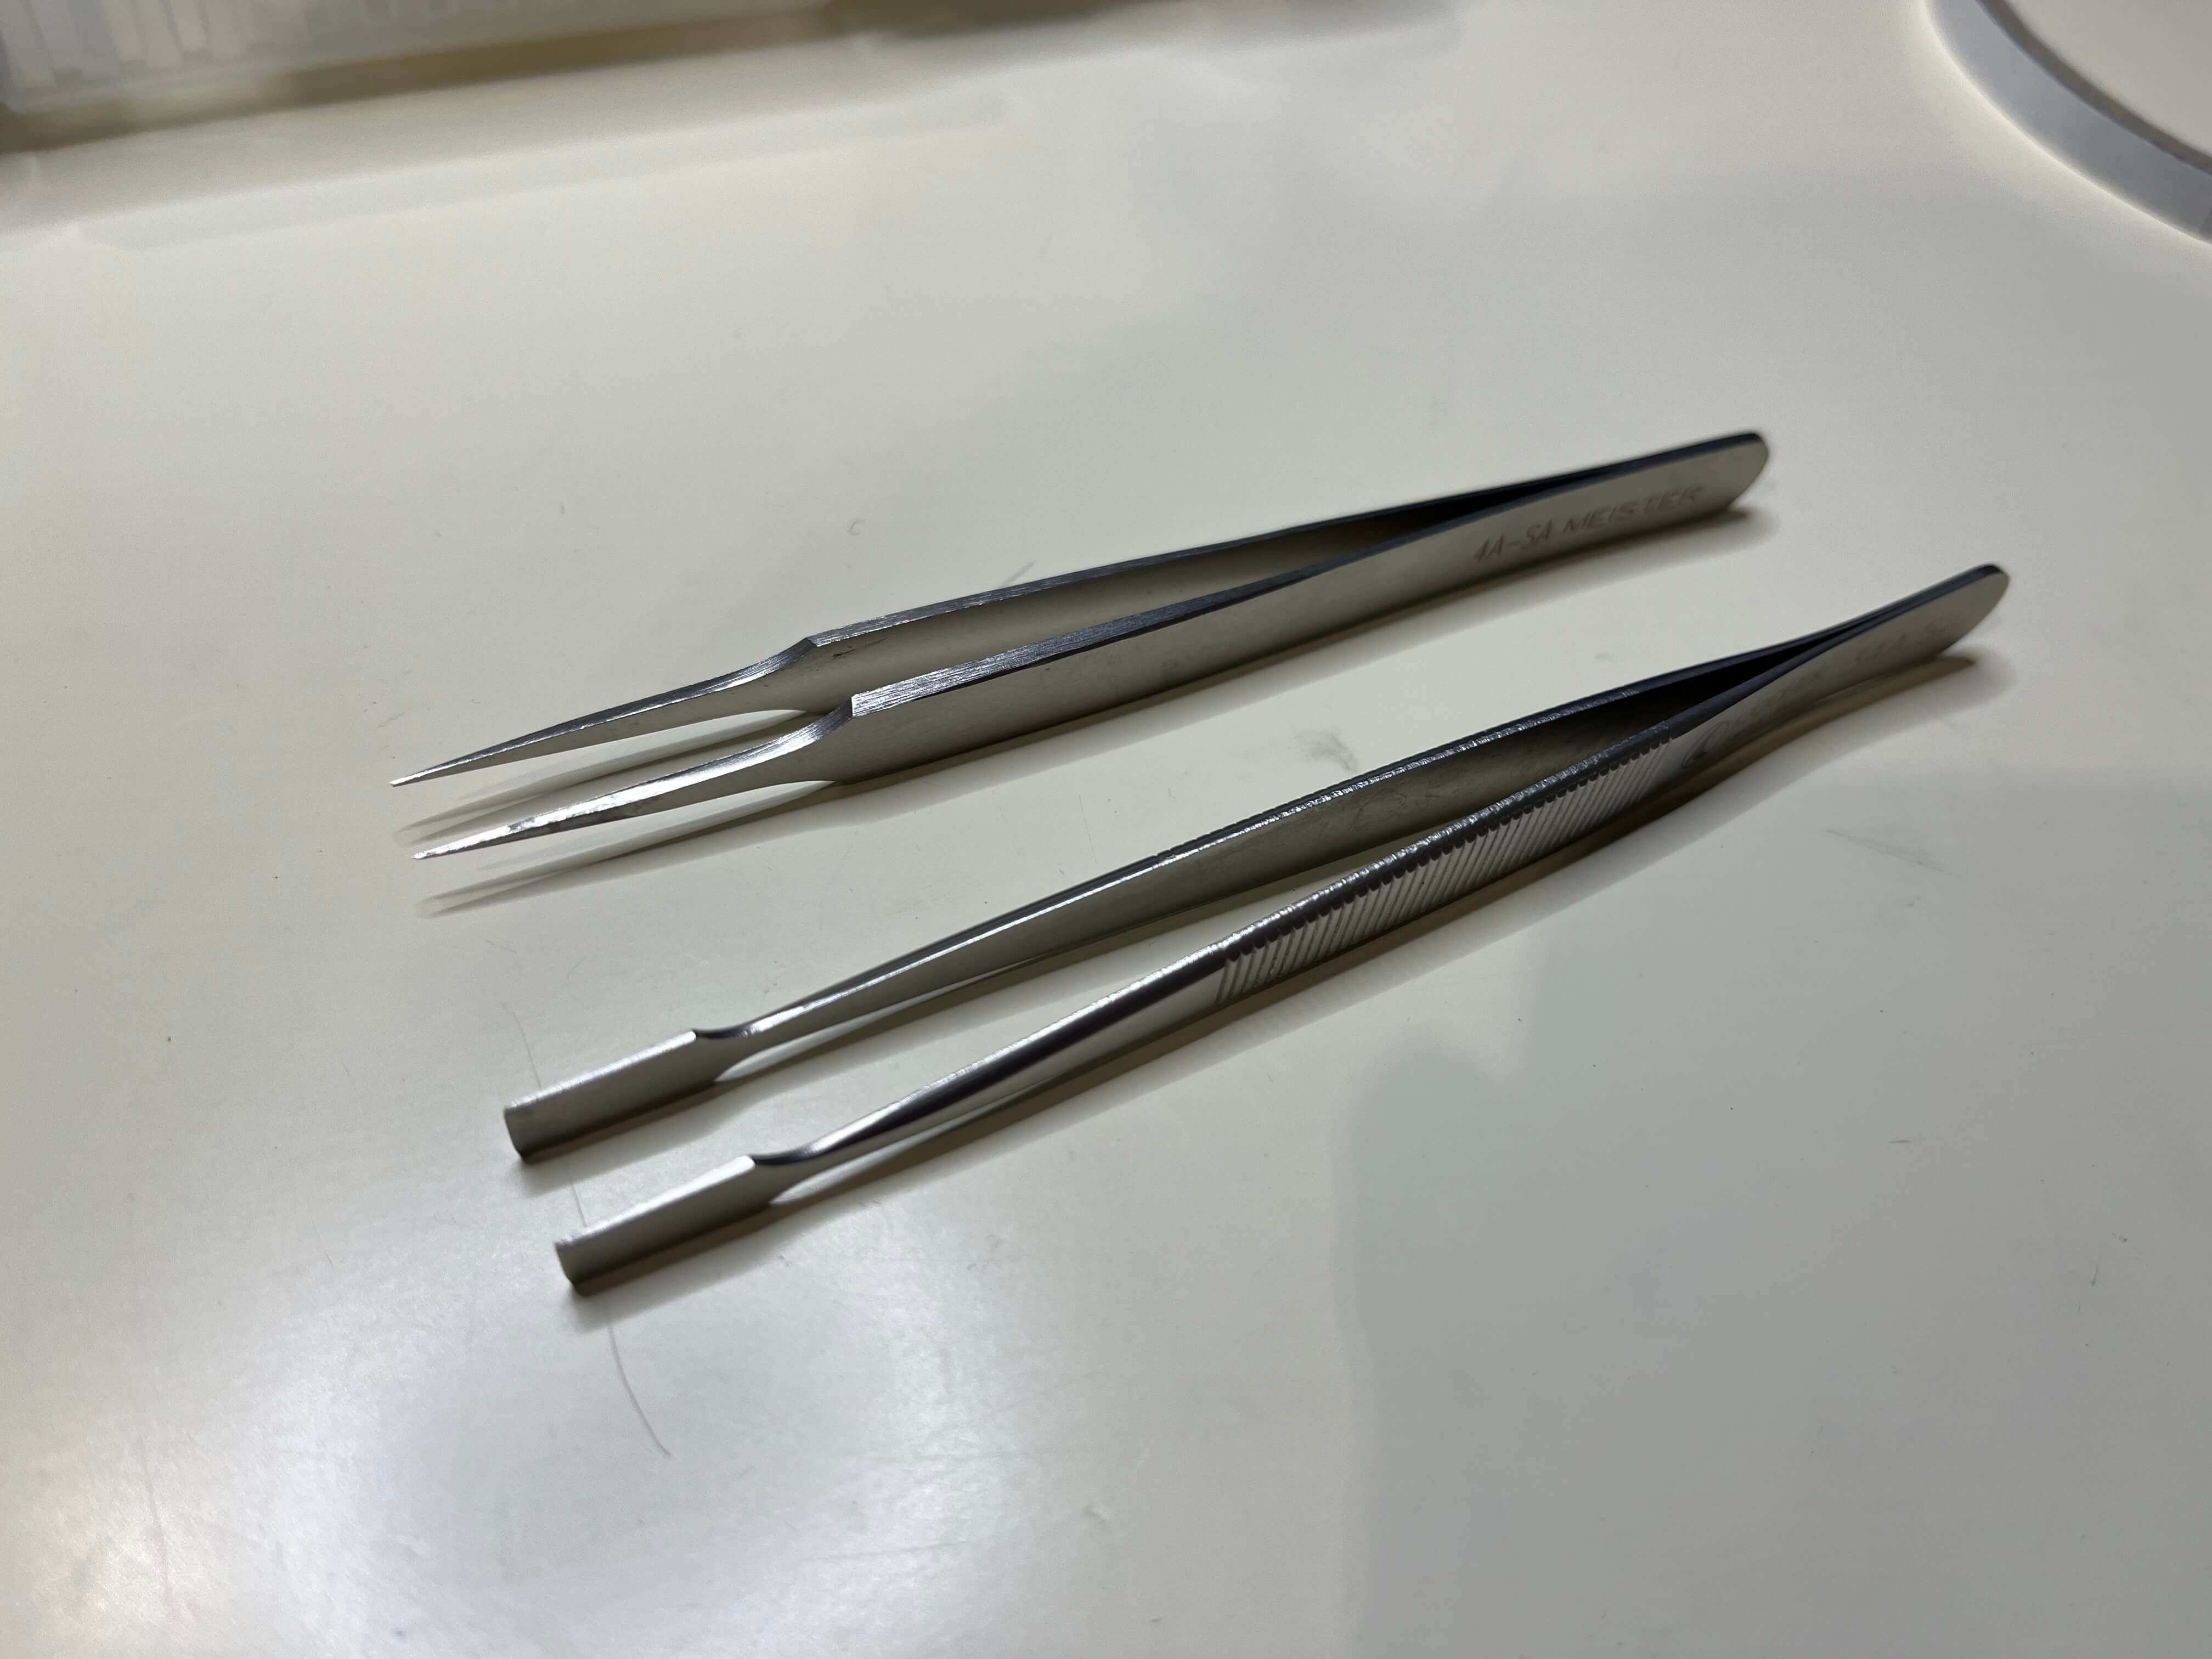
Tweezers
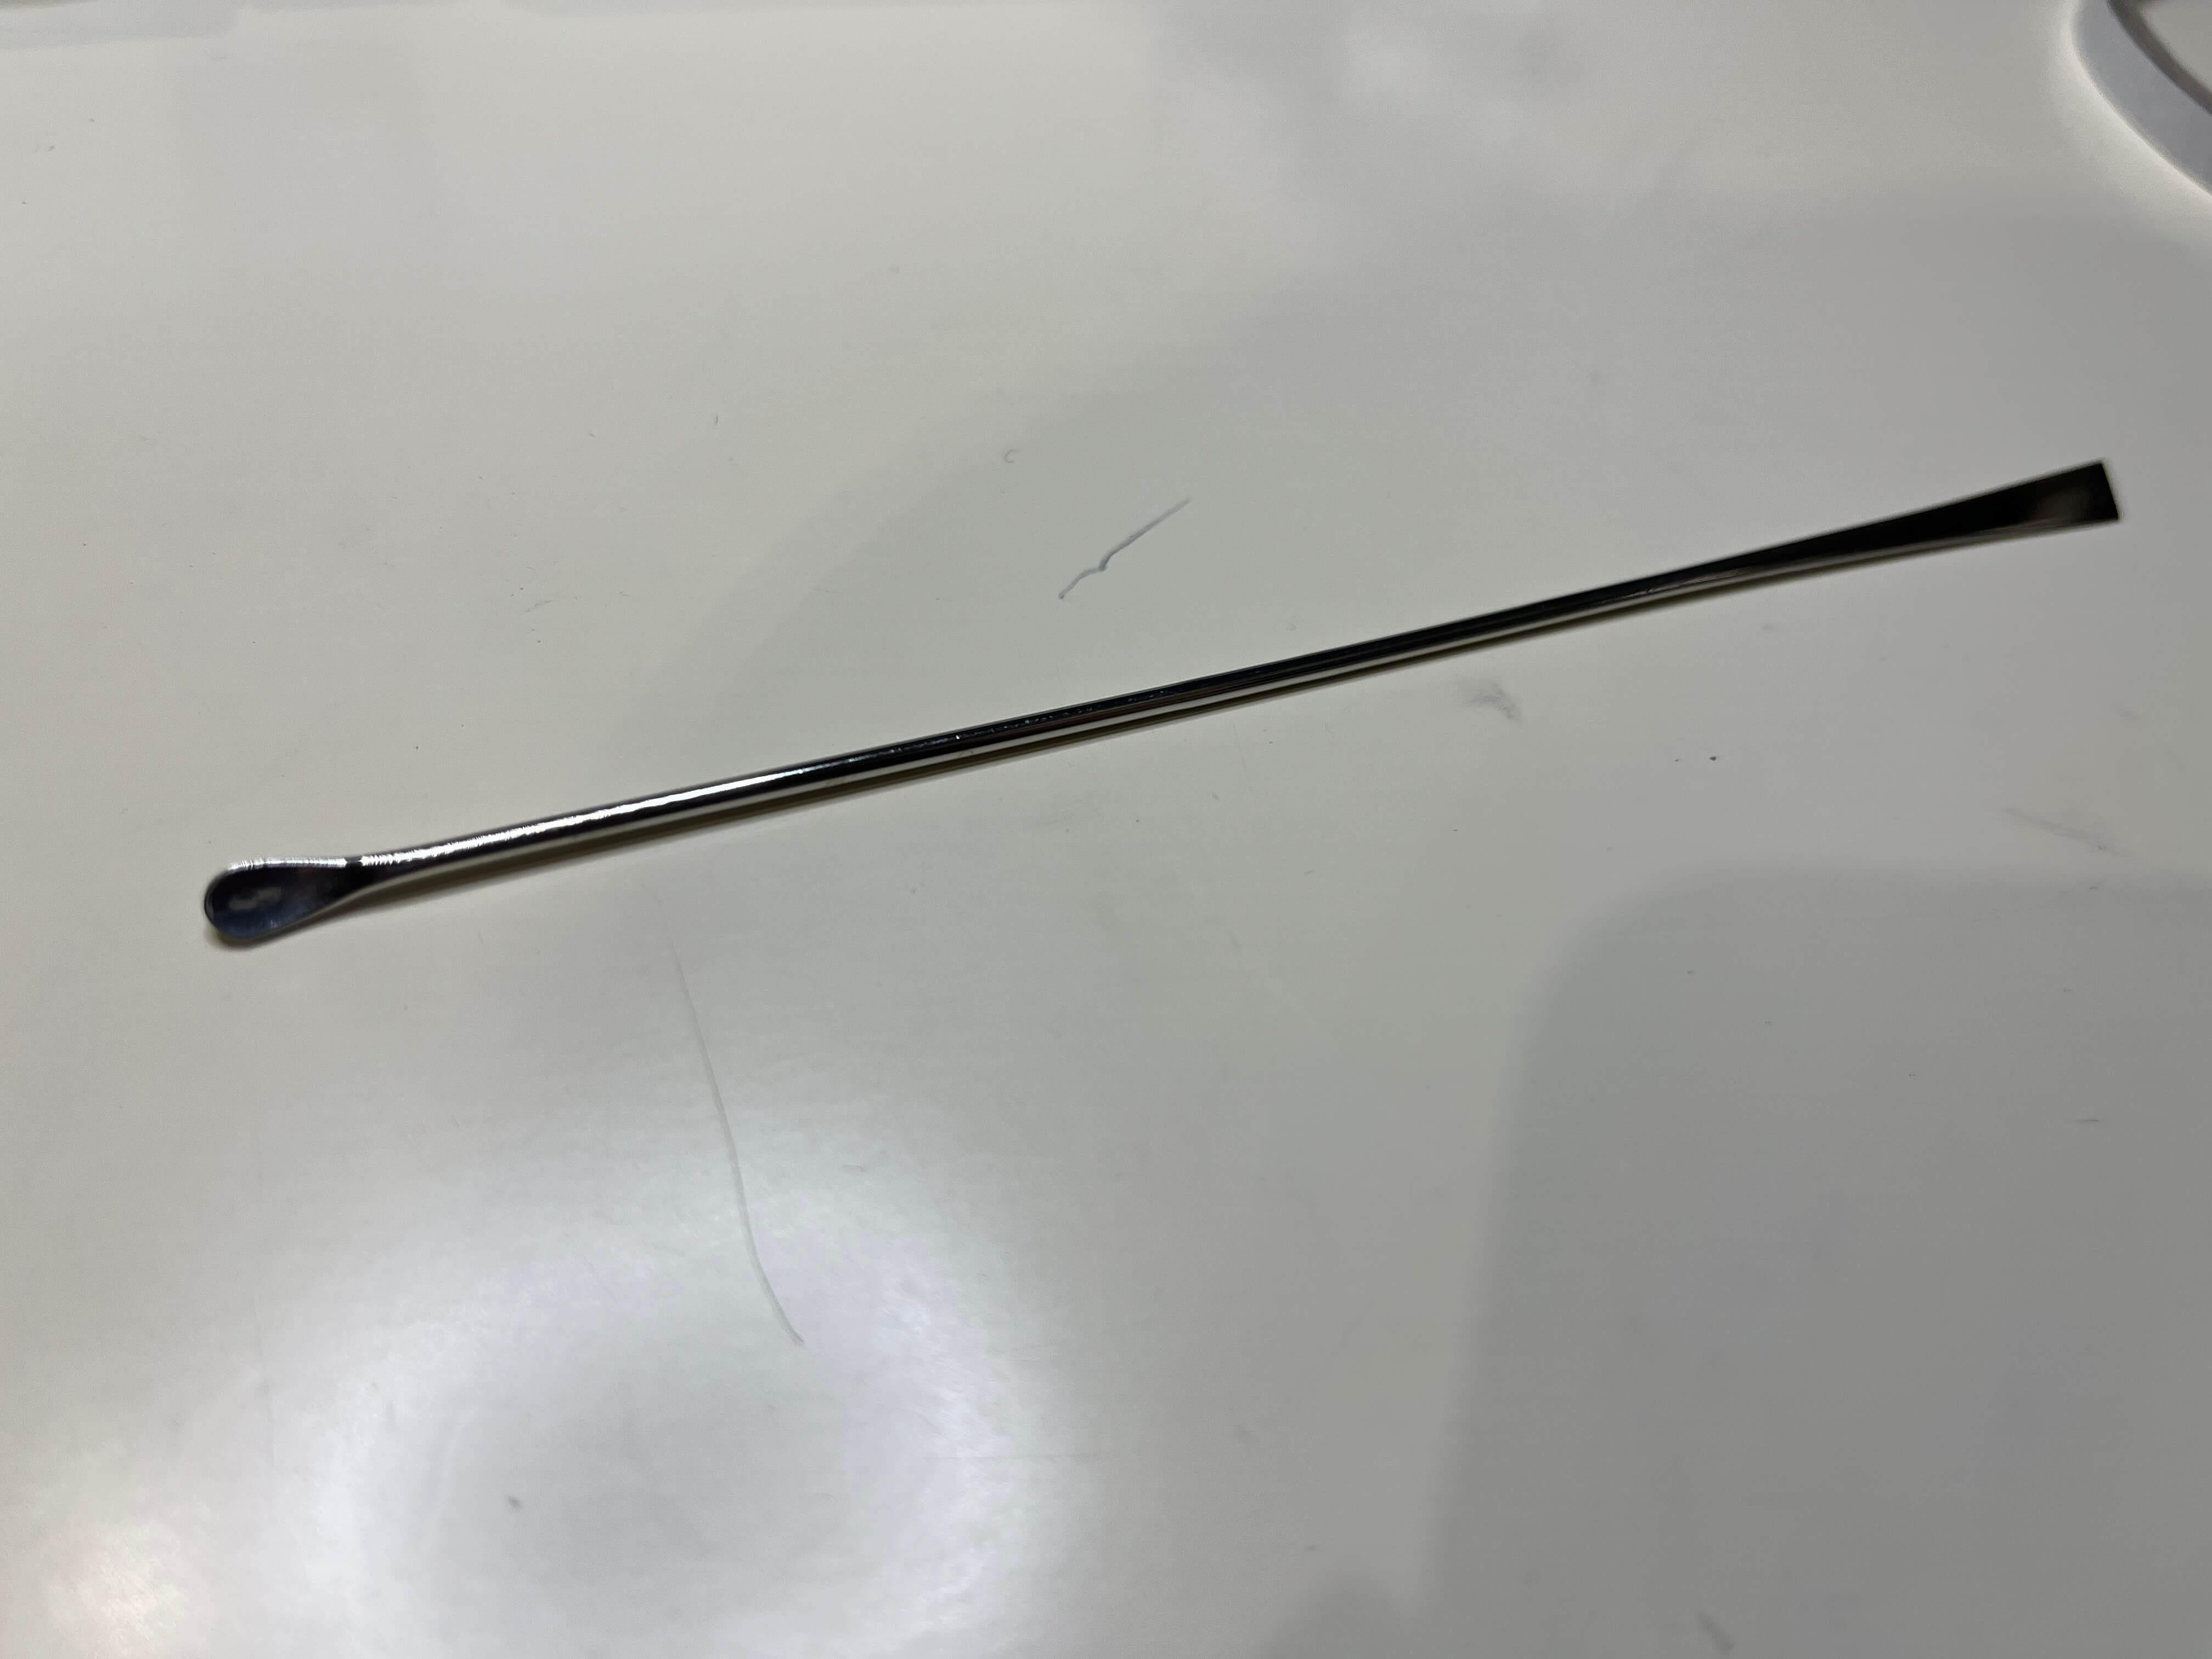
Spatula
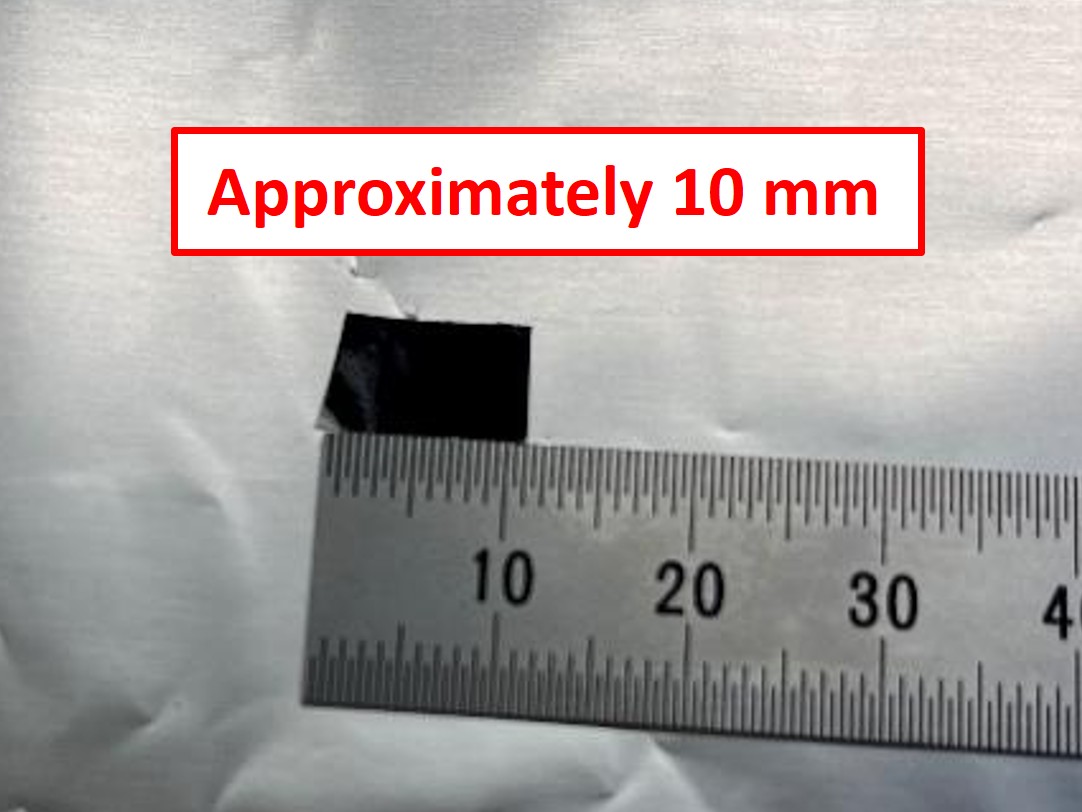
1
Cut the carbon tape and place it with the release liner facing downward.
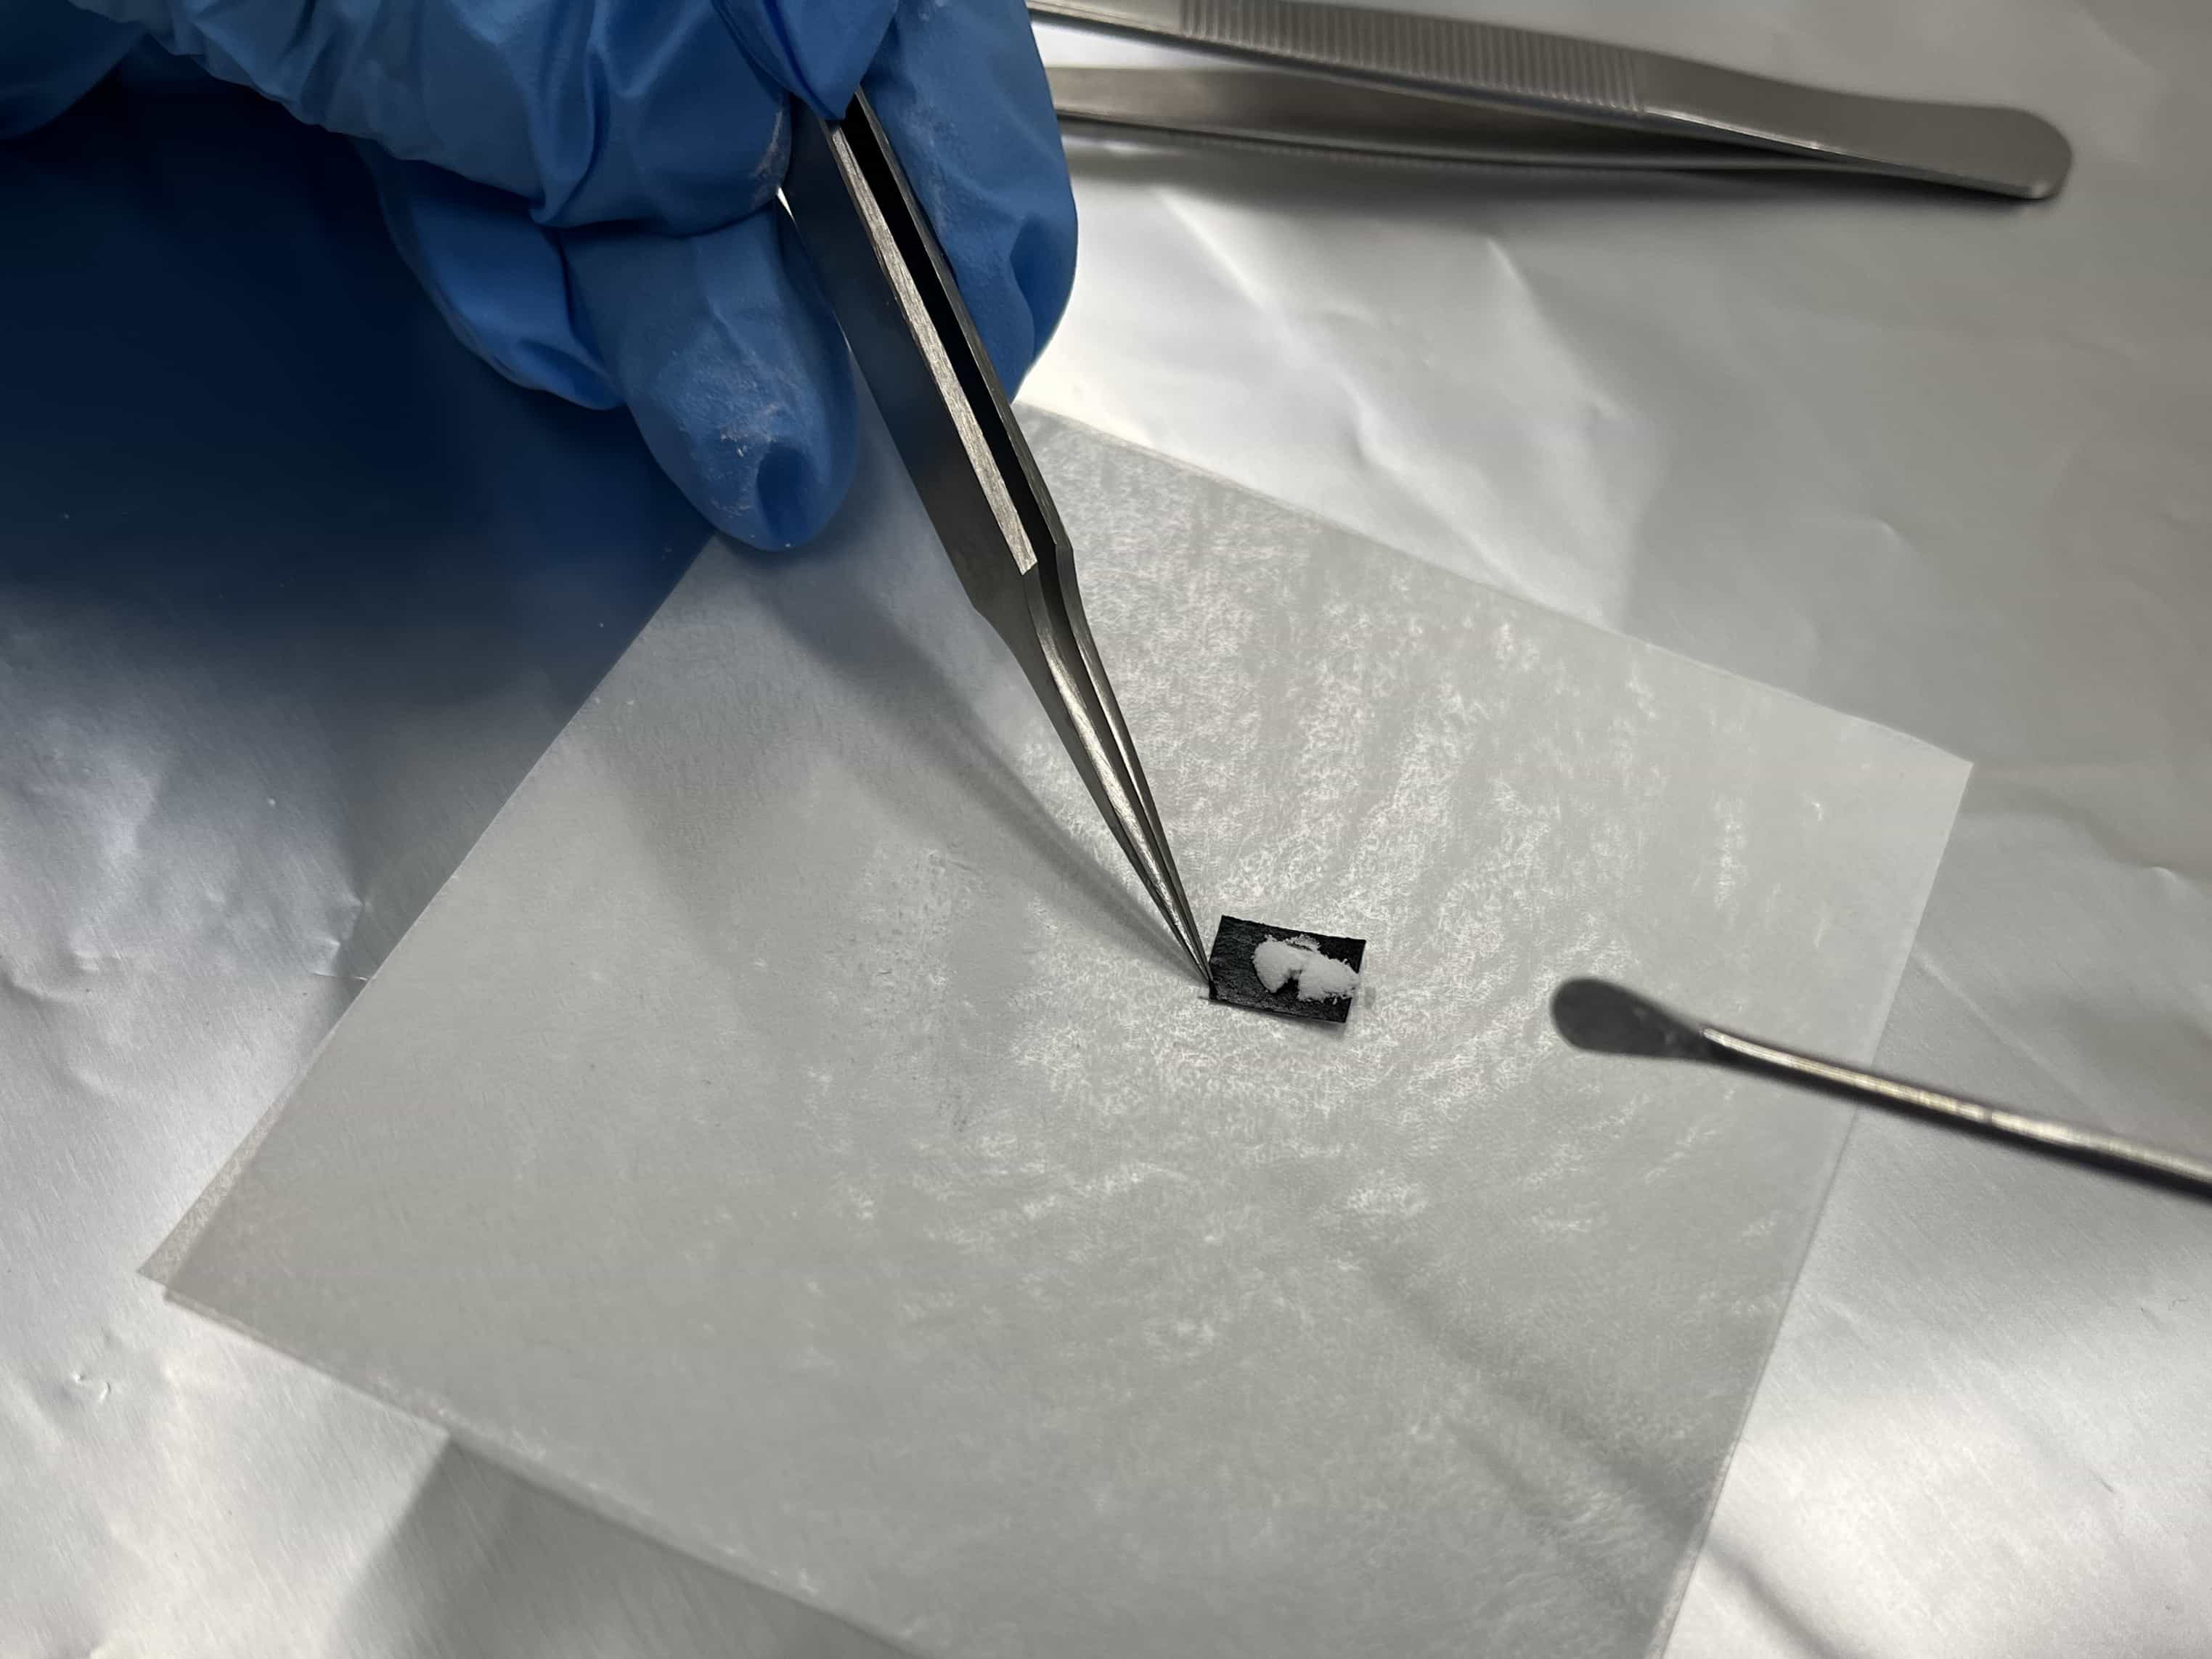
2
Place the sample onto the tape.
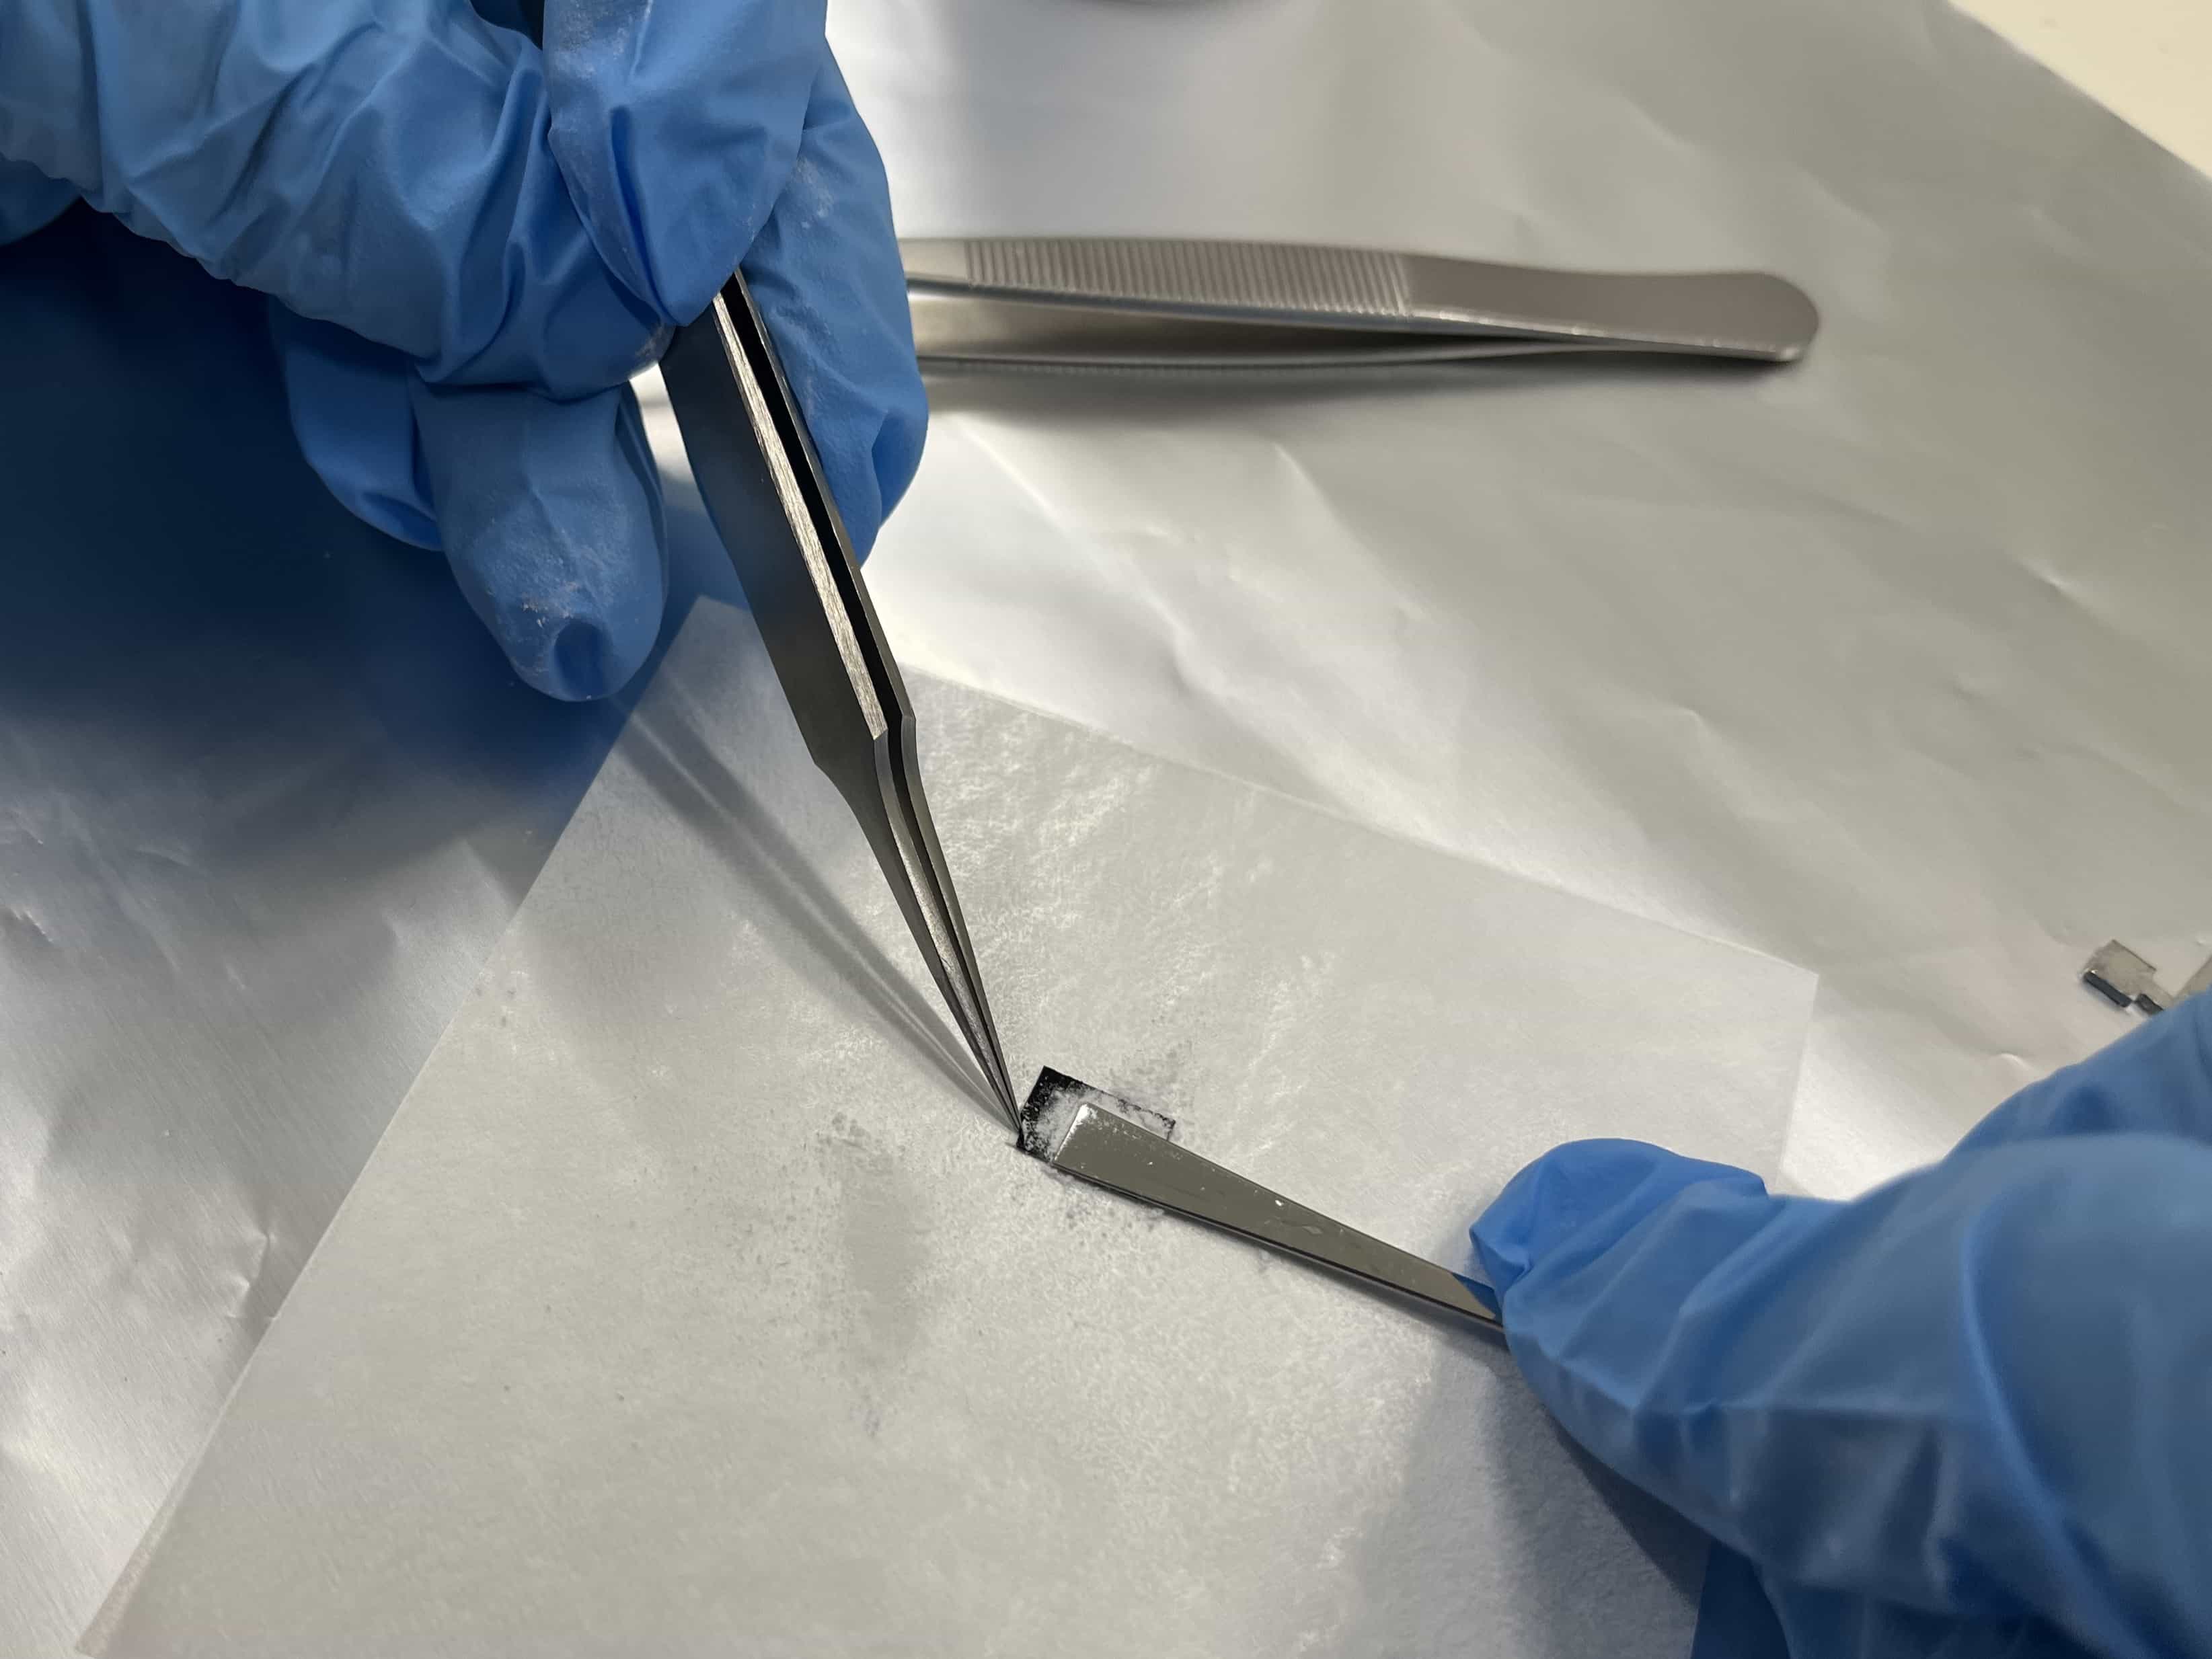
3
Level the sample using the flat edge of the spatula.
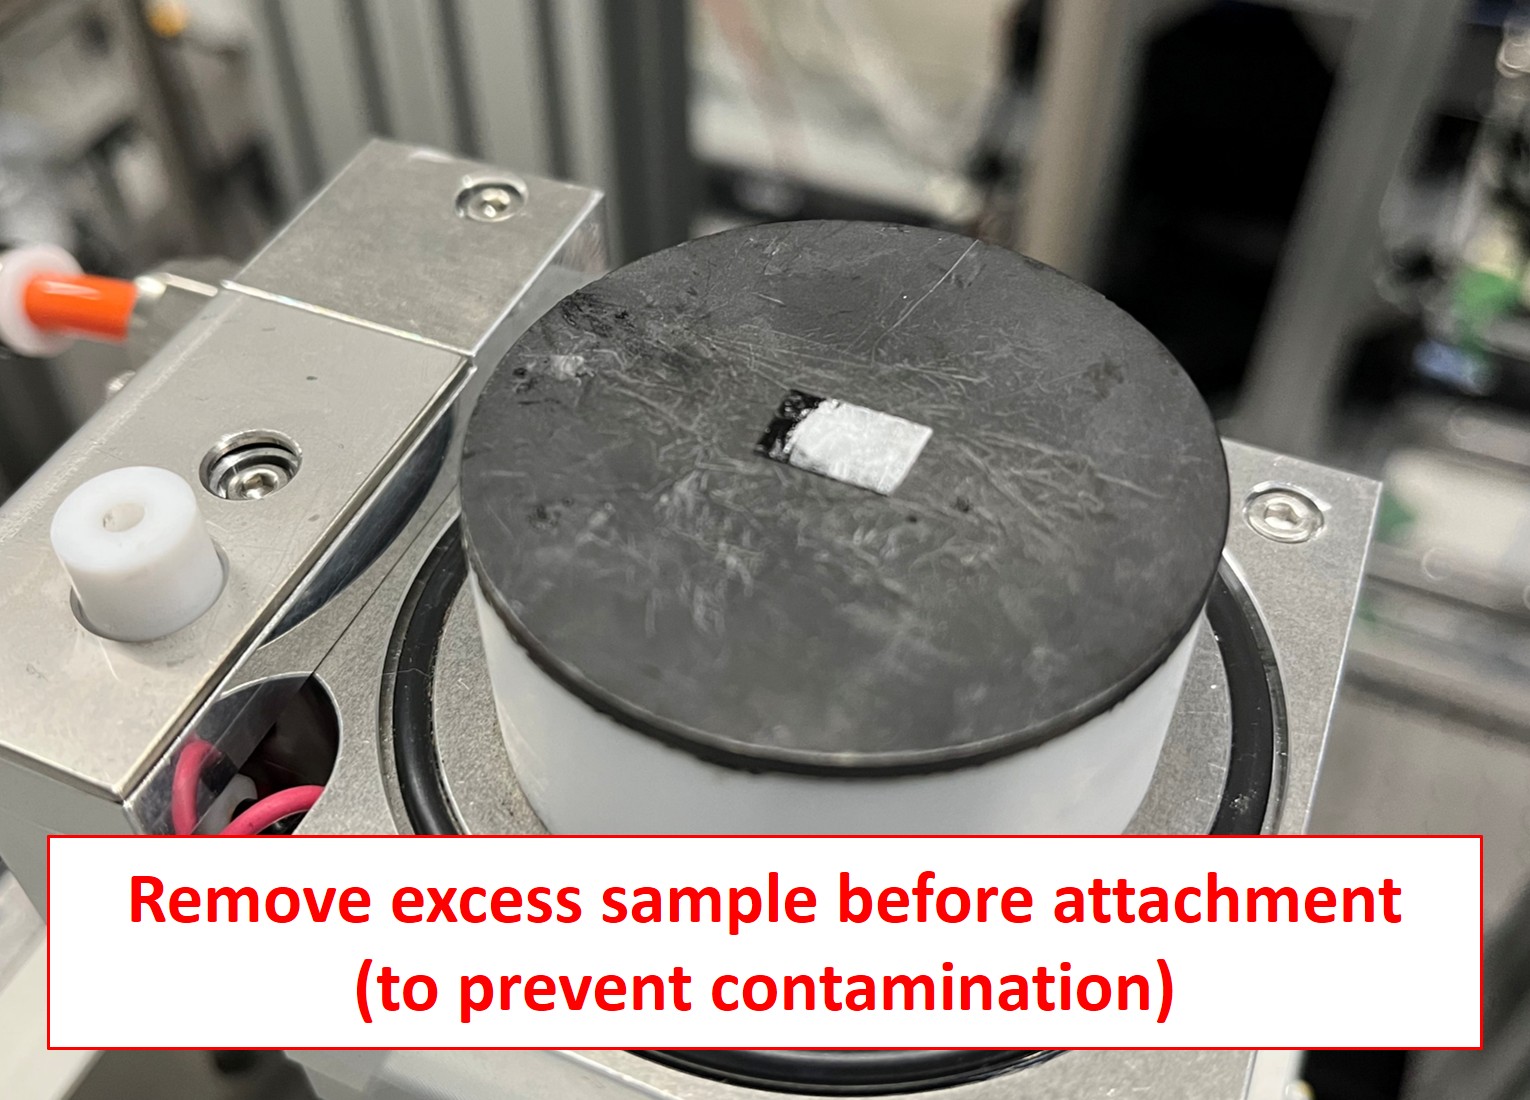
4
Gently tap to remove excess sample.
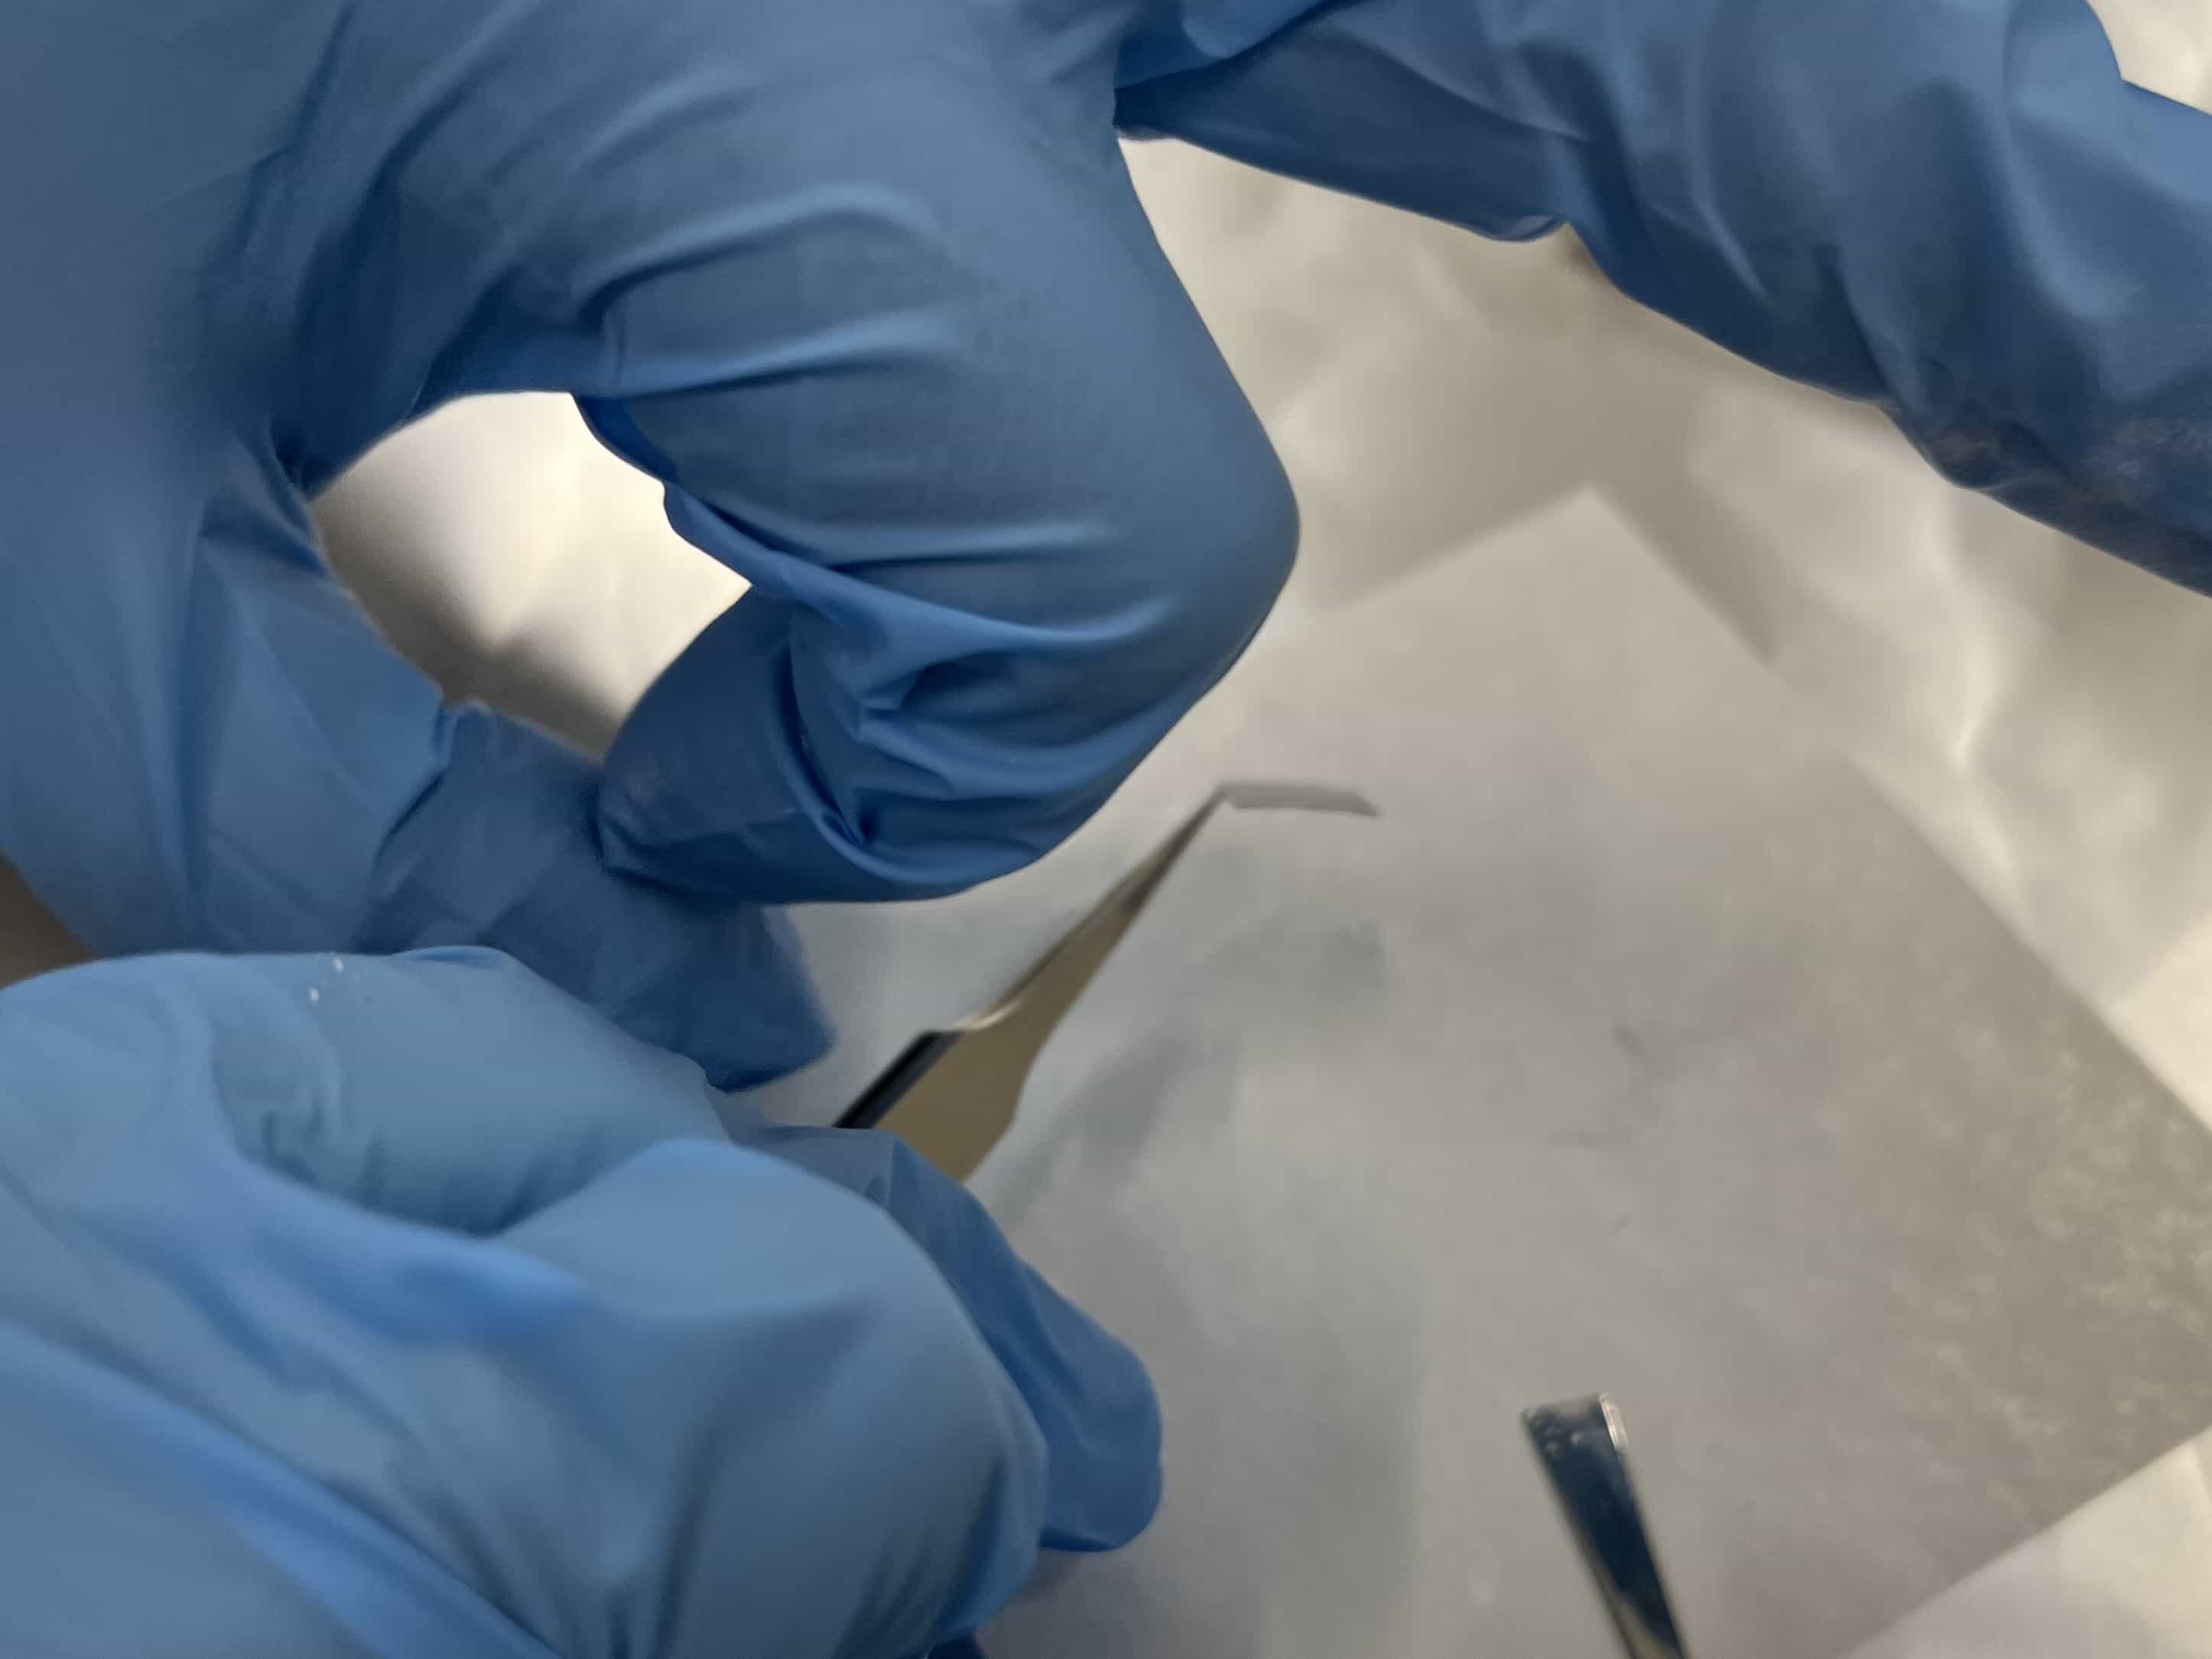
5
Peel off the release liner.

6
Attach the tape to the sample plate (BL equipment).
7
Final setup.

8
When using a slide mount for ambient conditions.

9
When using an ion chamber for Conversion Electron Yield (CEY) measurements.
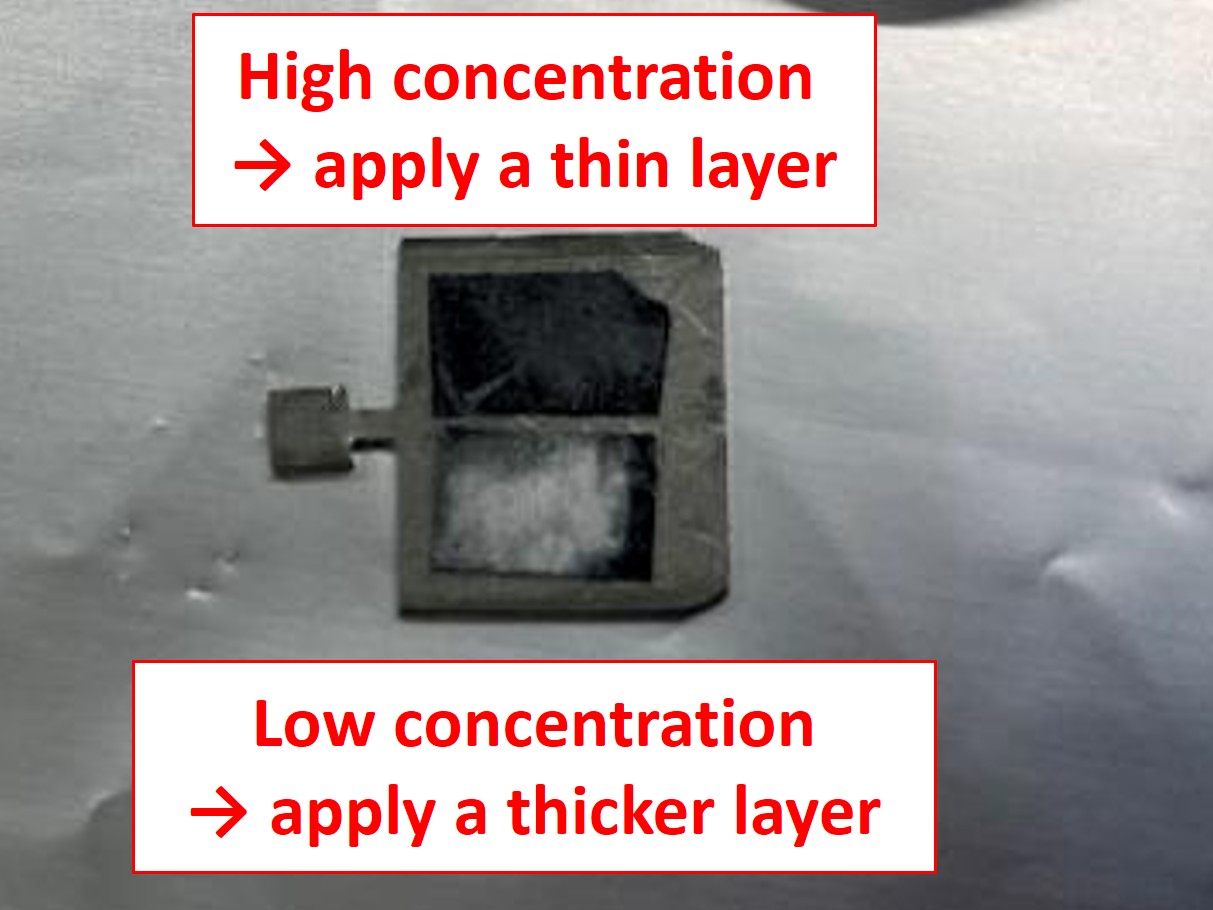
Ex: For High Sample Concentration
1
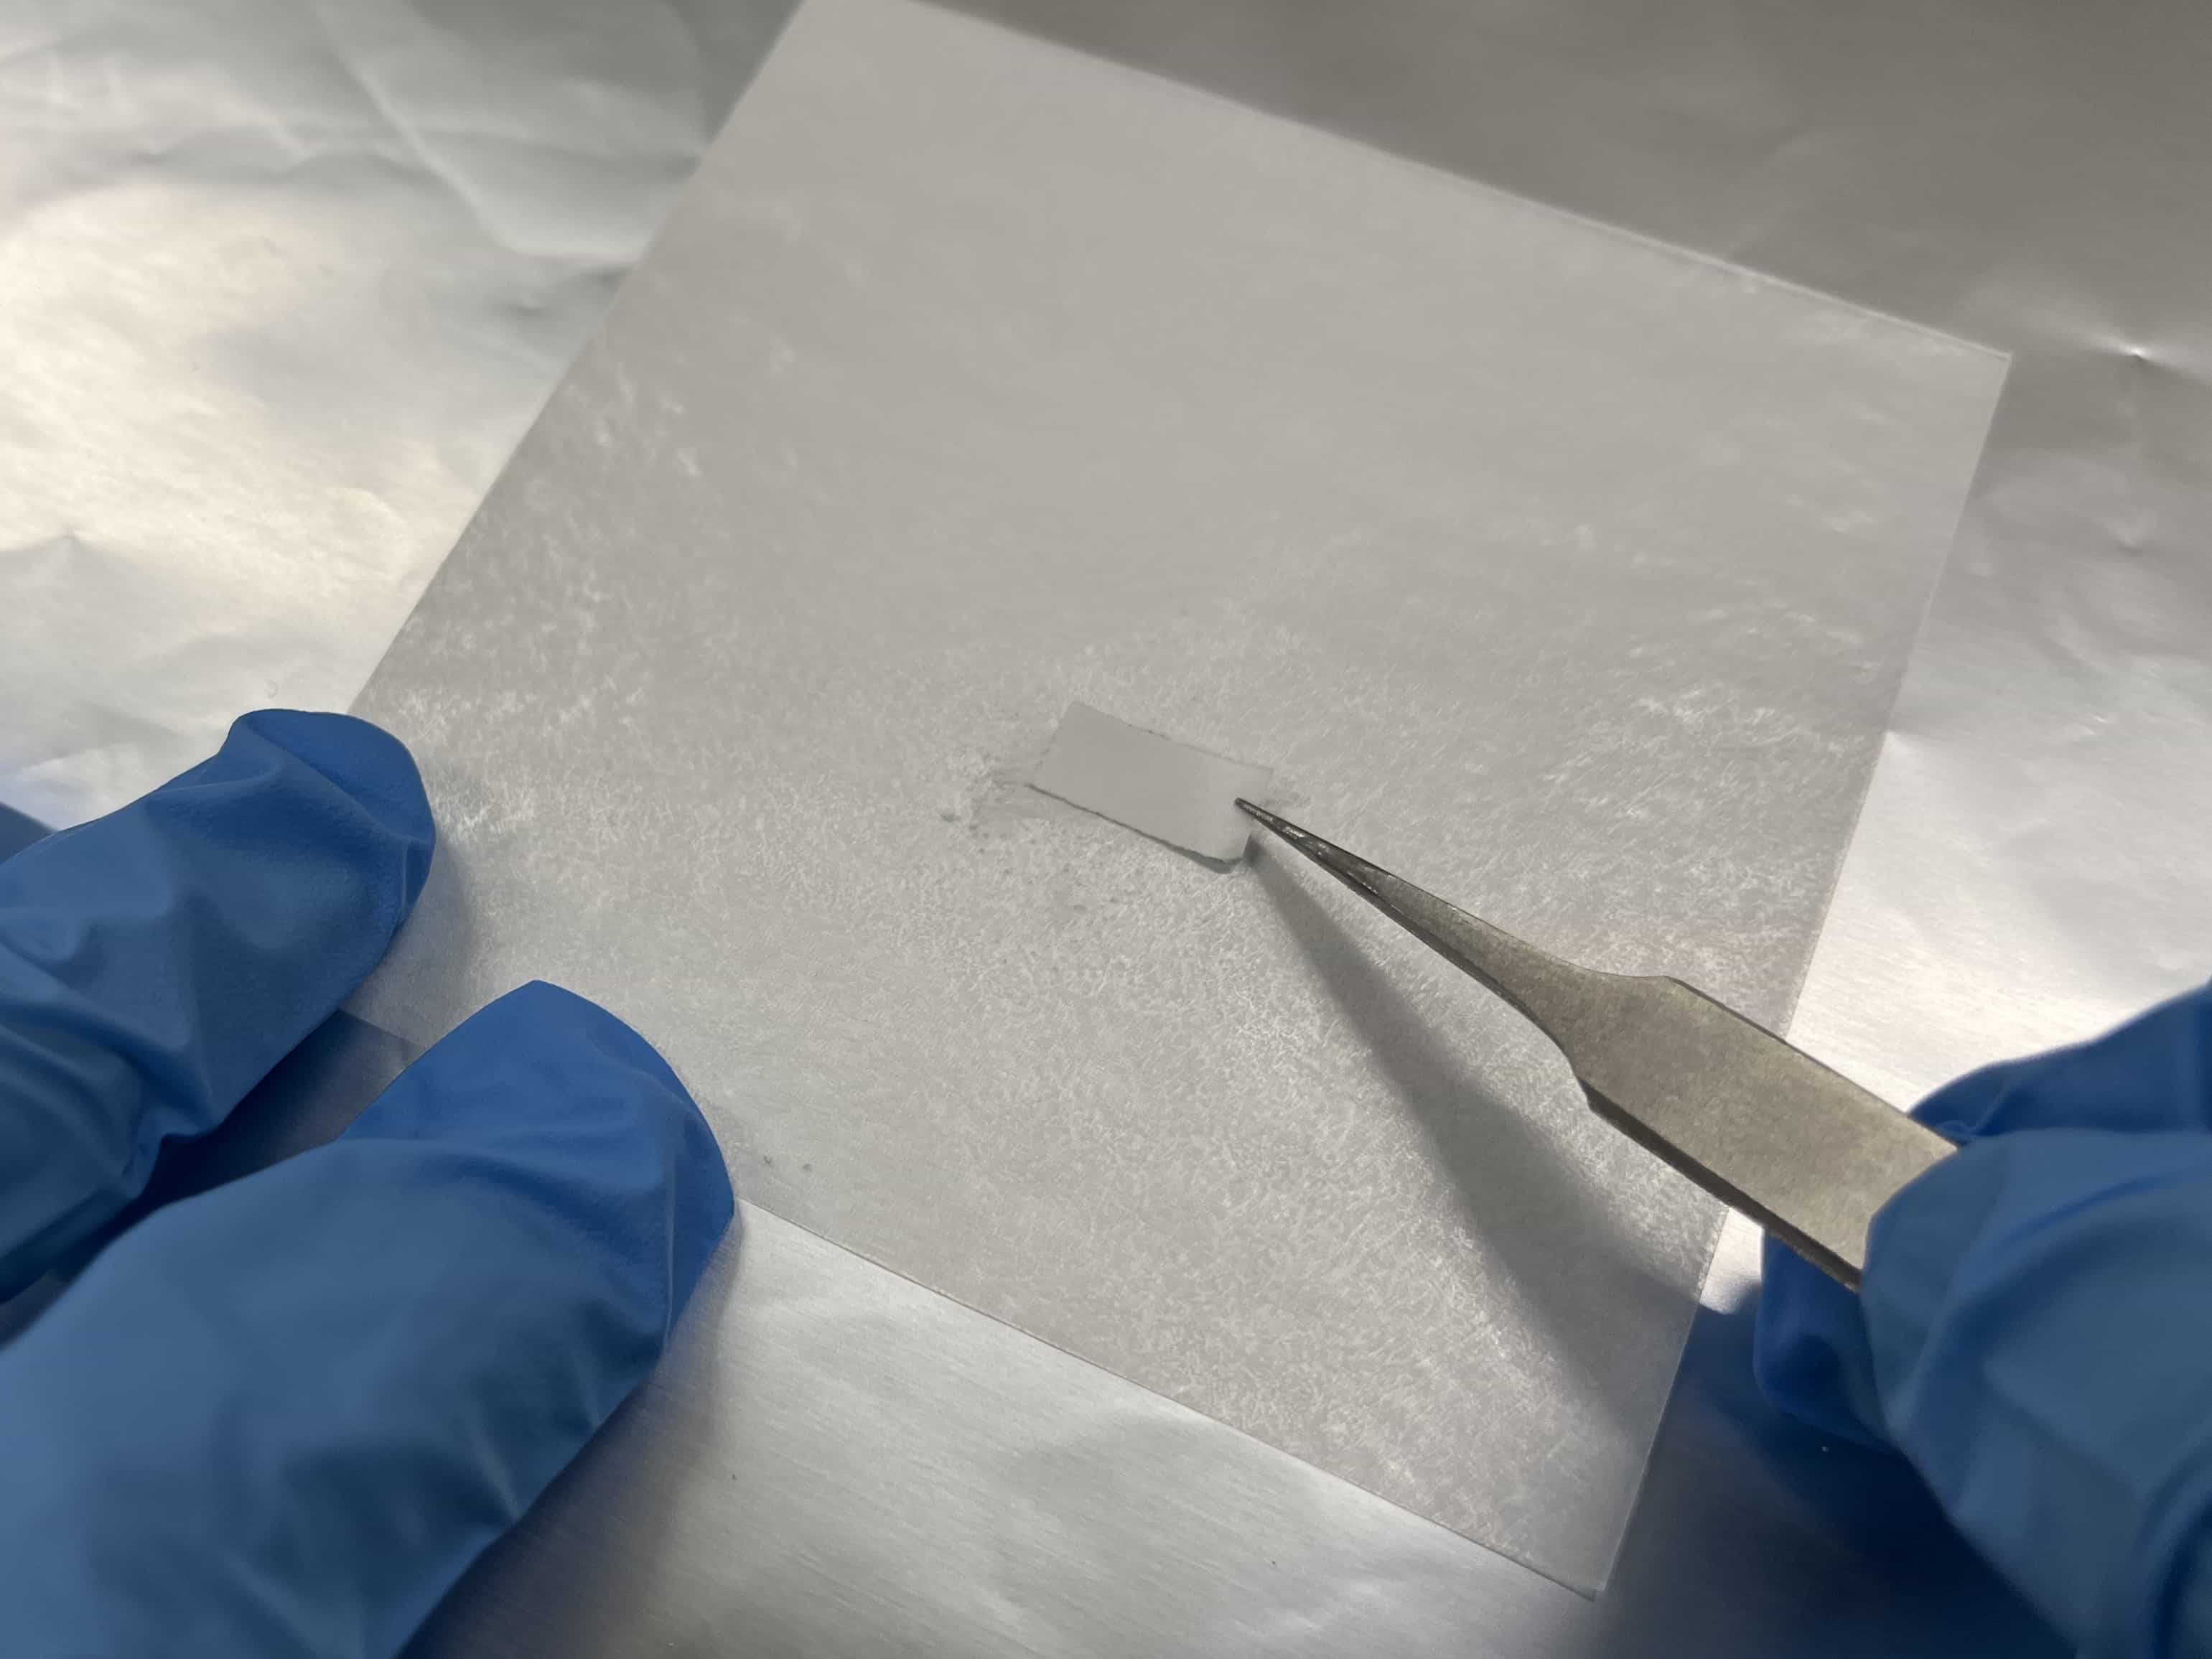
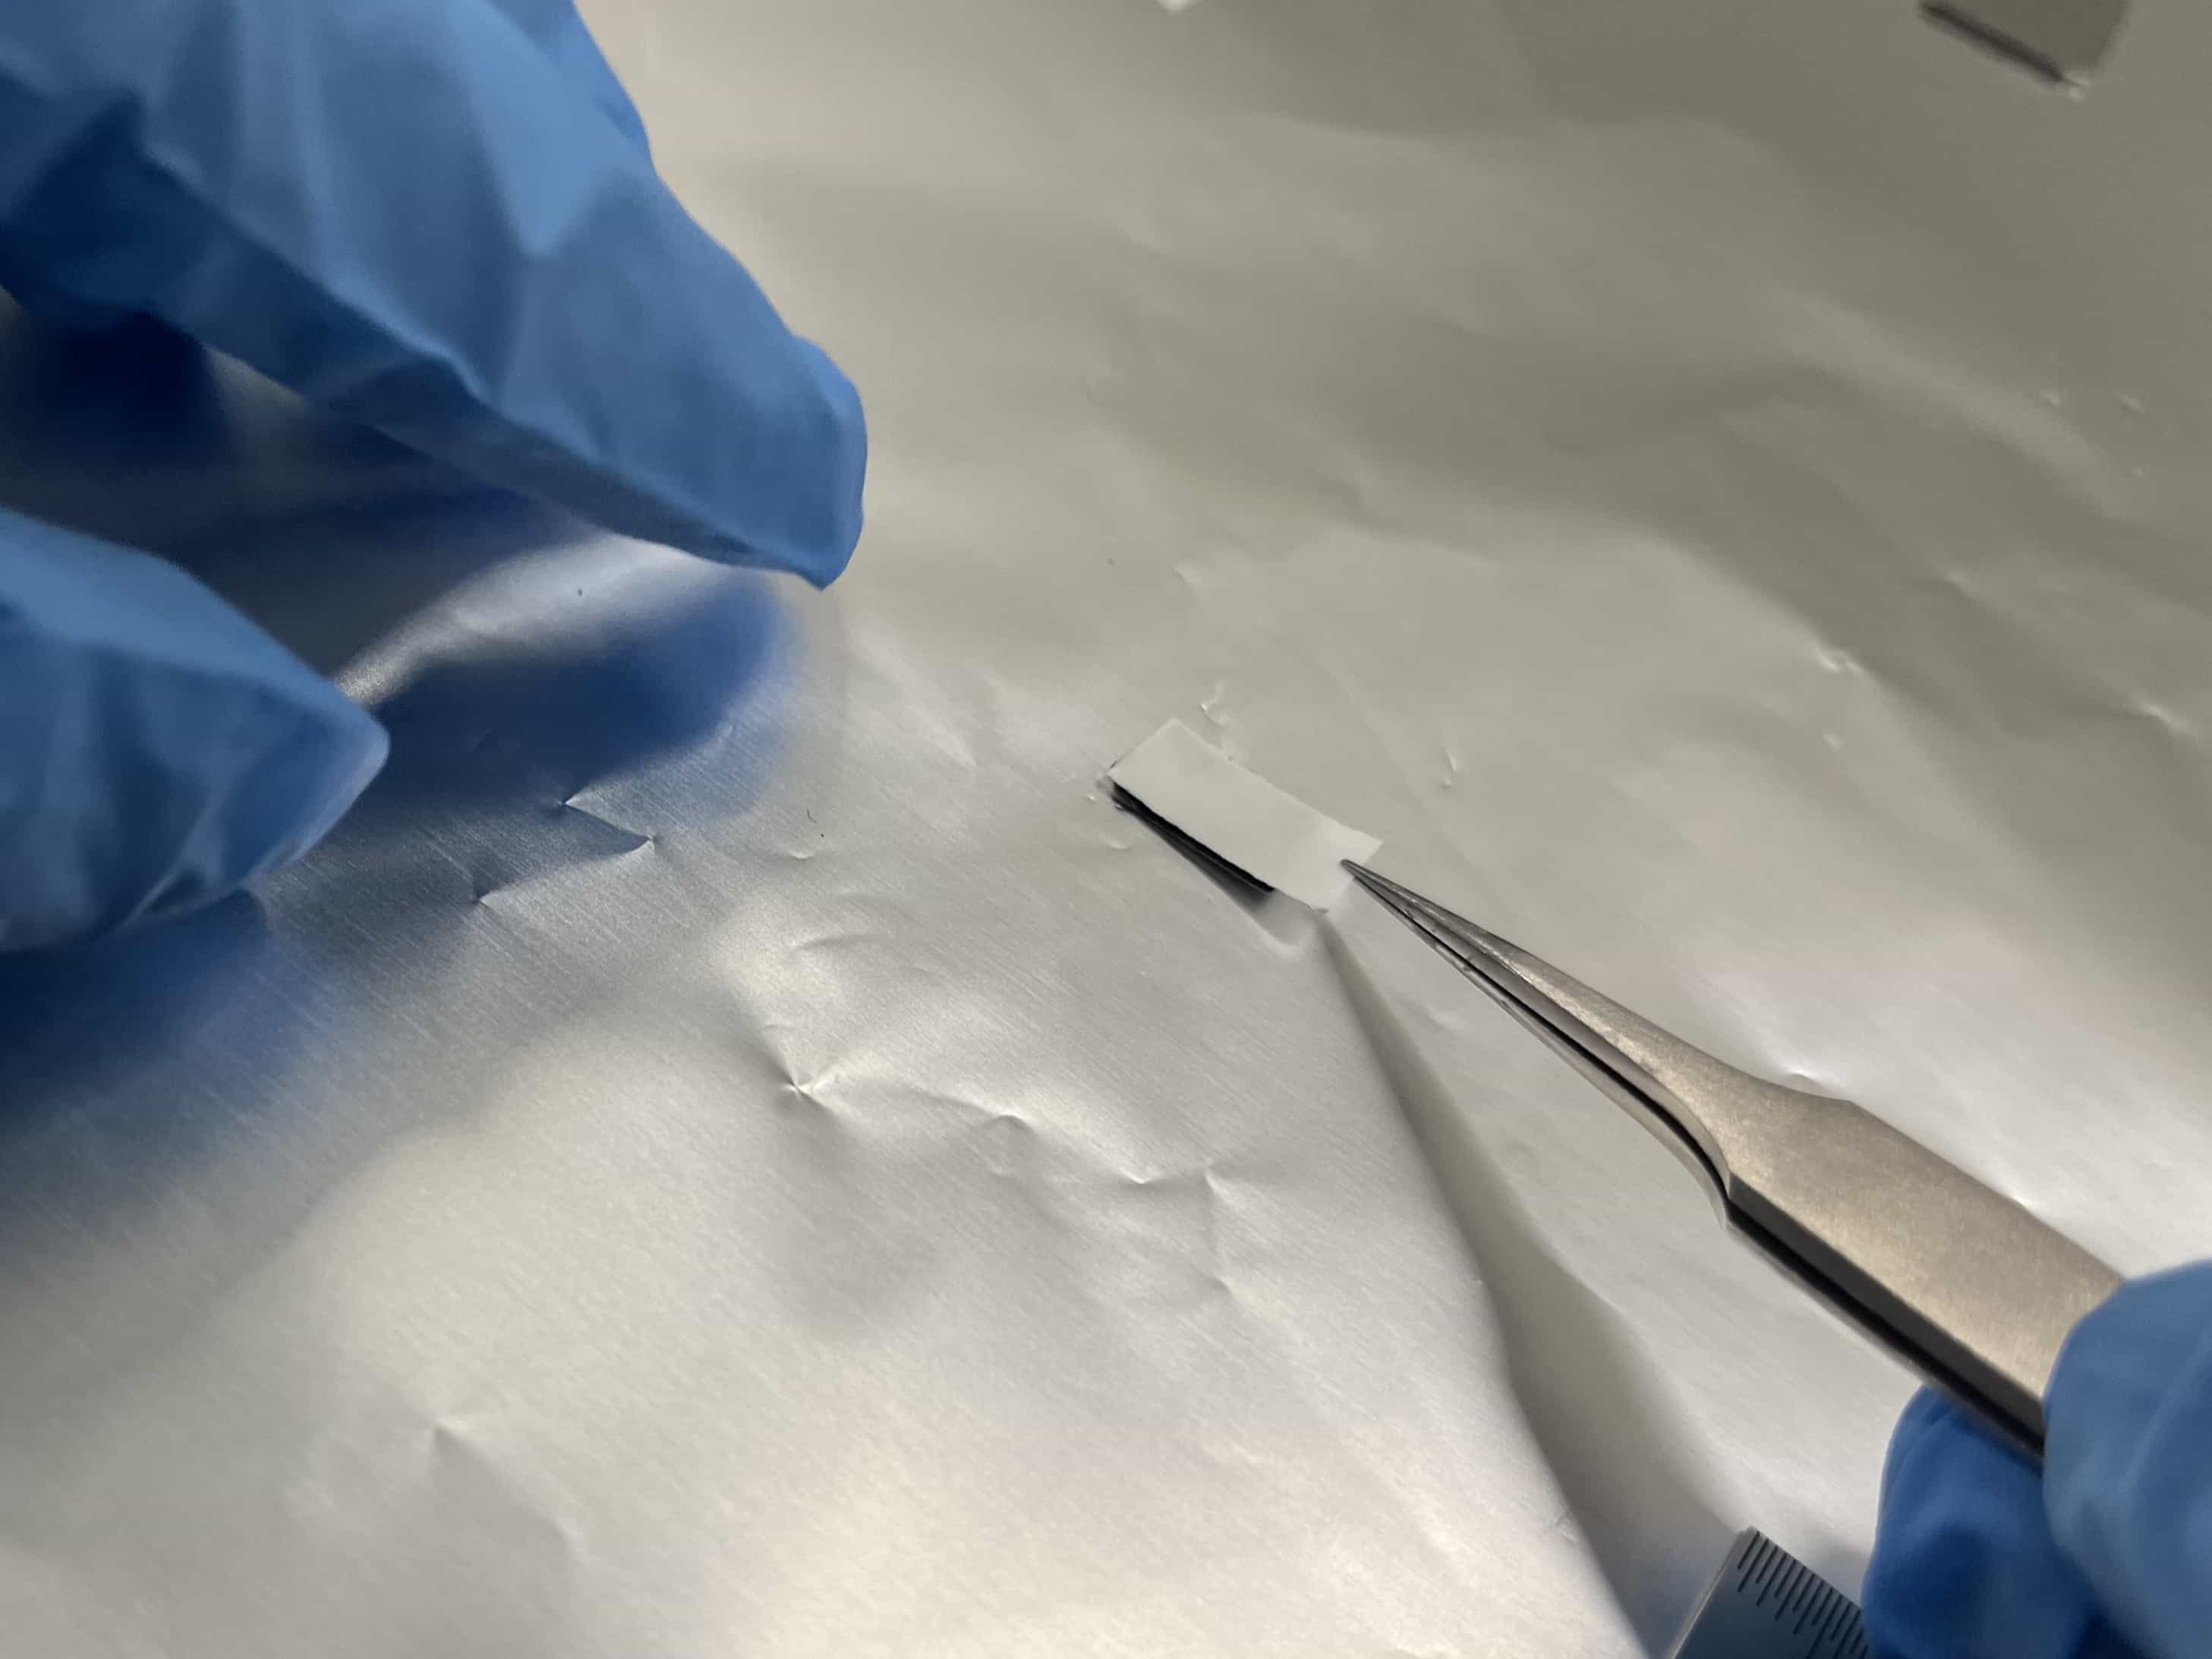
Transfer the sample onto weighing paper.

2
Lightly press the release liner onto the sample to allow a thin layer to adhere.
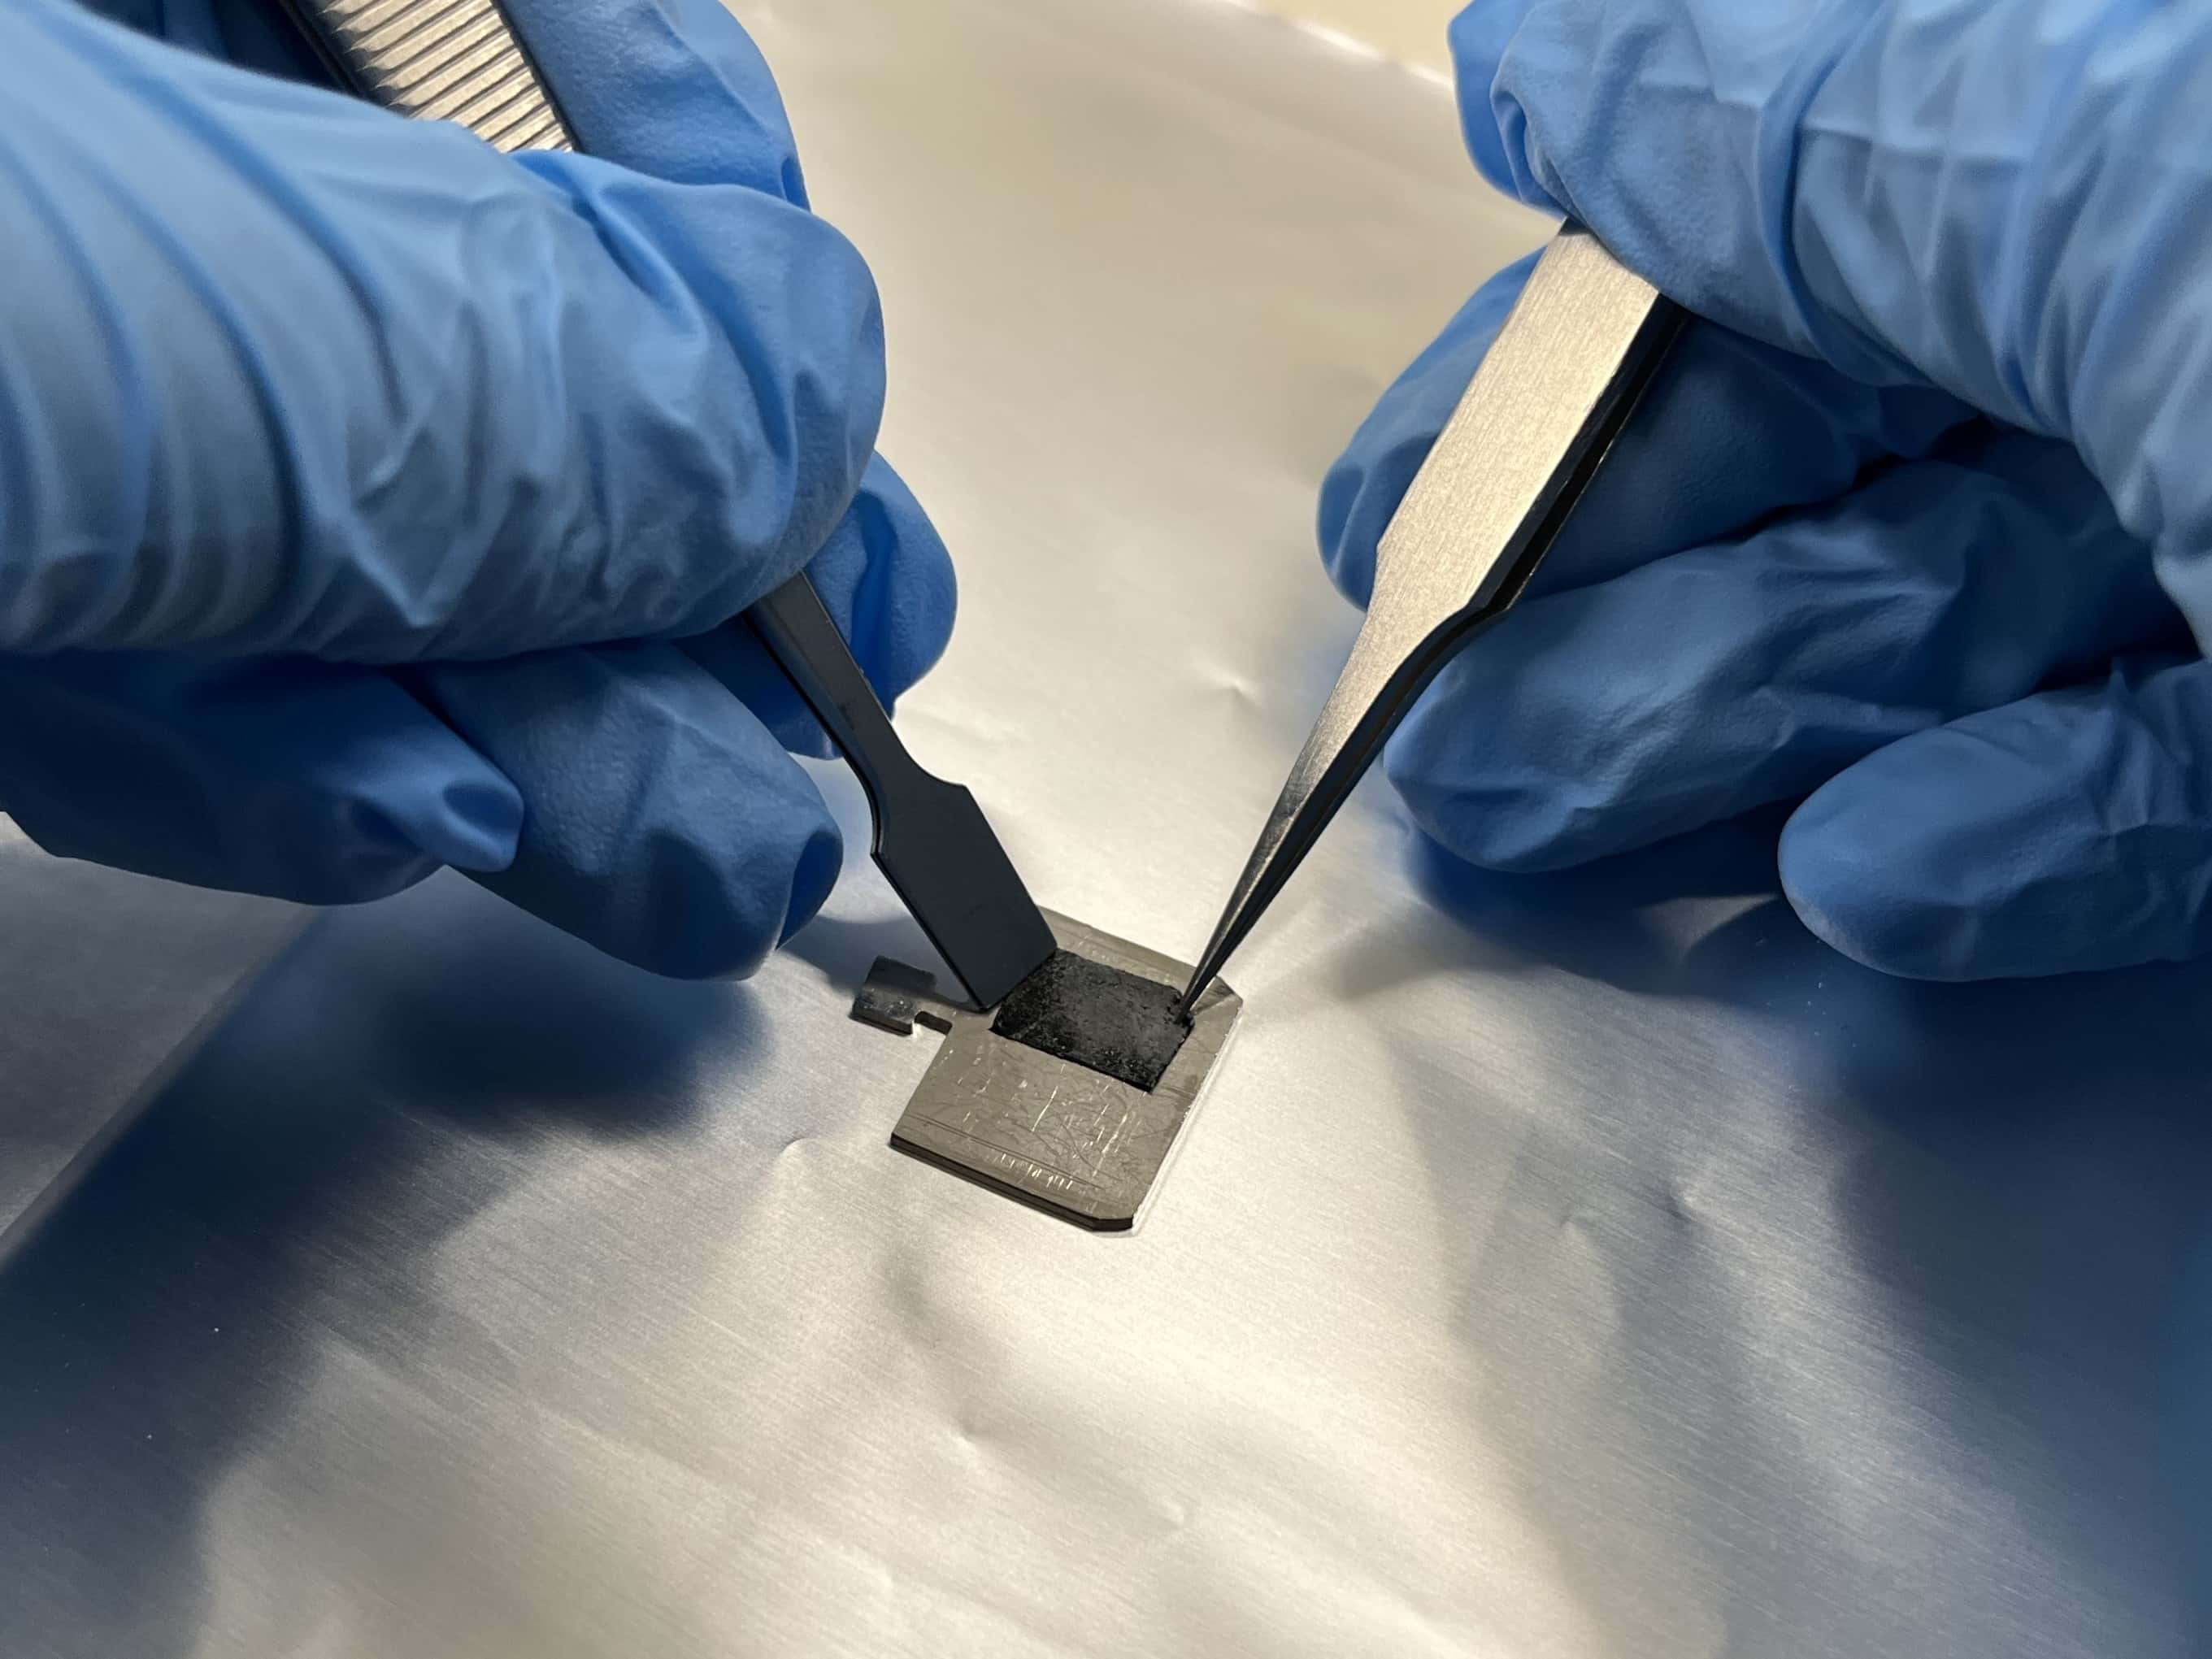
3
Gently press the liner onto the carbon tape to transfer the sample.
4
Attach to the sample plate.
Pellet Samples
Required Materials
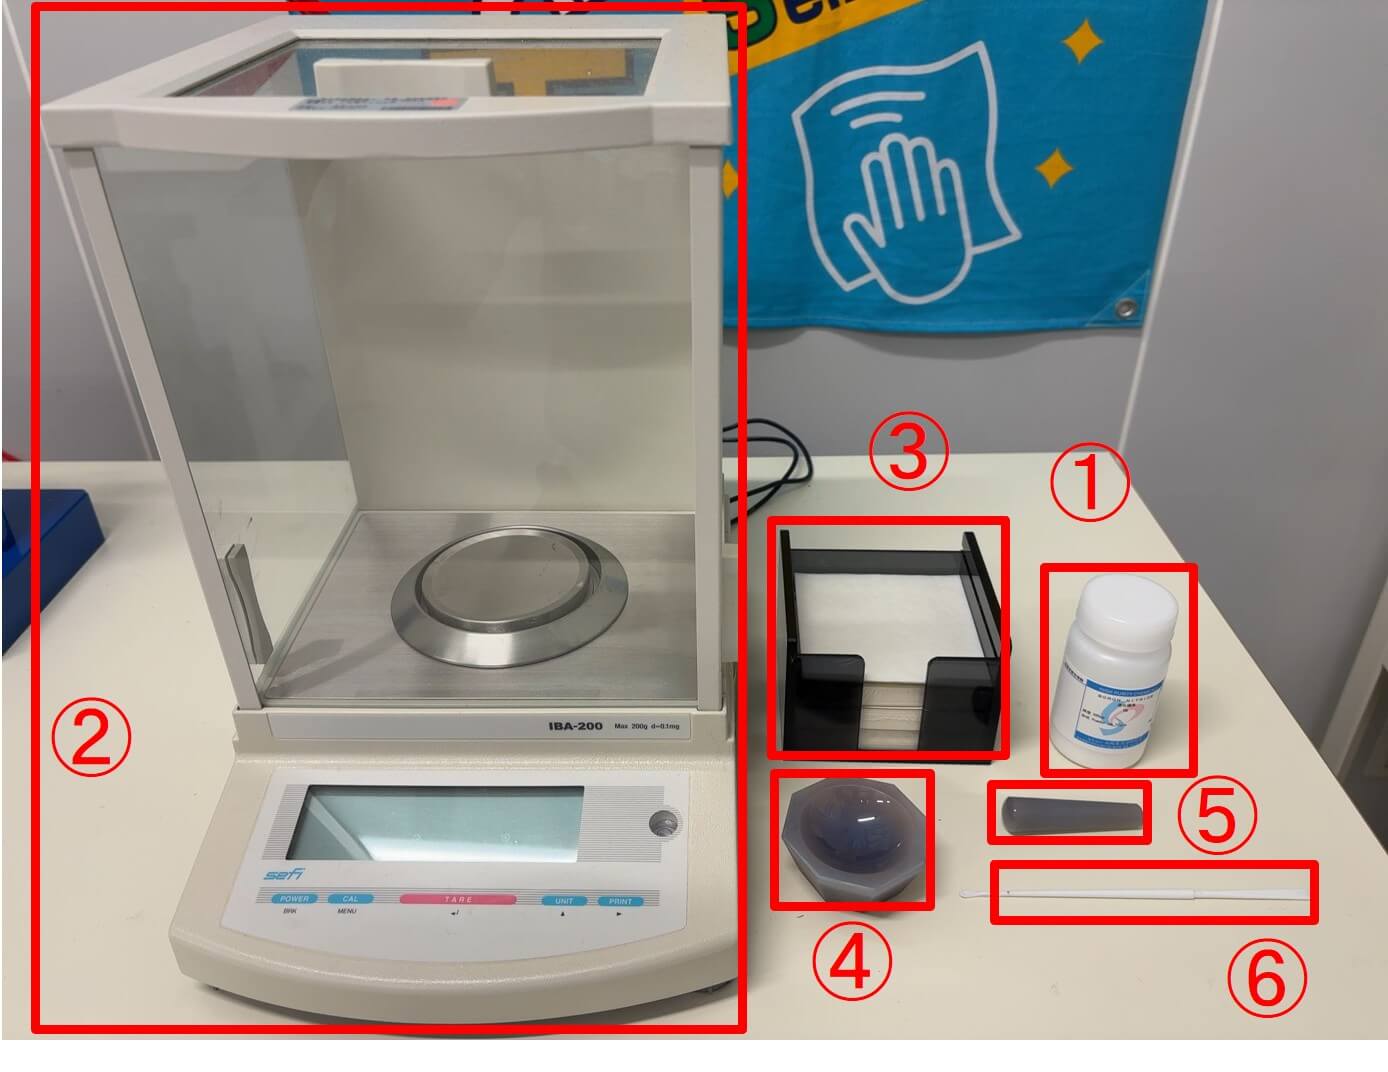
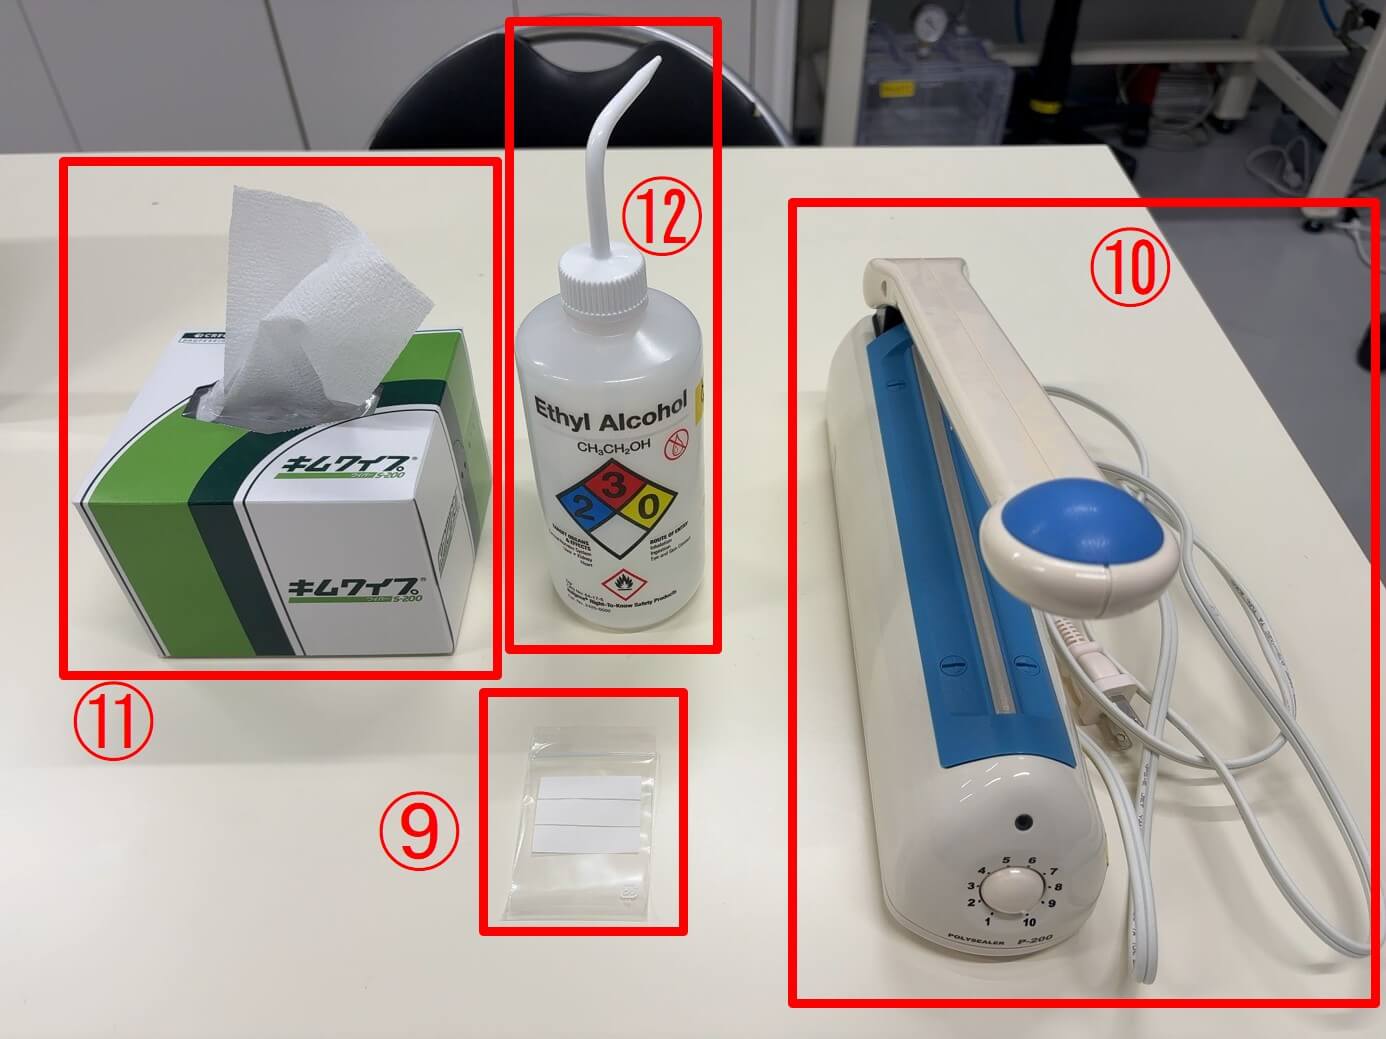
Materials List
① BN(boron nitride)② Analytical balance
③ Weighing paper
④ Mortar ⑤ Pestle ⑥ Spatula
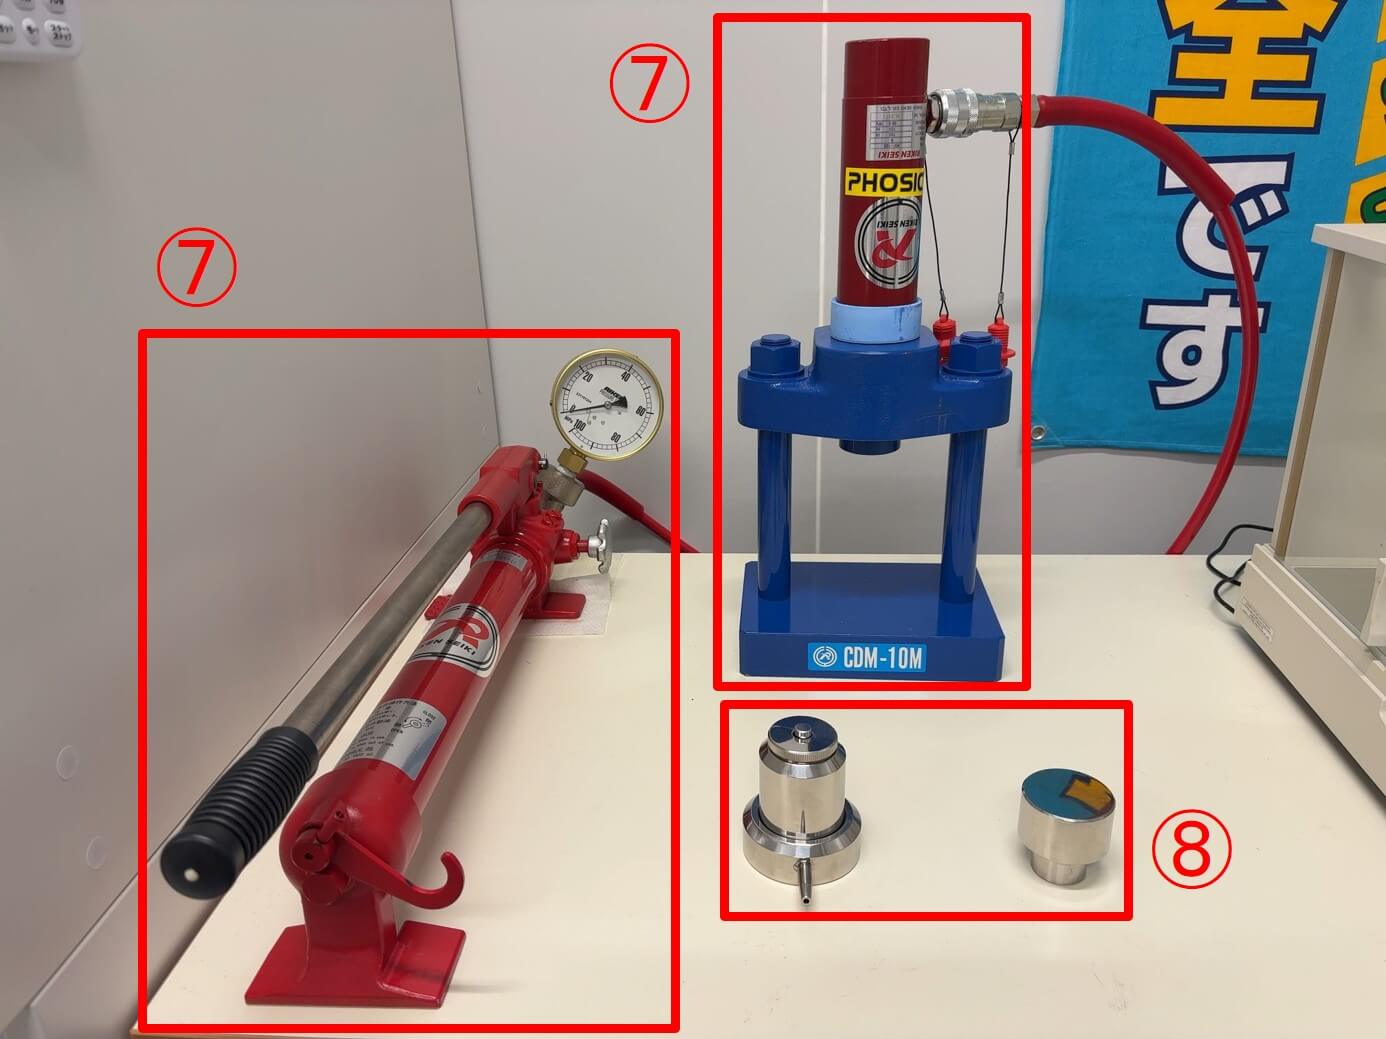
⑦ Hydraulic press
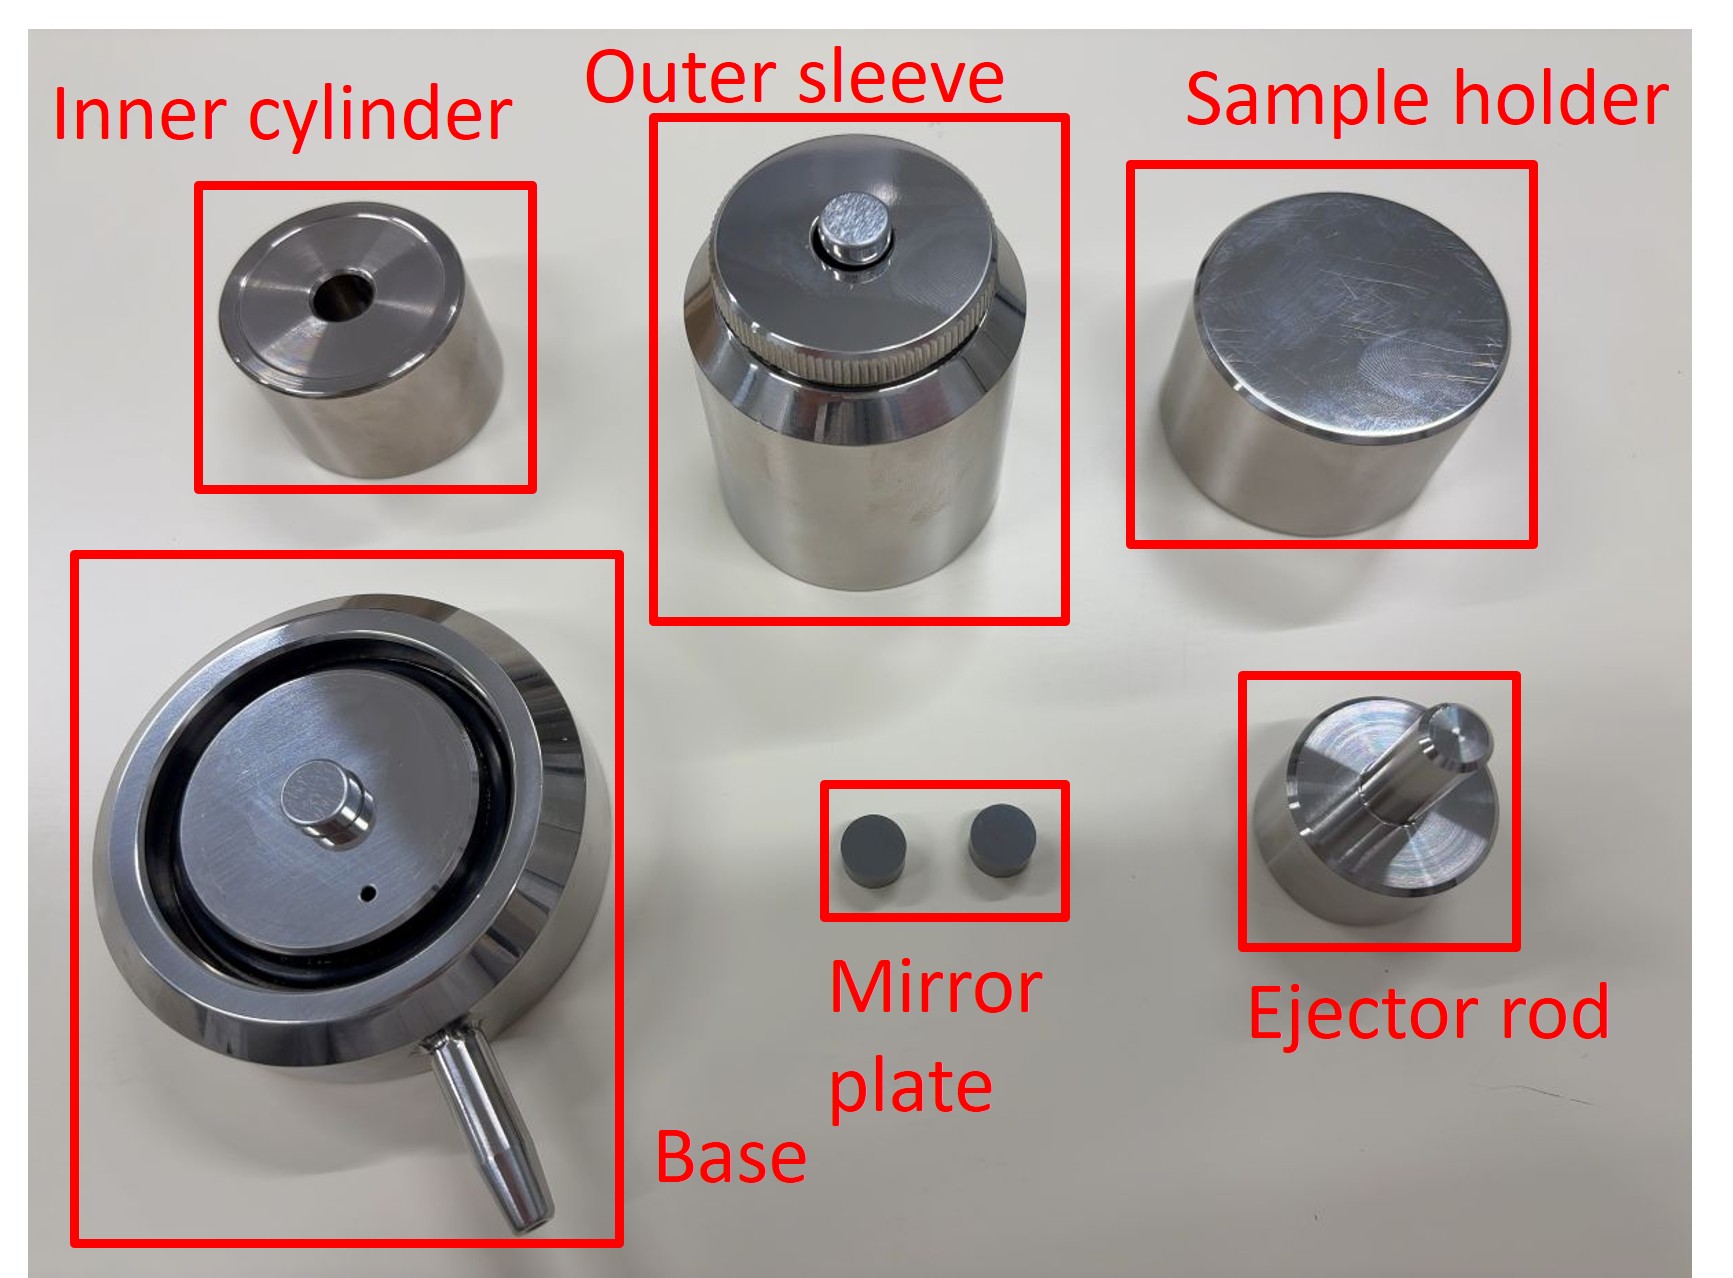
⑧ Pellet die set
⑨ Zip-lock bag ⑩ Heat sealer
⑪ Kimwipes ⑫ Ethanol
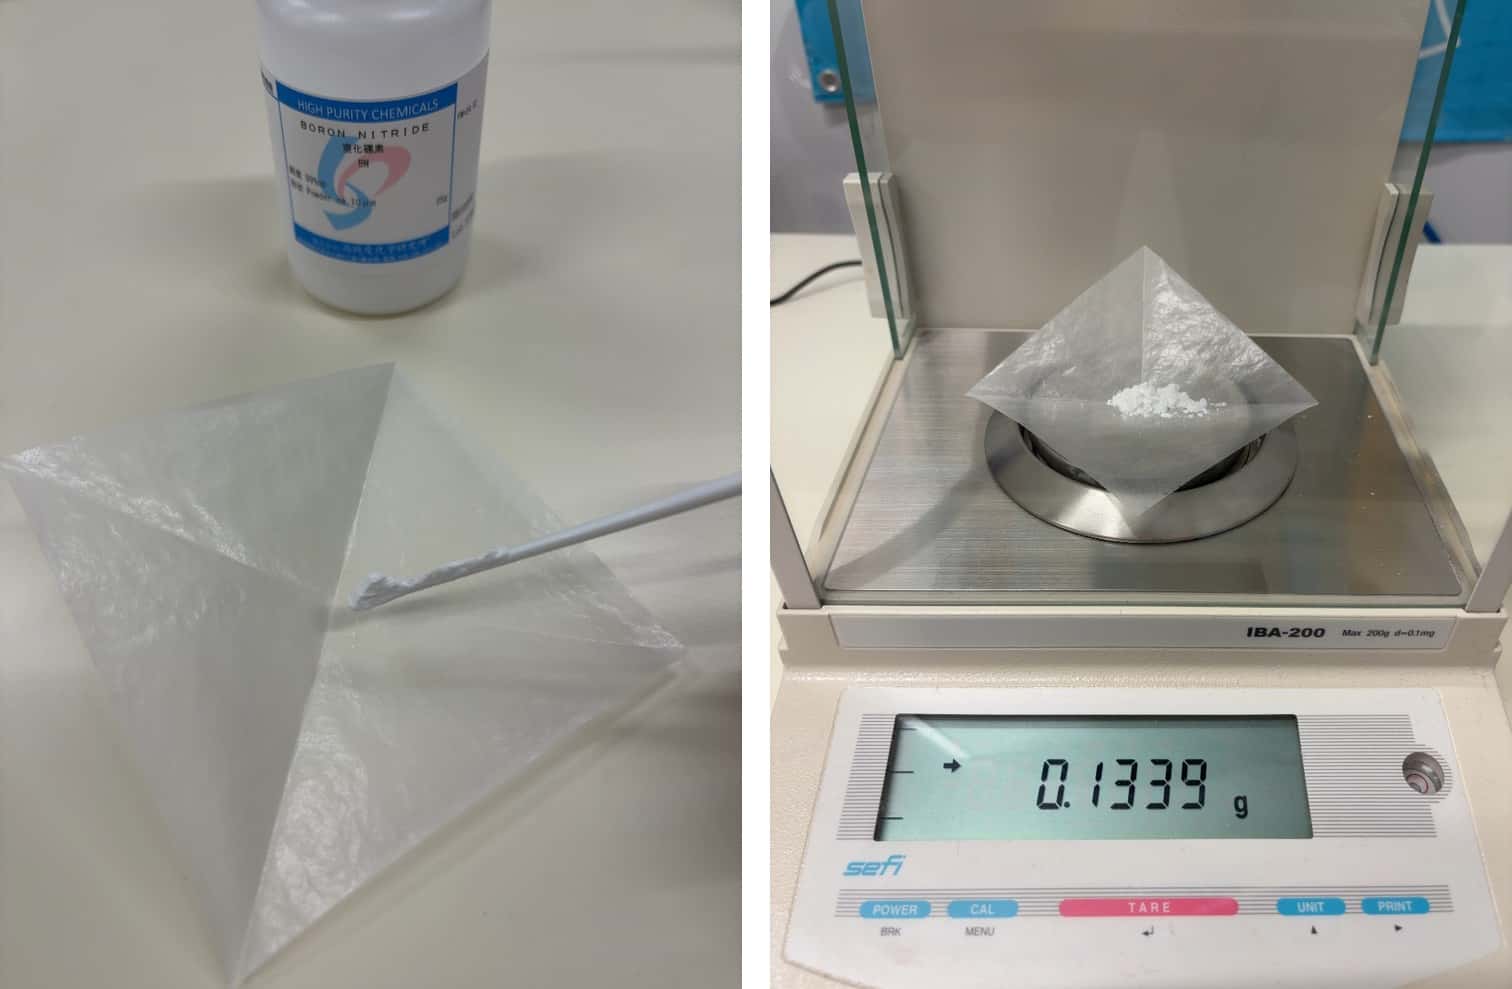
1
Weigh the sample and BN using an analytical balance and dilute to an appropriate concentration.
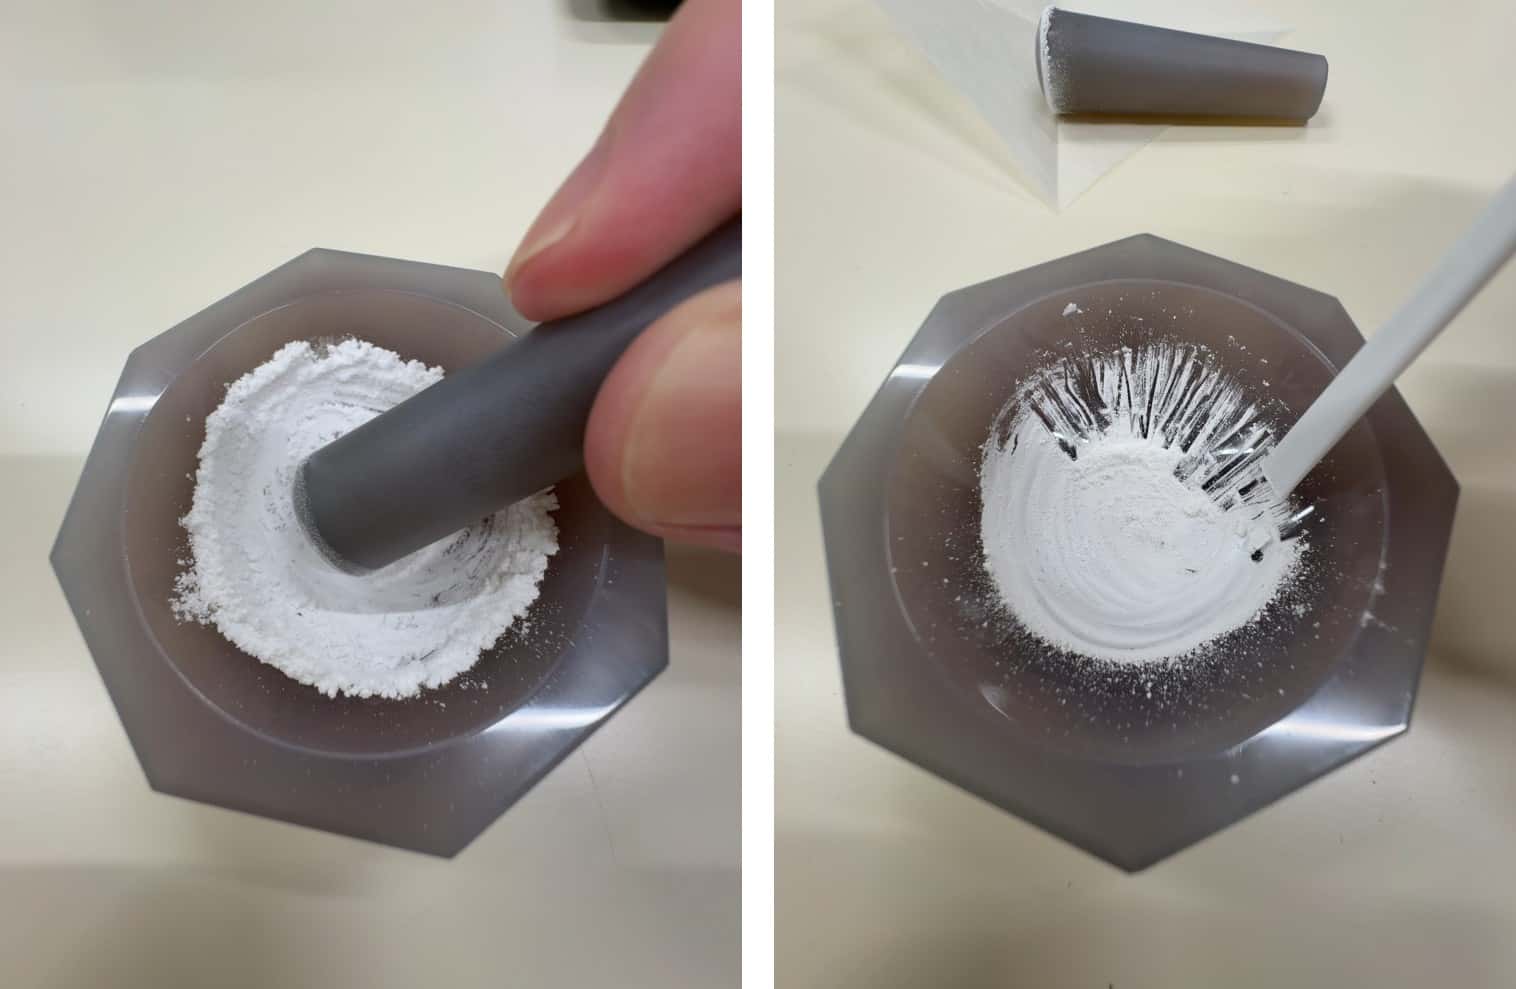
2
Mix the sample in a mortar for approximately 20 minutes.
*Sample homogeneity has a significant impact on XAFS spectral quality
3
Assemble the pellet die set.
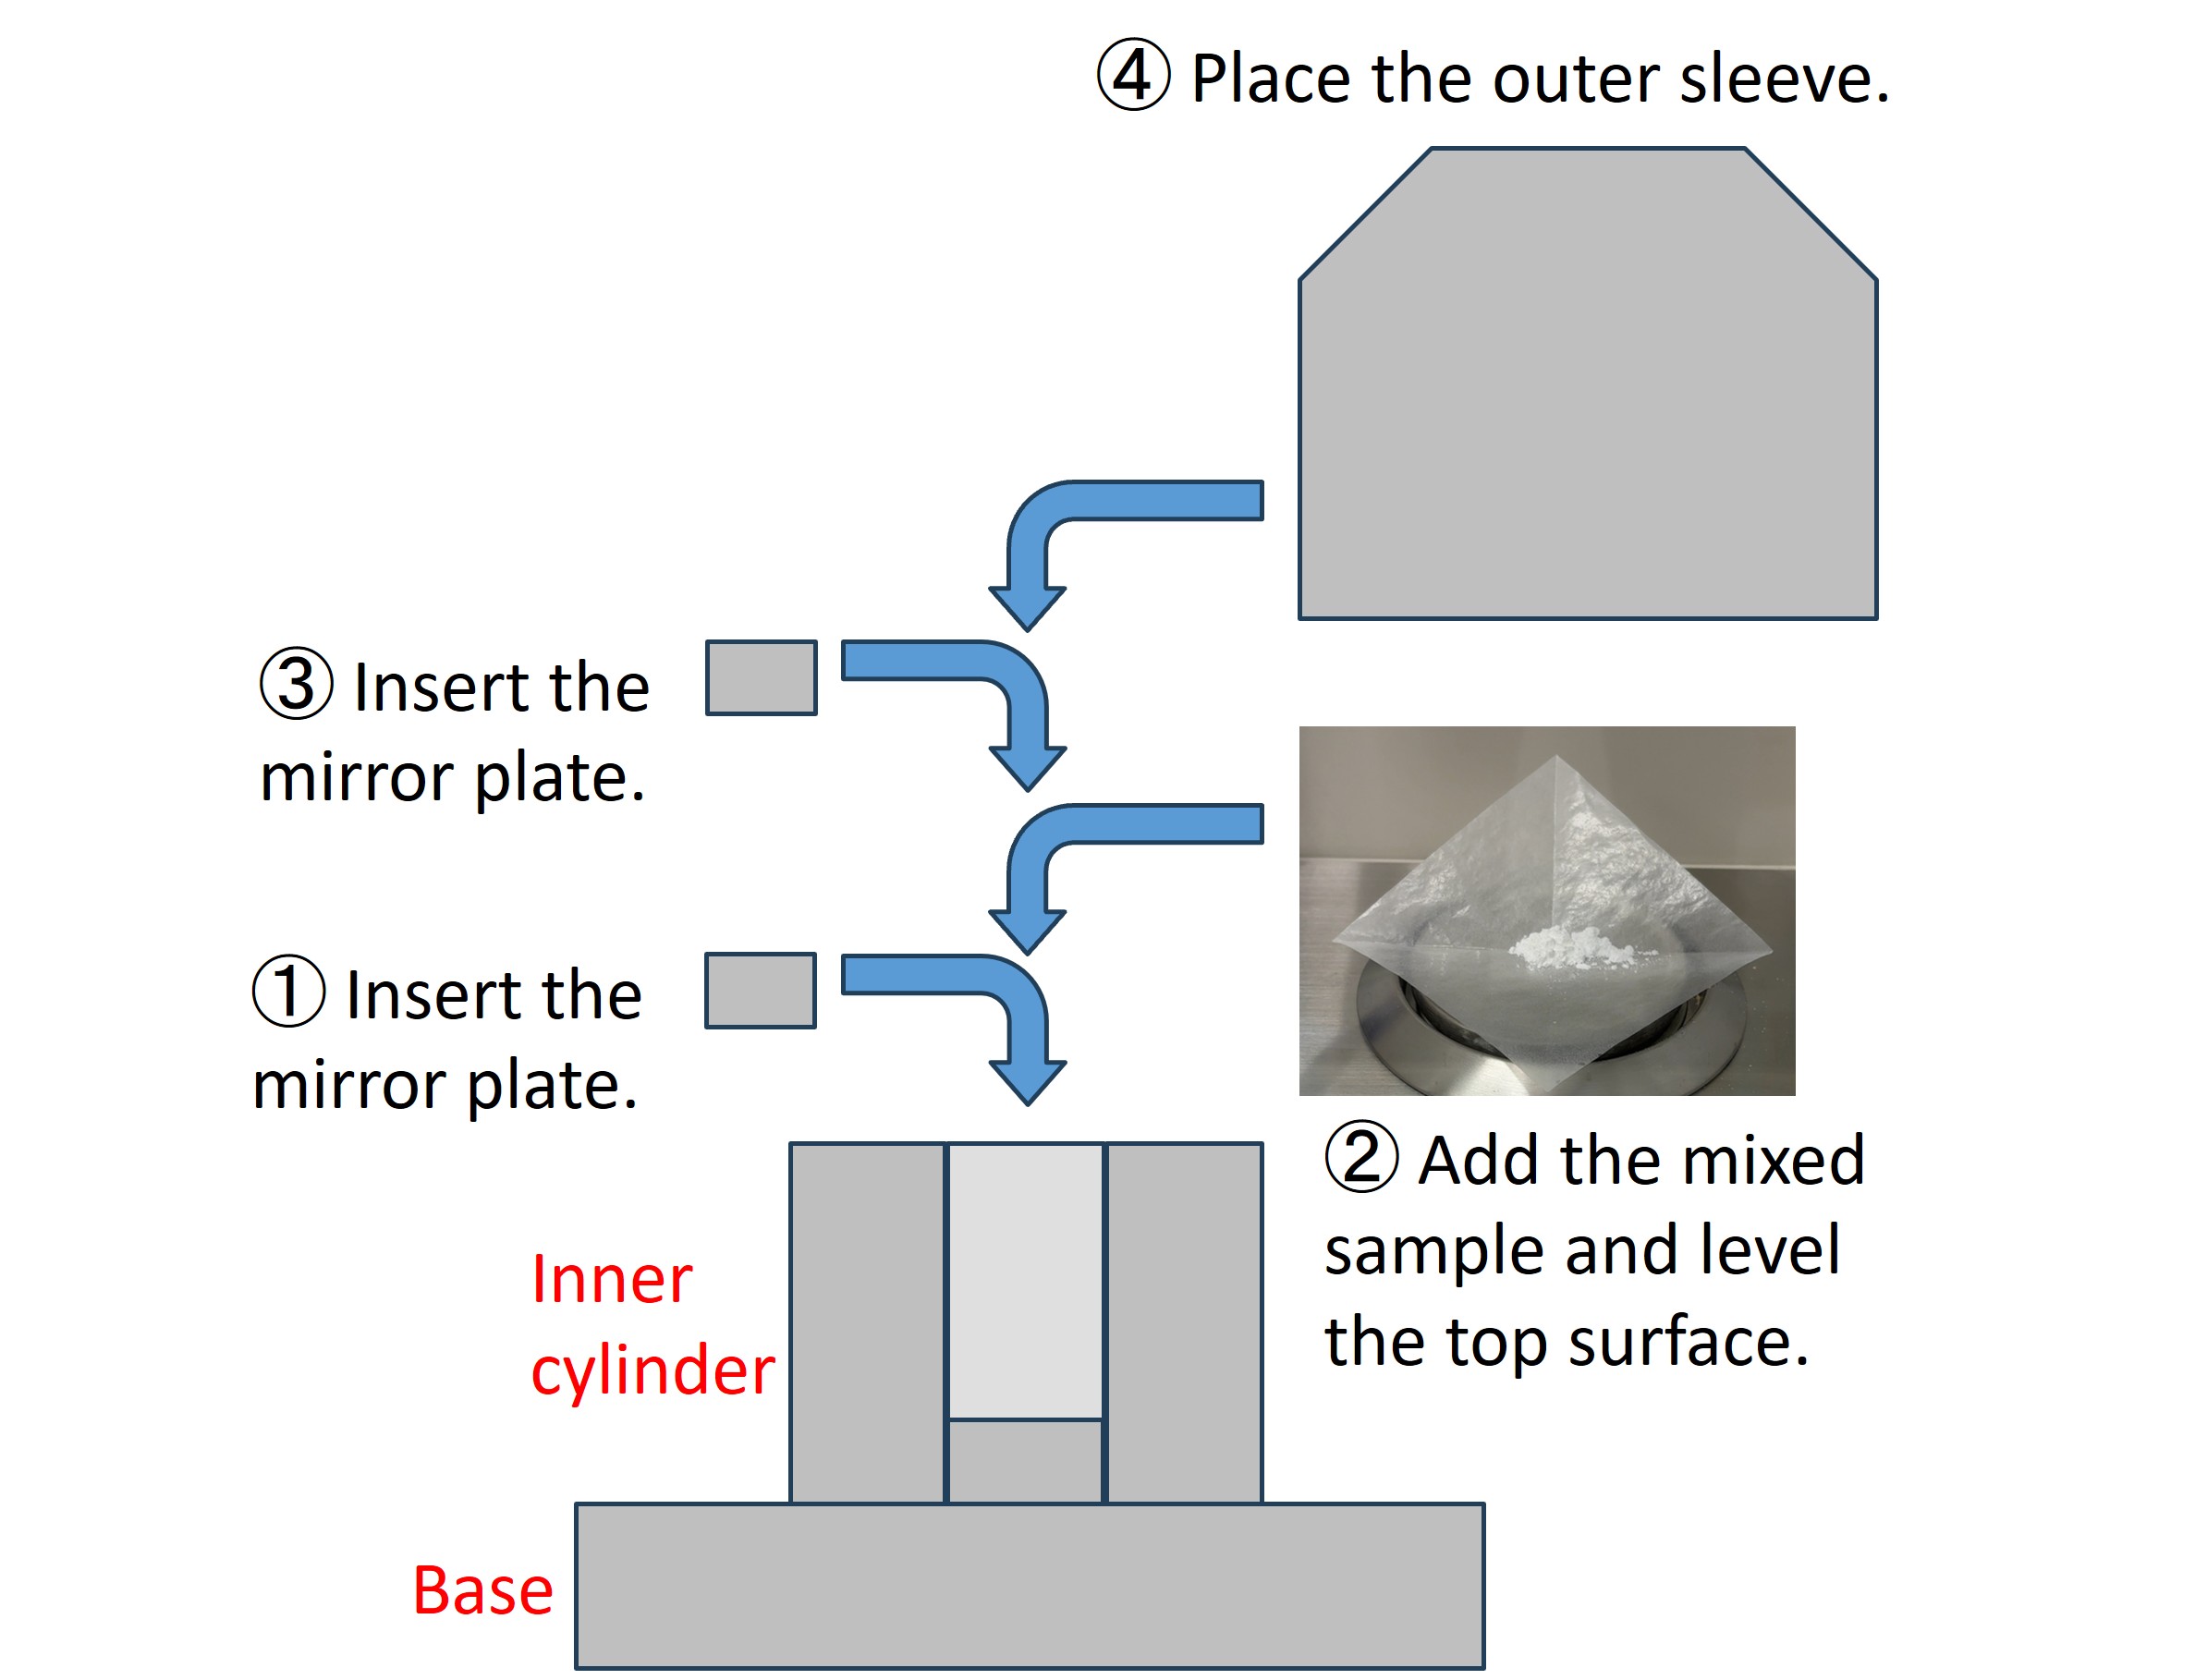
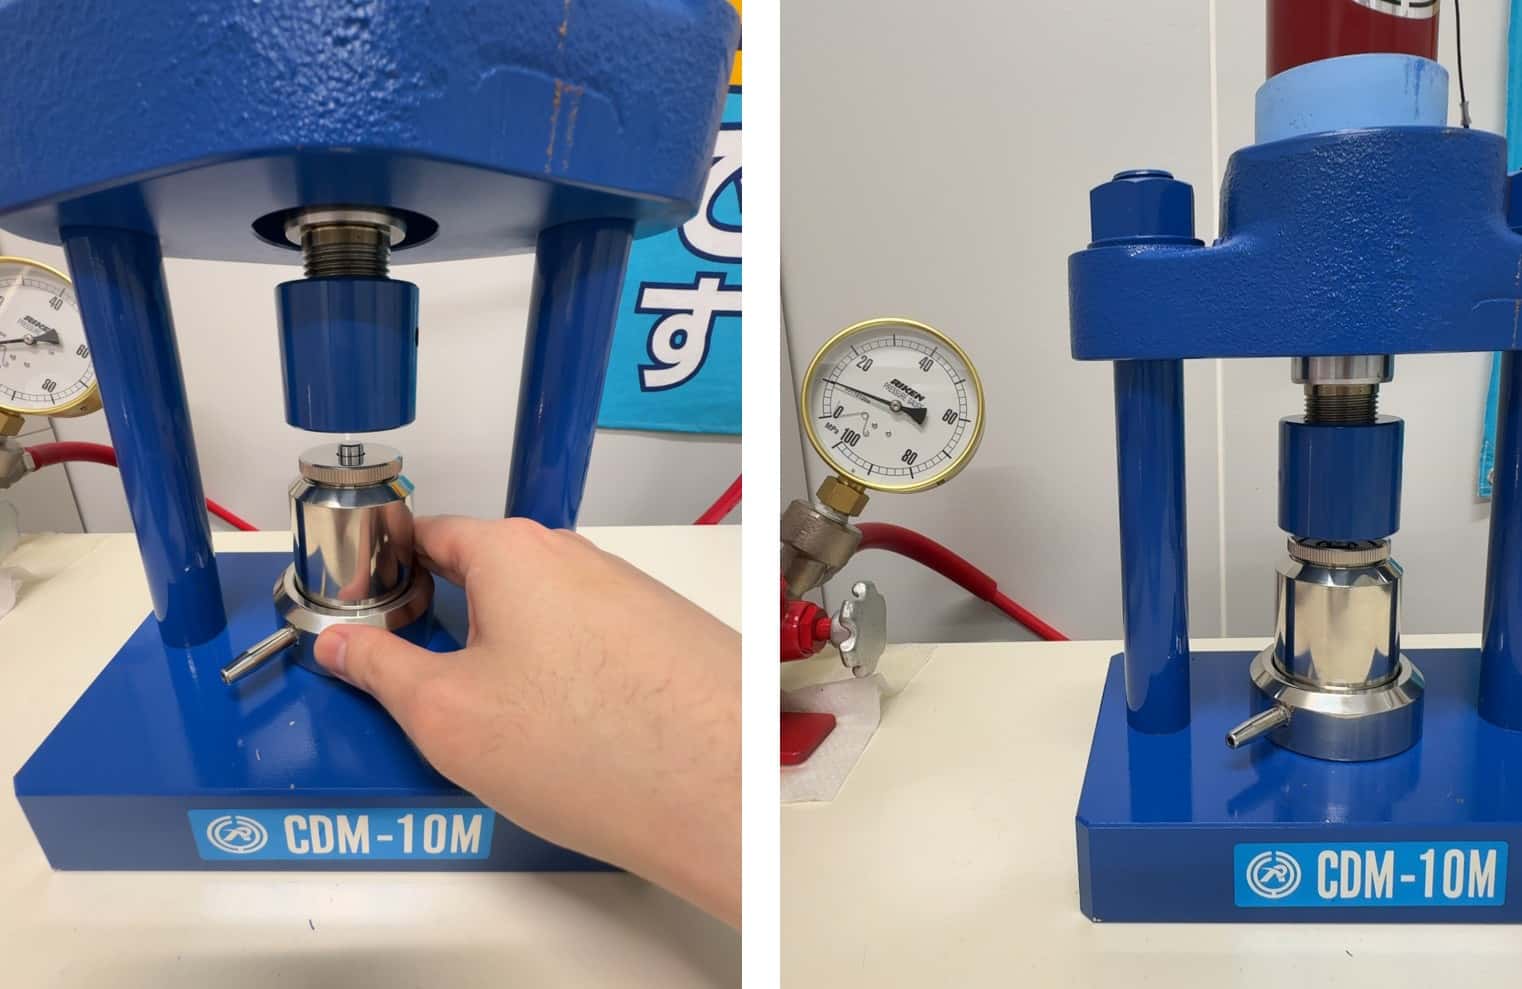
4
Apply pressure using a hydraulic press.
Example: Diameter: 10 mm, Thickness: 1 mm ⇒ Pressure: 10 MPa, Pressing time: 10 minutes
*Adjust conditions as appropriate for the sample used.
*Adjust conditions as appropriate for the sample used.
5
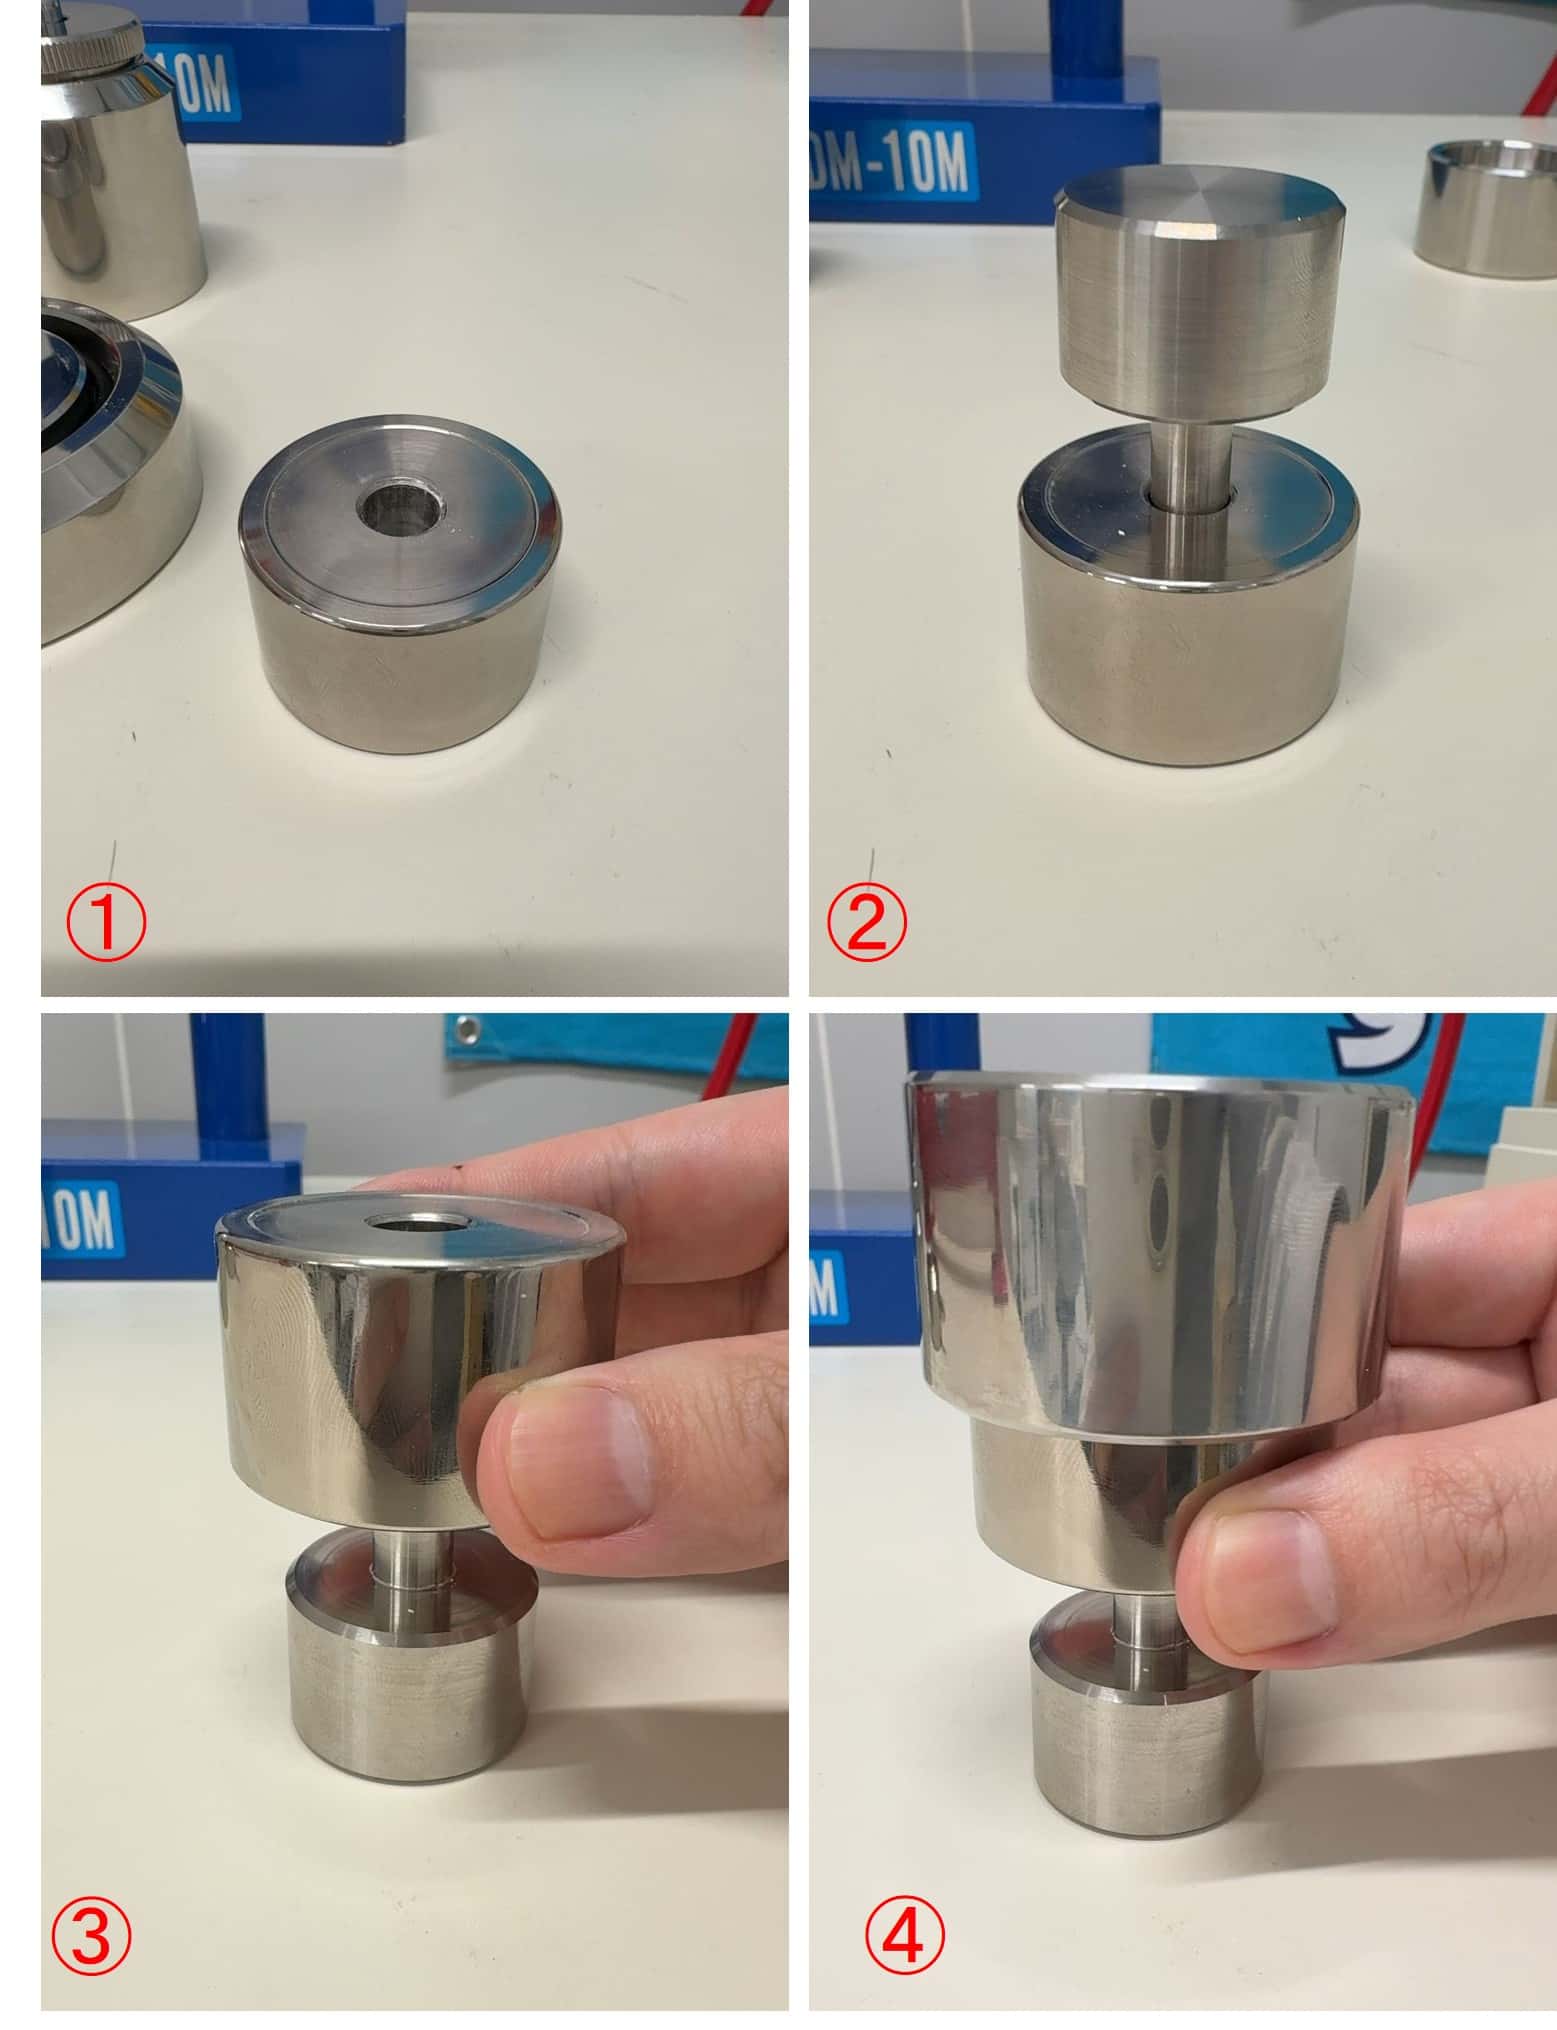
Reconfigure the pellet die set.
① Remove the outer sleeve and base, leaving only the inner cylinder.
② Insert the ejector rod into the top of the inner cylinder.
③ Holding both the ejector rod and inner cylinder, carefully invert the assembly vertically.
④ While holding the inner cylinder in place, attach the sample holder.
② Insert the ejector rod into the top of the inner cylinder.
③ Holding both the ejector rod and inner cylinder, carefully invert the assembly vertically.
④ While holding the inner cylinder in place, attach the sample holder.
6
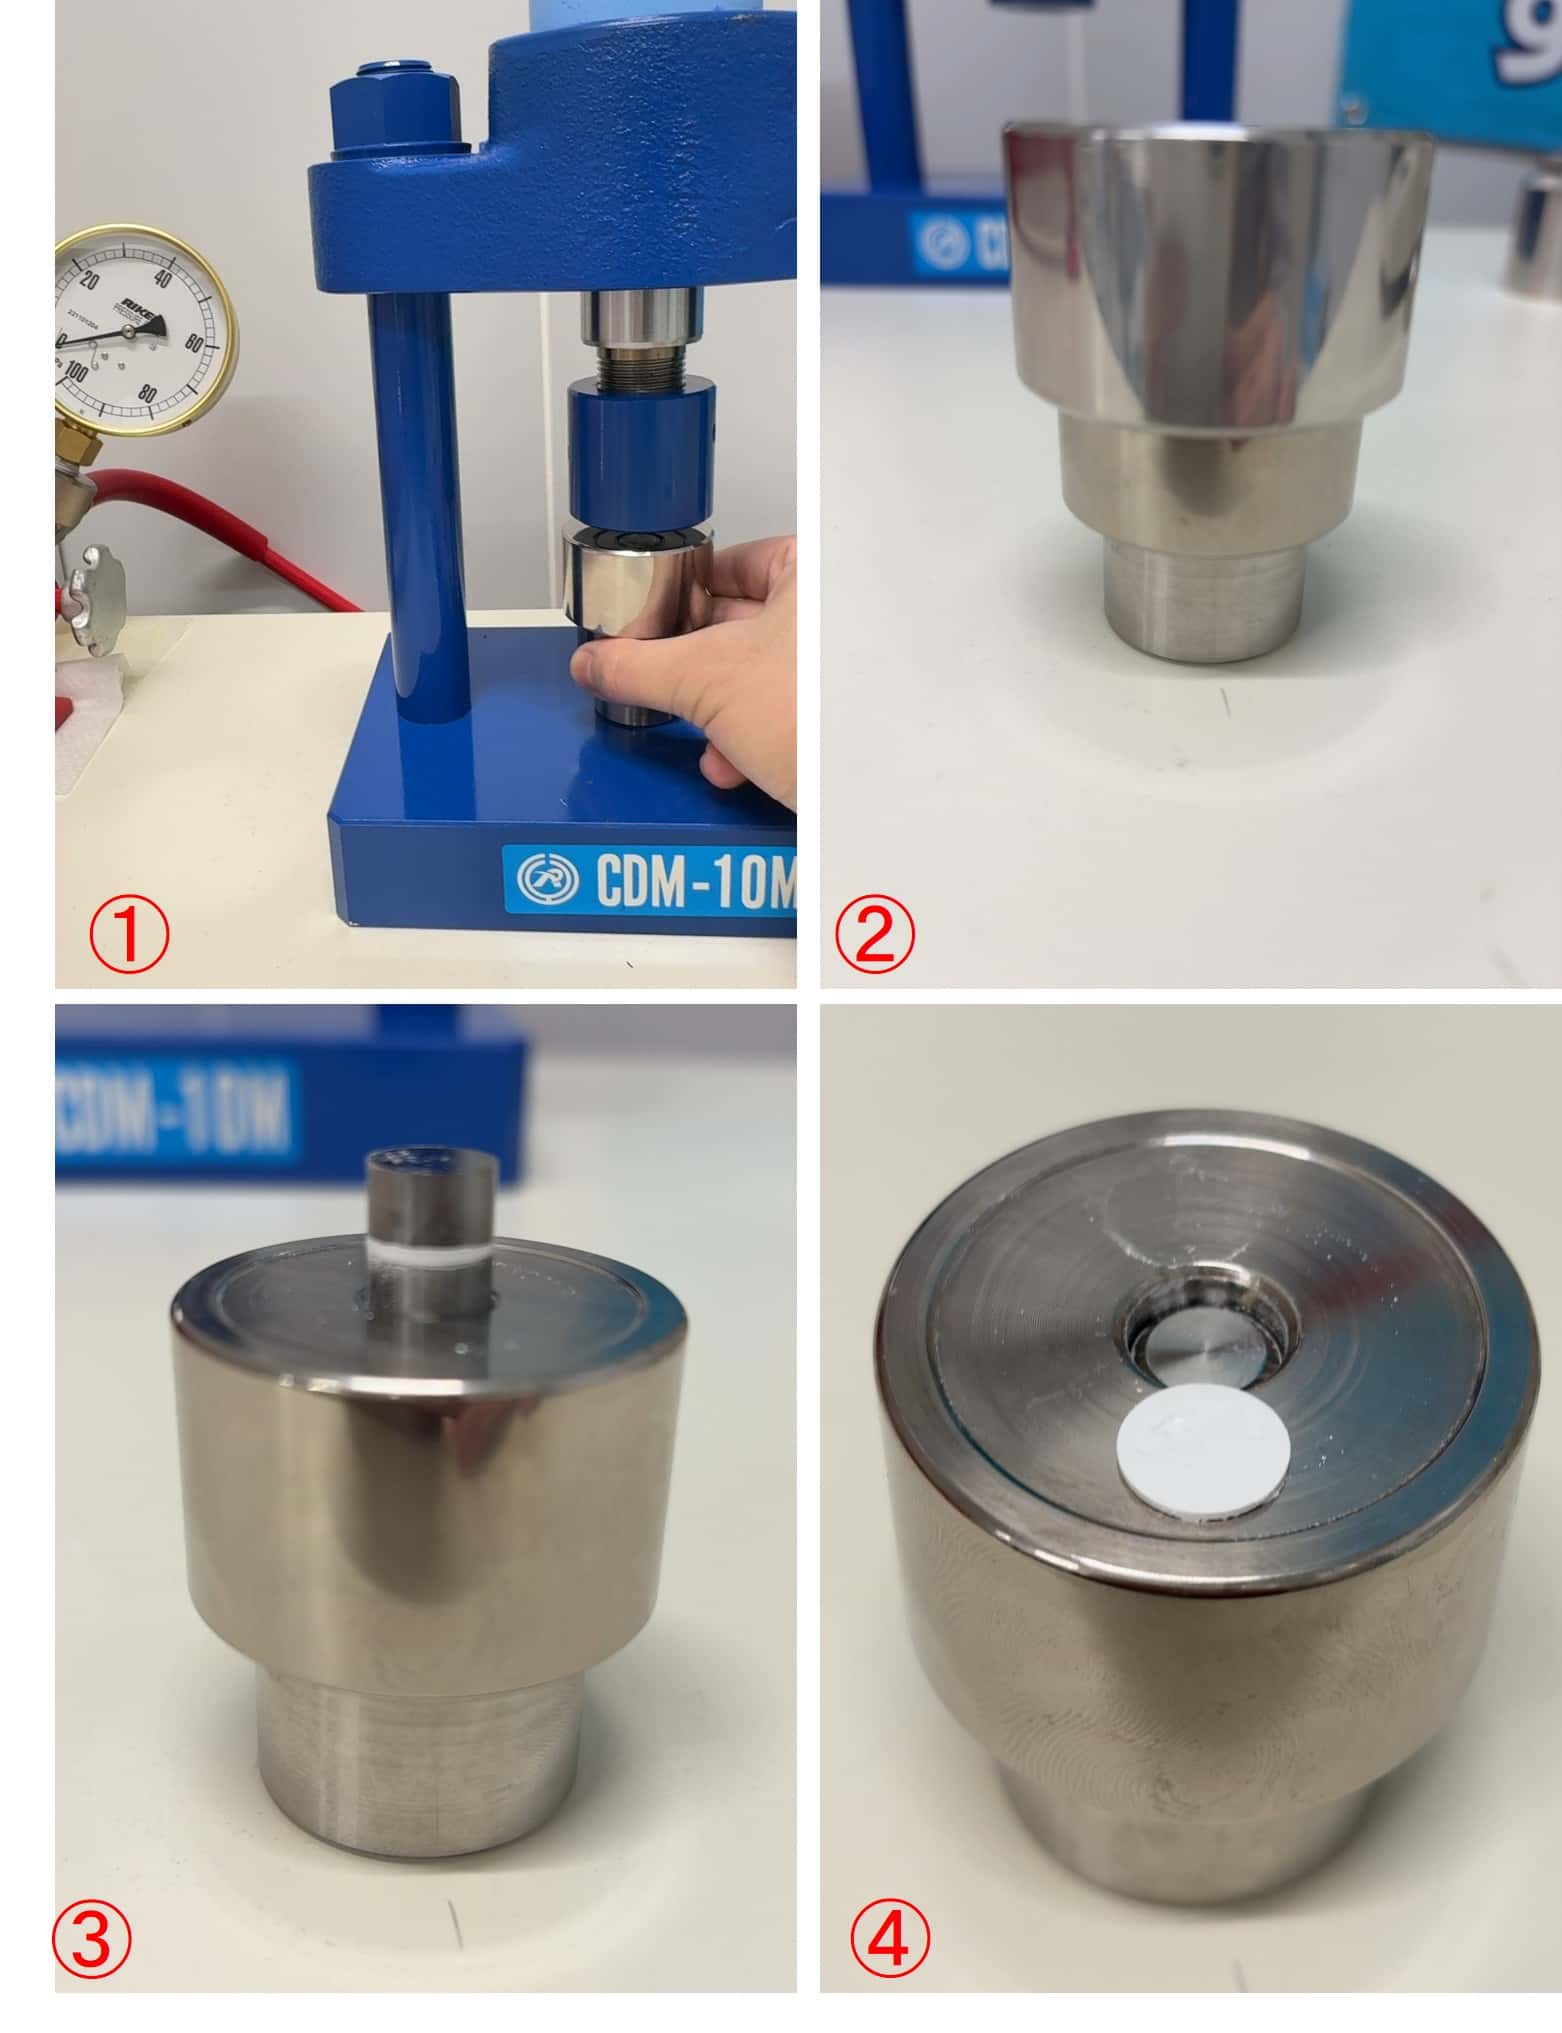
Remove the pellet from the pellet die set.
① While holding the sample holder, apply slight pressure using the hydraulic press to gently push it in.
② Release the pressure and remove the pellet die set from the hydraulic press.
③ Remove the sample holder. The pellet positioned between the mirror plates is exposed.
④ Carefully remove the mirror plates to avoid cracking the pellet.
② Release the pressure and remove the pellet die set from the hydraulic press.
③ Remove the sample holder. The pellet positioned between the mirror plates is exposed.
④ Carefully remove the mirror plates to avoid cracking the pellet.
7
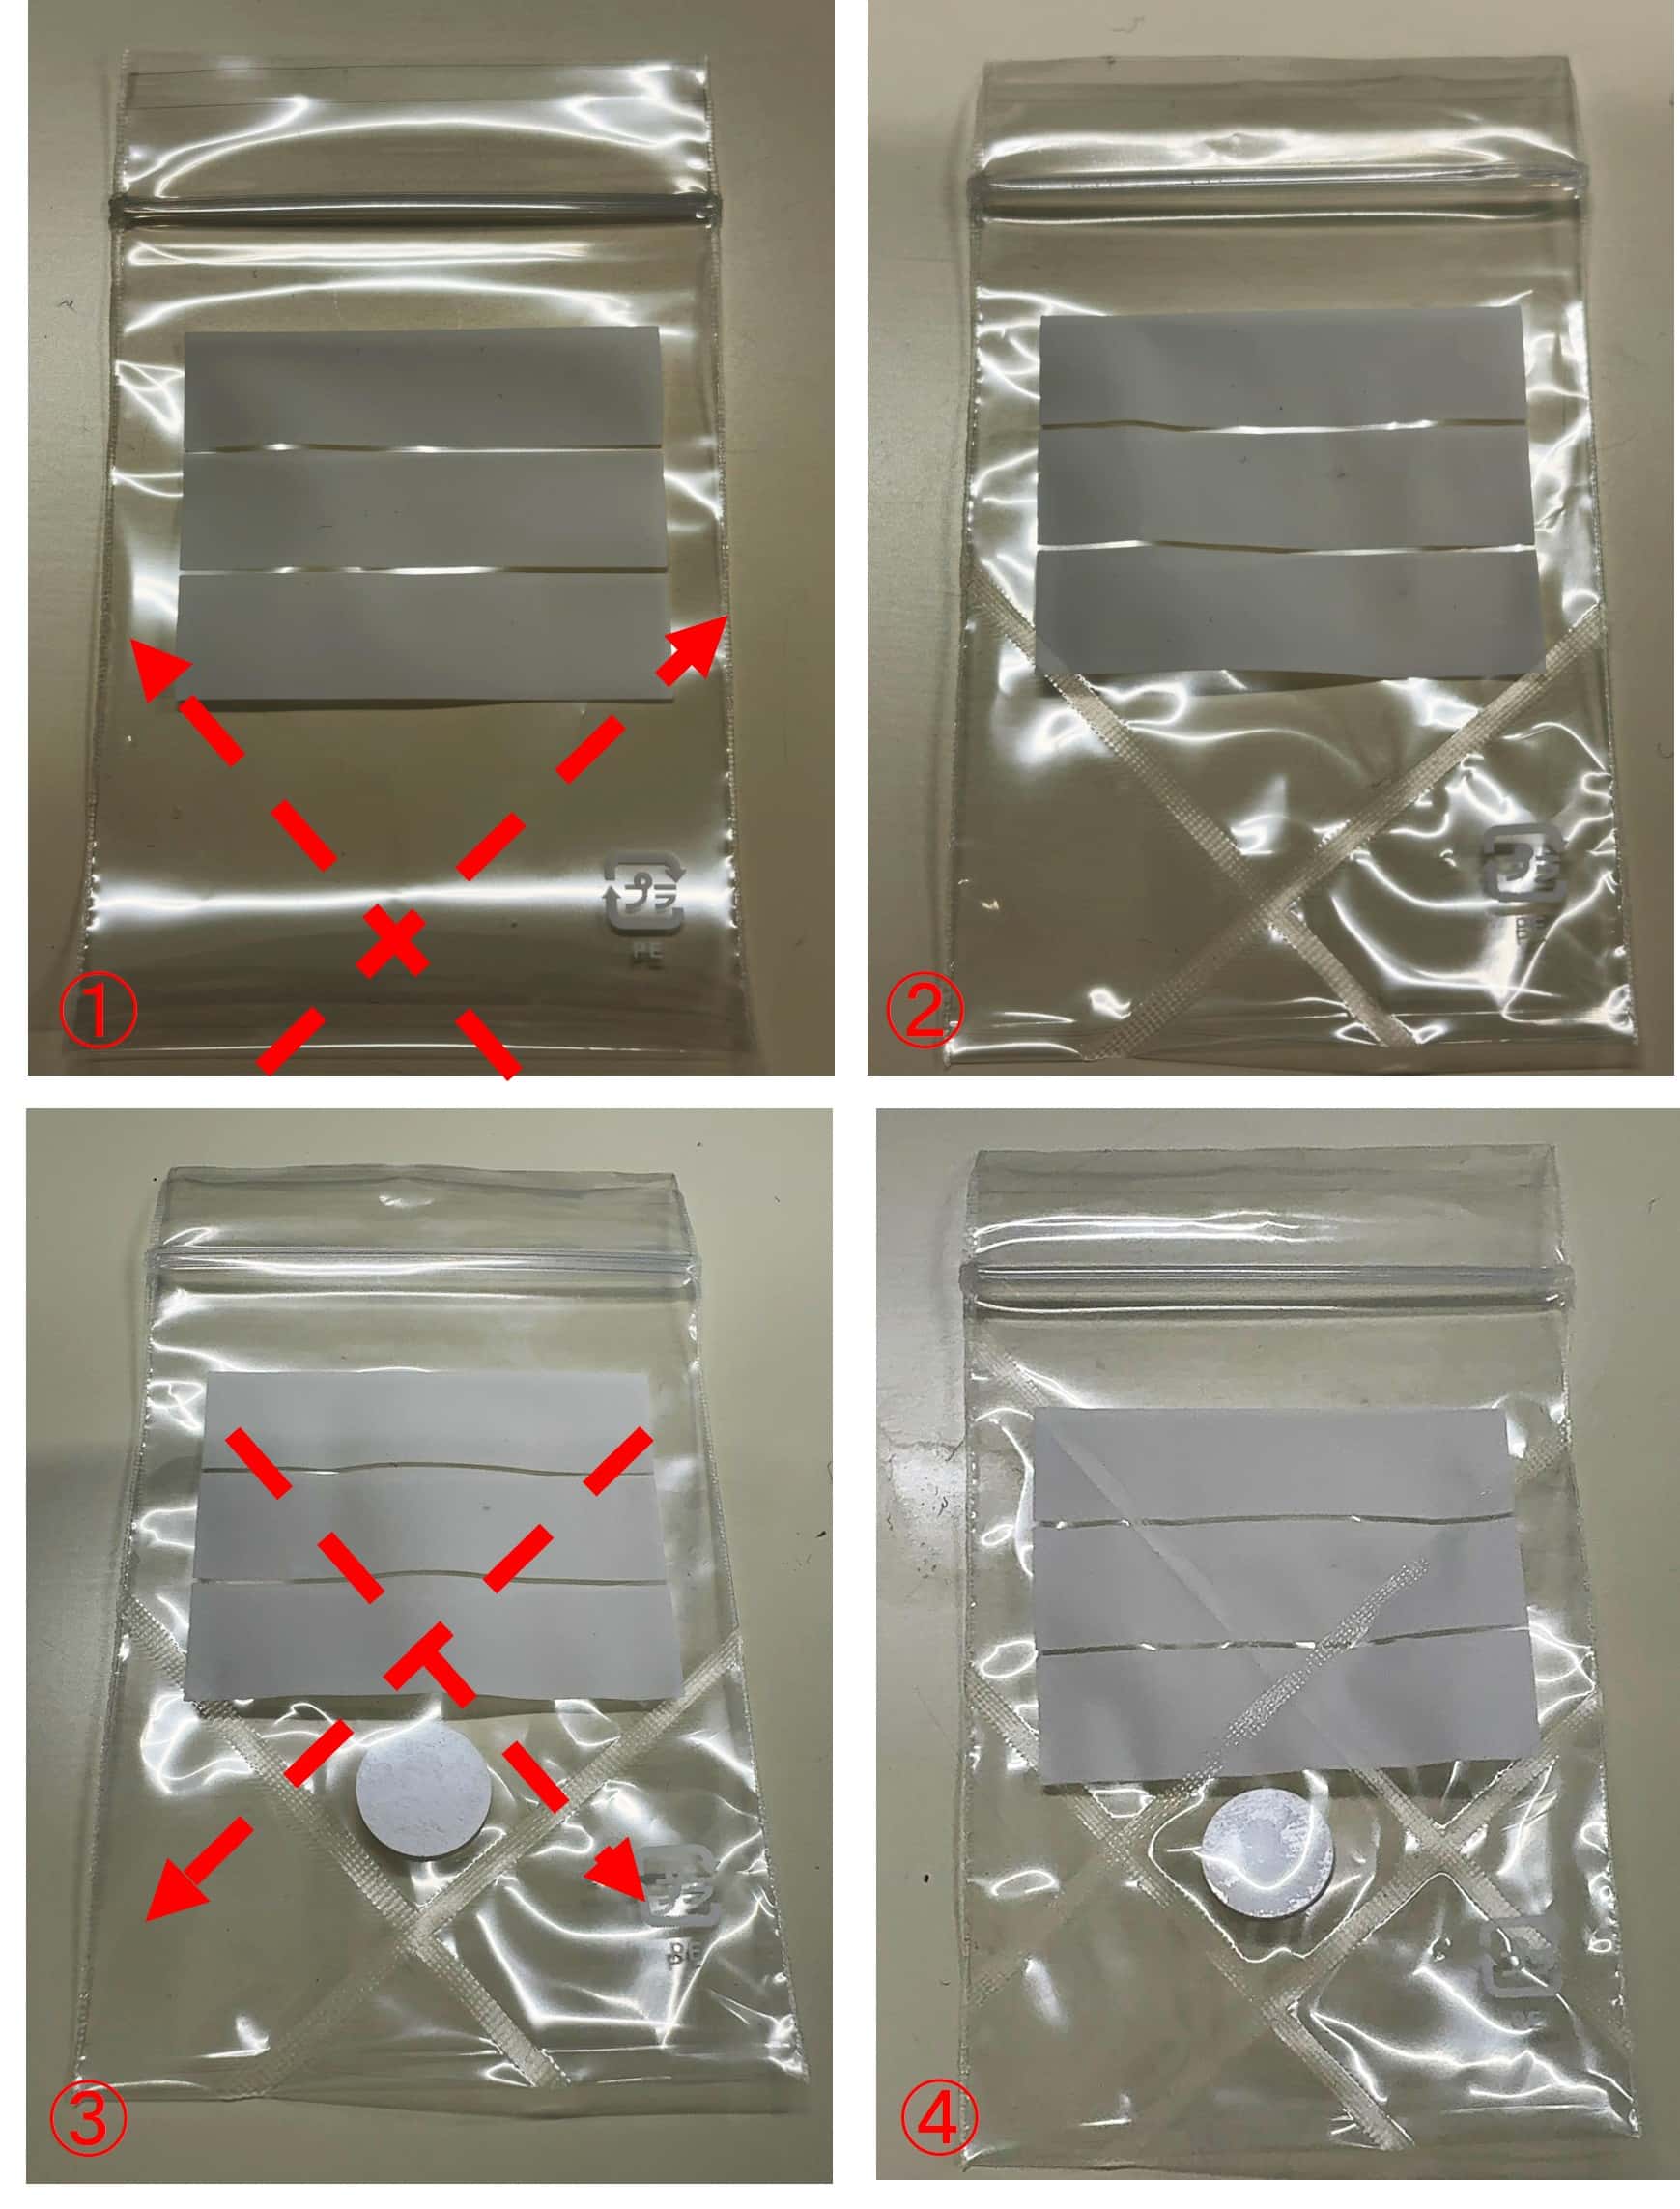
Pellet Packaging
① Seal the lower half of the opening using a heat sealer.
② Place the pellet inside.
③ Seal the upper half of the opening.
④ Final setup.
② Place the pellet inside.
③ Seal the upper half of the opening.
④ Final setup.
Liquid Samples
Required Materials
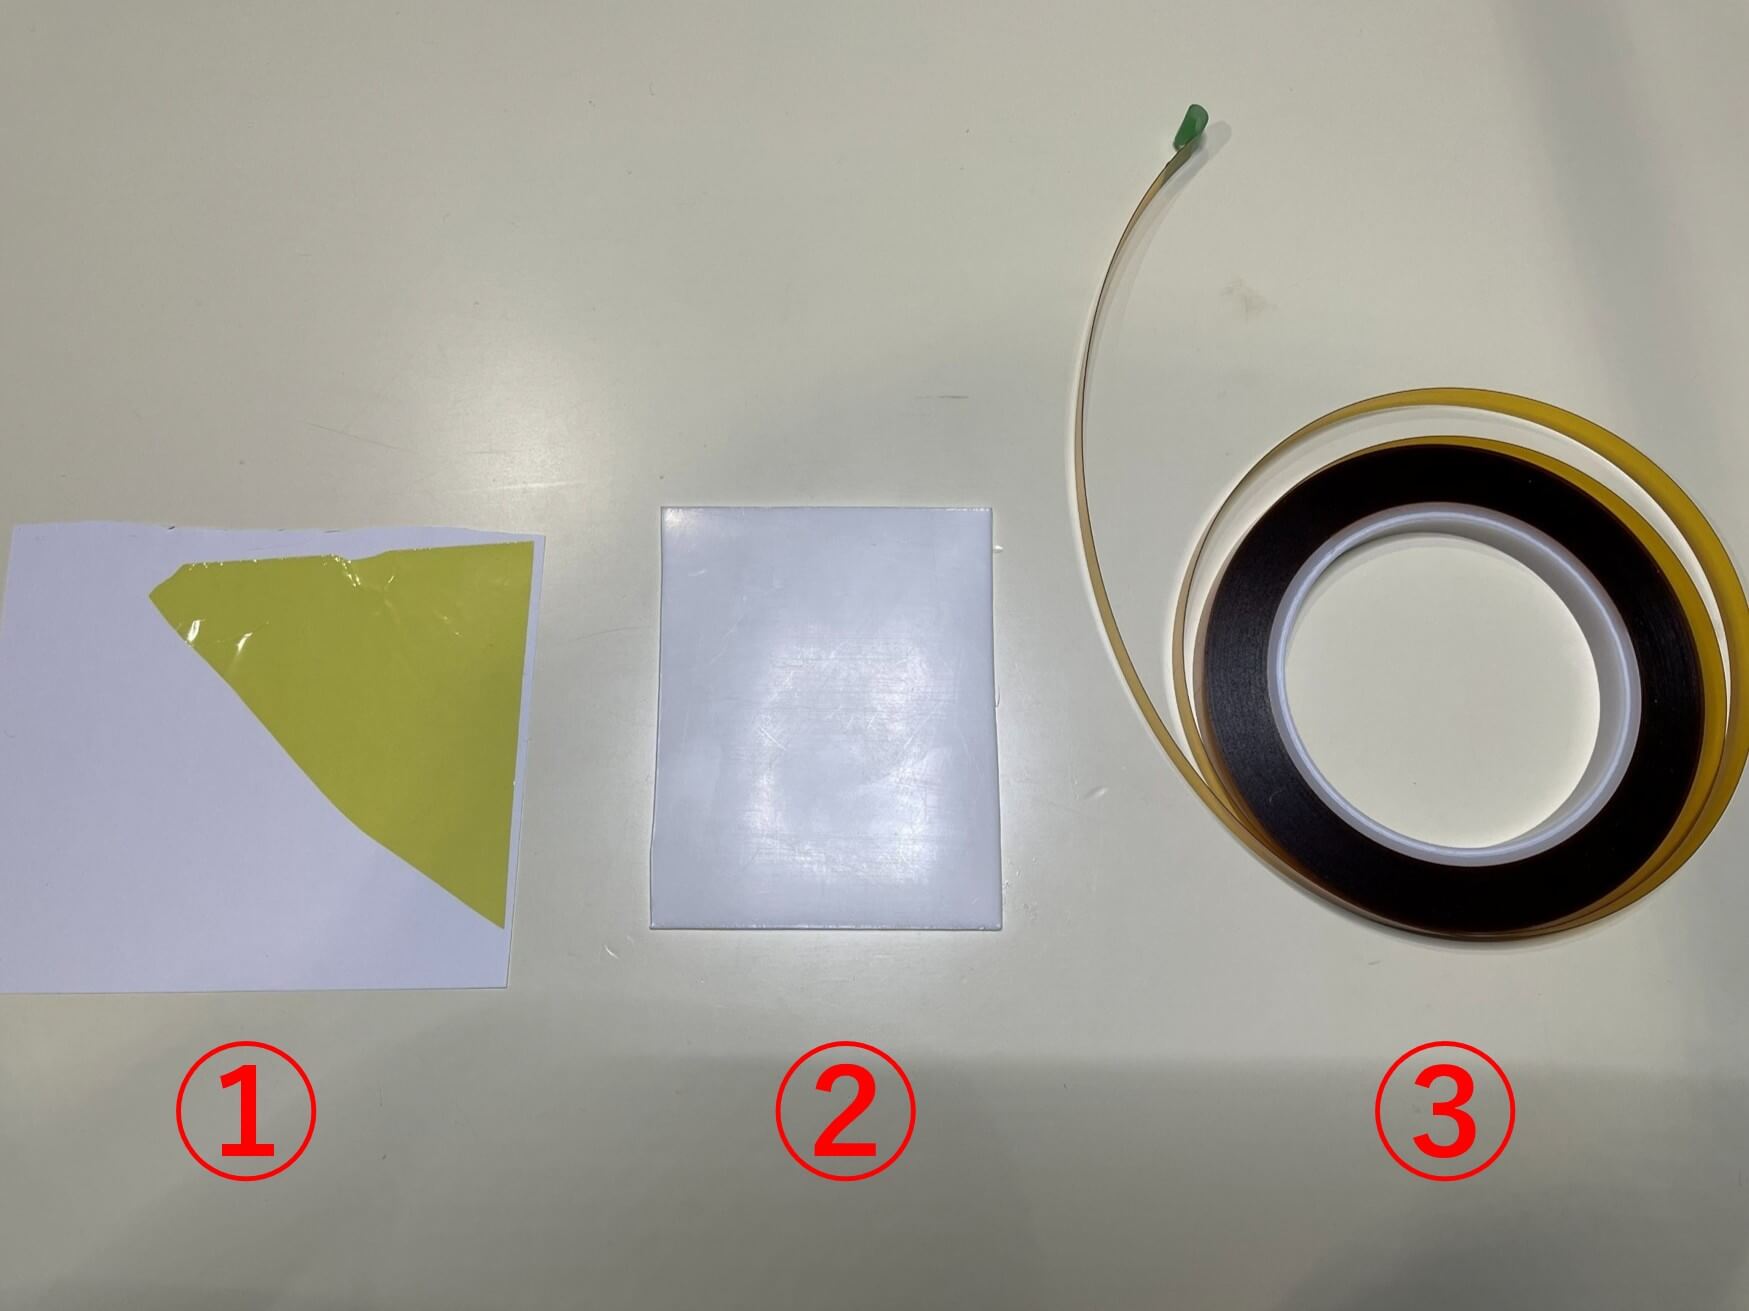
Films
① Kapton film: 5μm
② Teflon film: 1.0mm
③ Double-sided Kapton tape: 145μm
② Teflon film: 1.0mm
③ Double-sided Kapton tape: 145μm
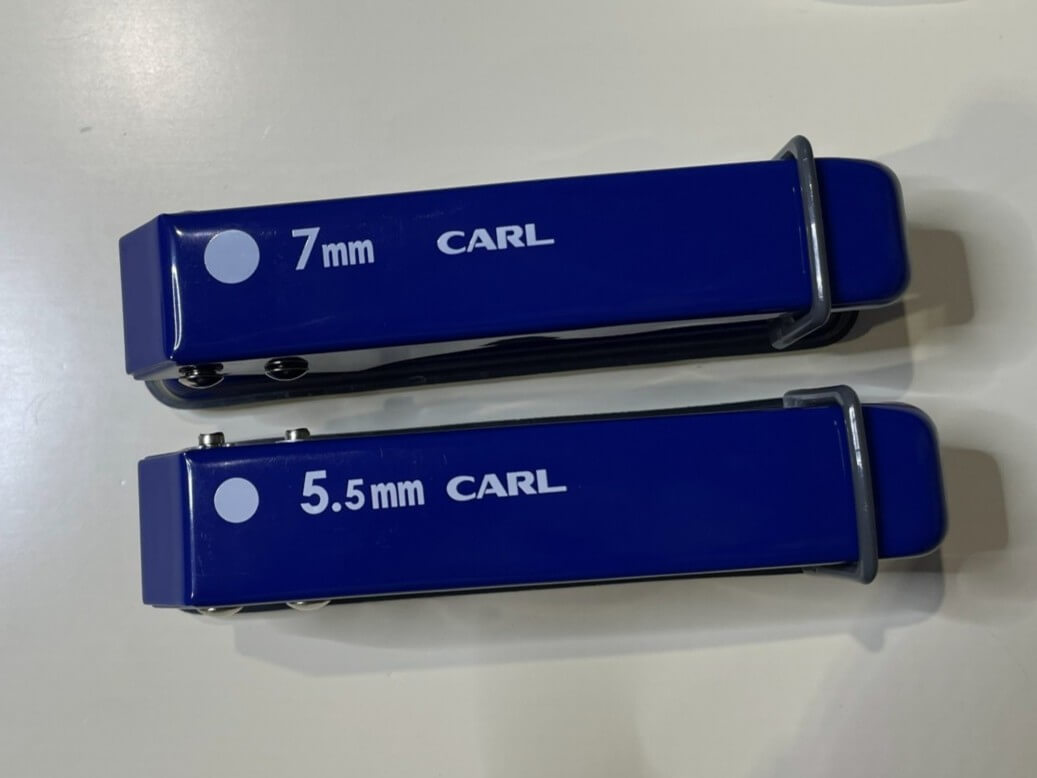
Hole Punch
5.5 or 7 mm diameter
*Sizes are for reference only. Adjust as appropriate for the sample used.
1
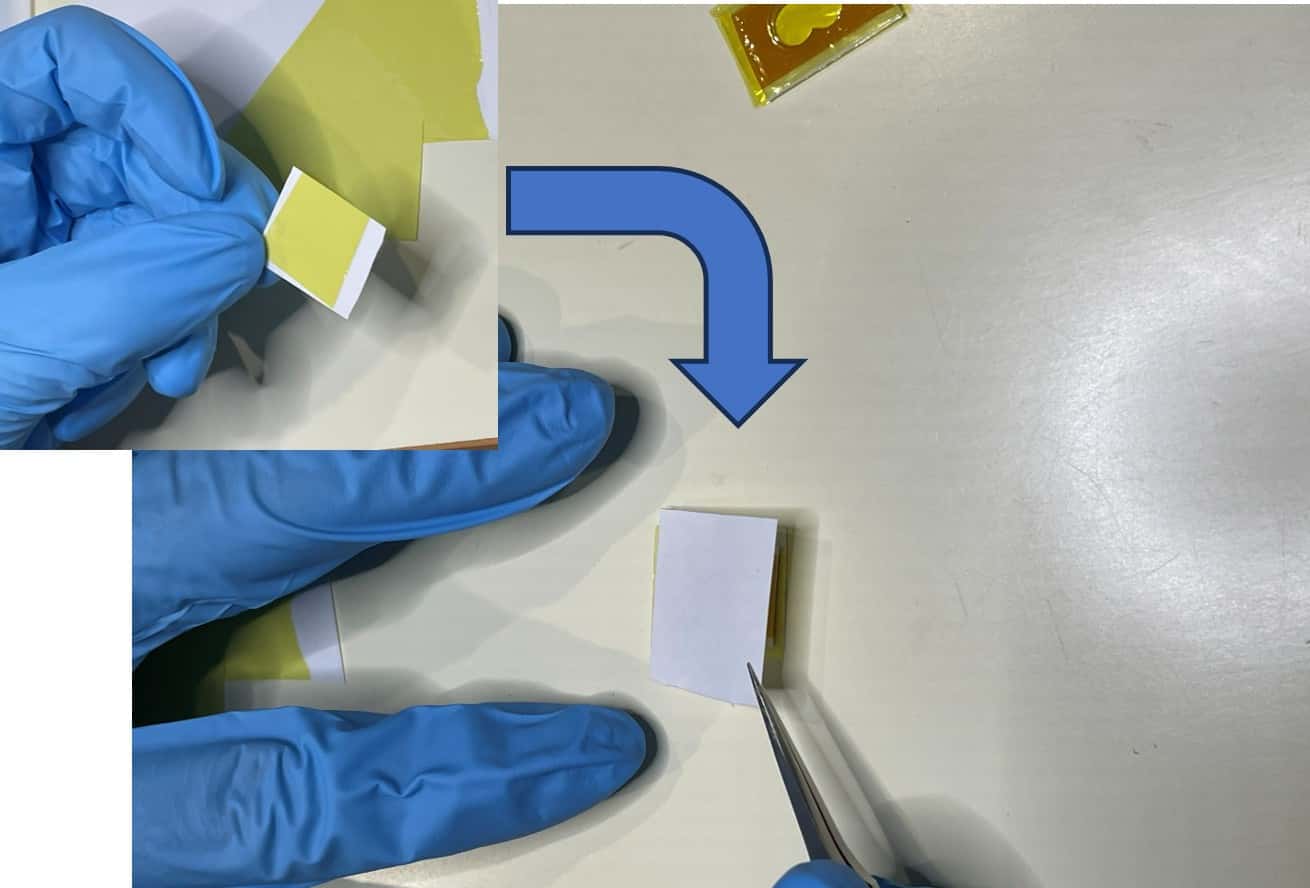
Cut the double-sided Kapton tape into the required size.
2
Peel off the transparent protective film from one side of the Kapton tape.
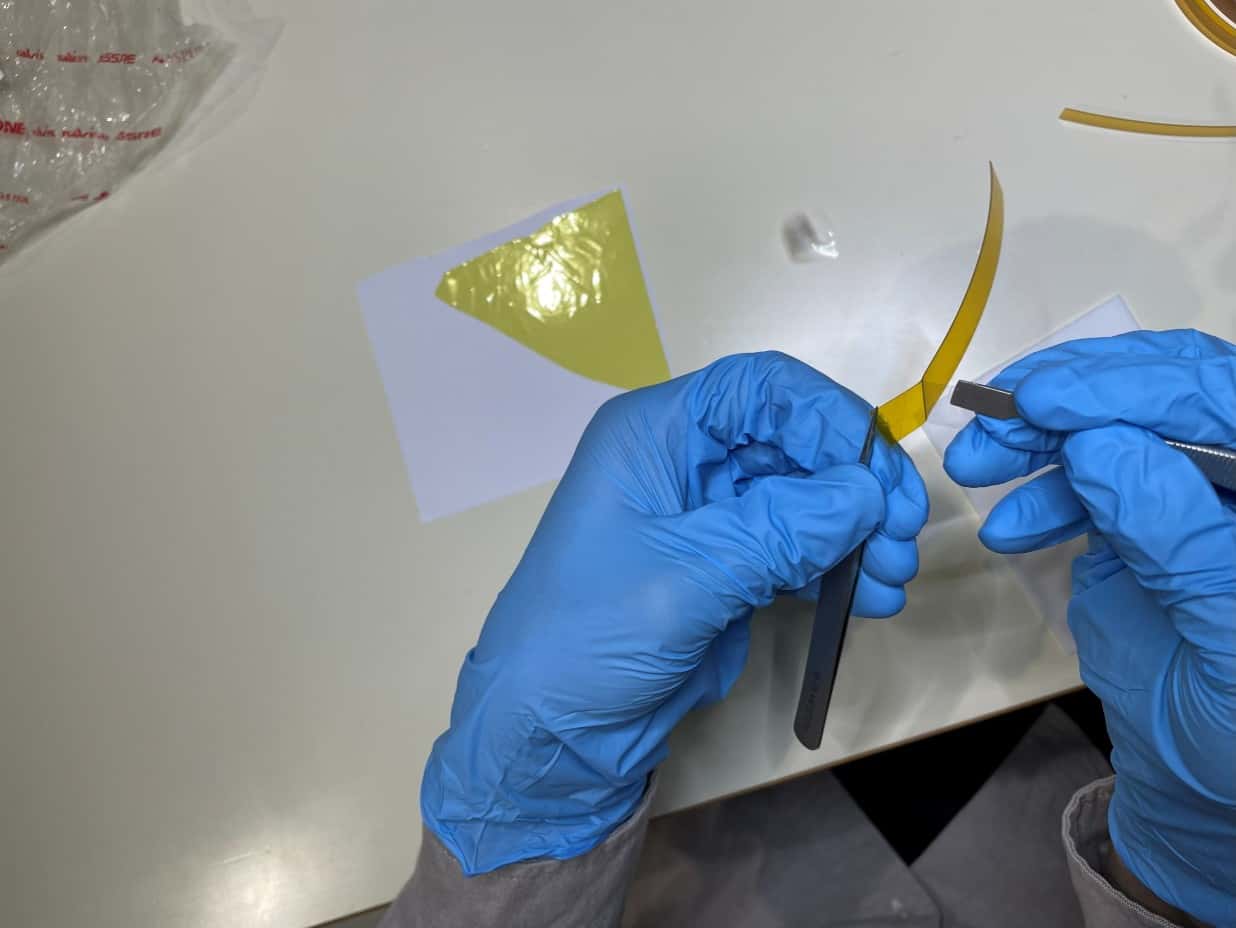
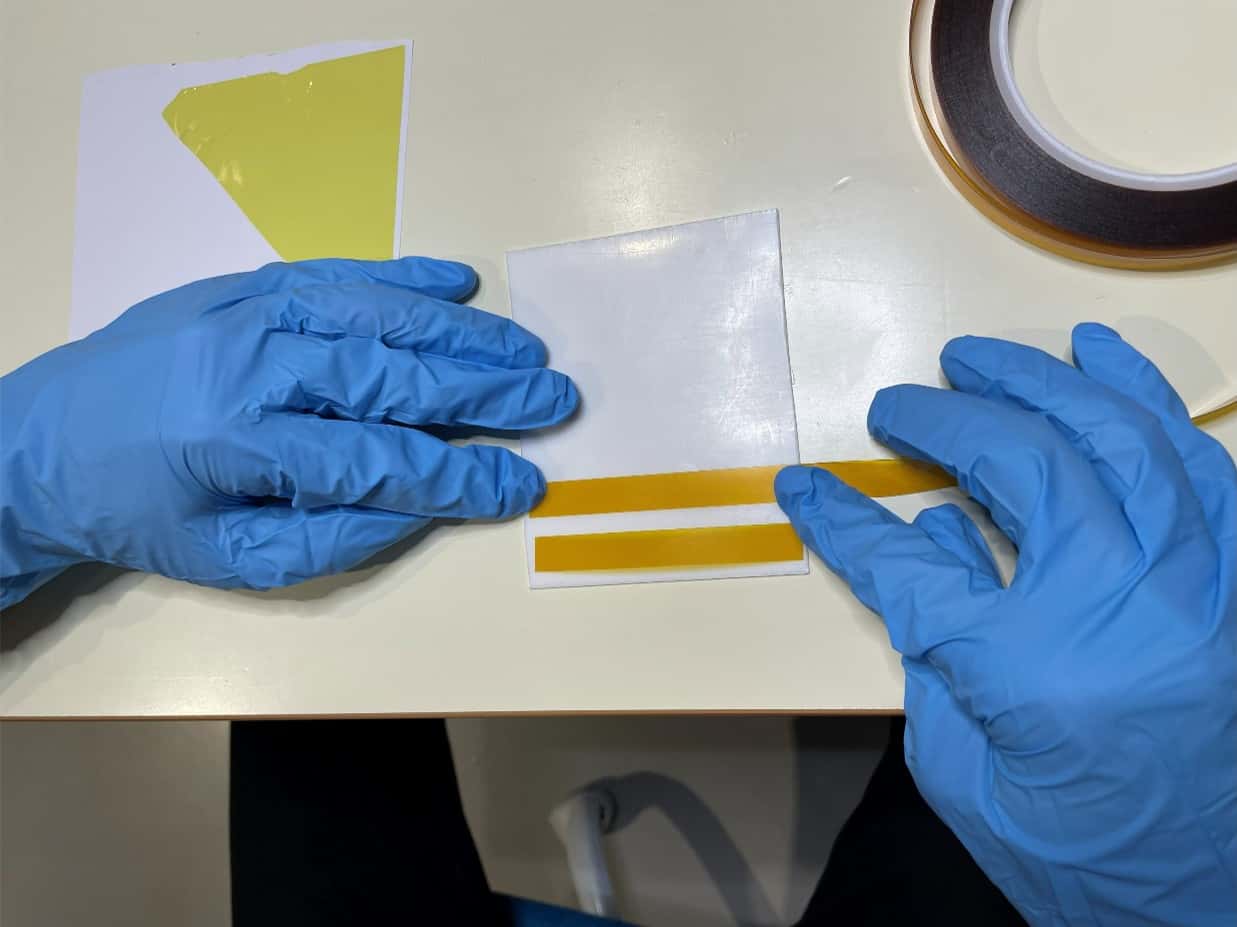
3
Attach the Kapton tape to both sides of the Teflon film.
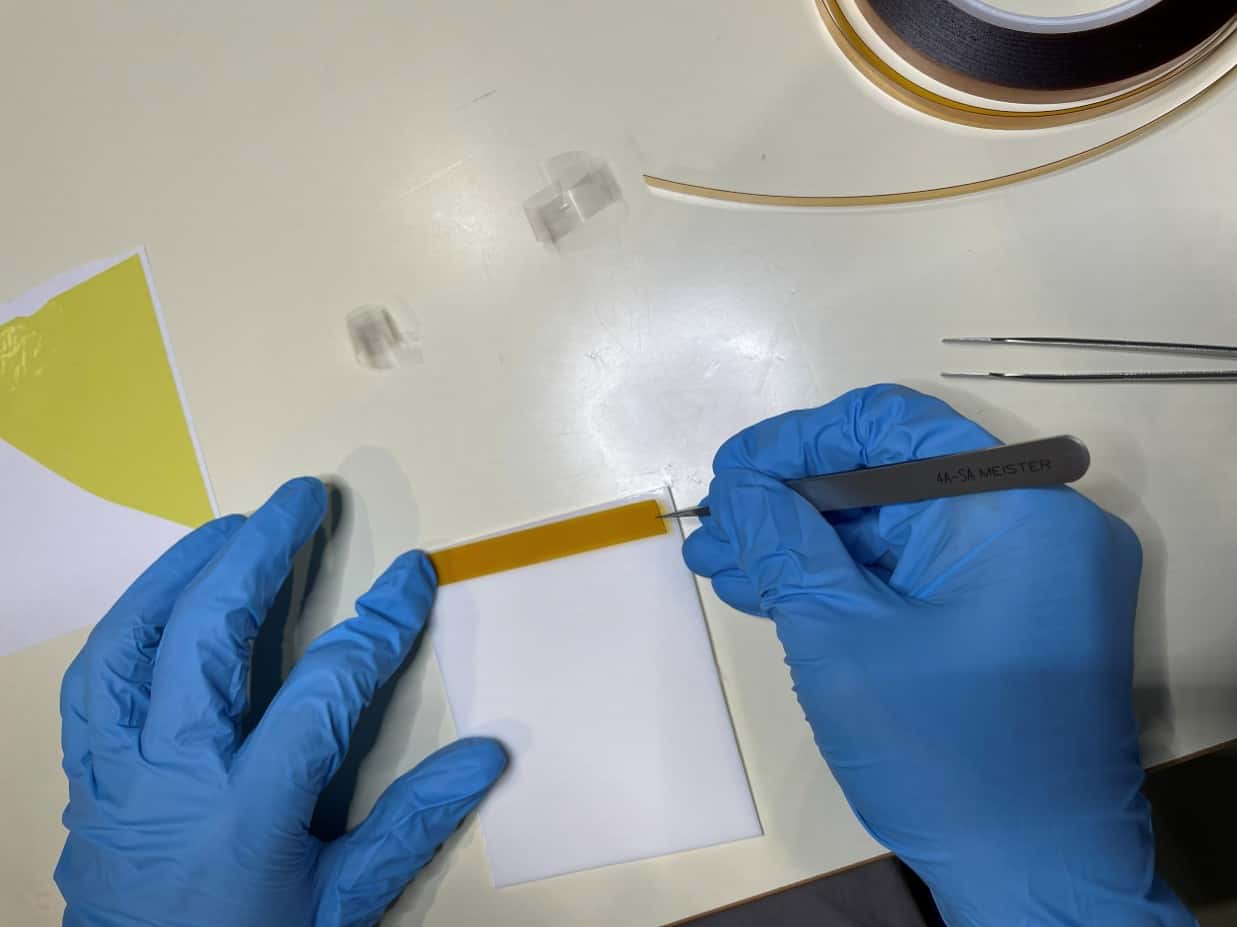
4
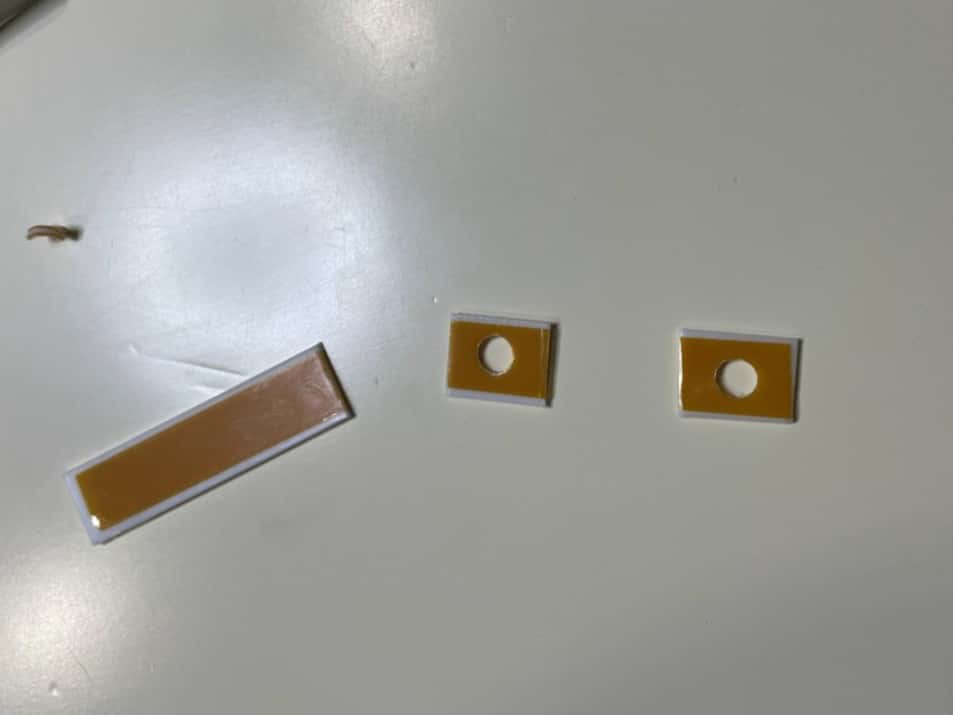
Cut out the Teflon film with the attached Kapton tape to the desired shape.
5
Punch a hole at the center of the Teflon film with attached Kapton tape (snowman-like shape).
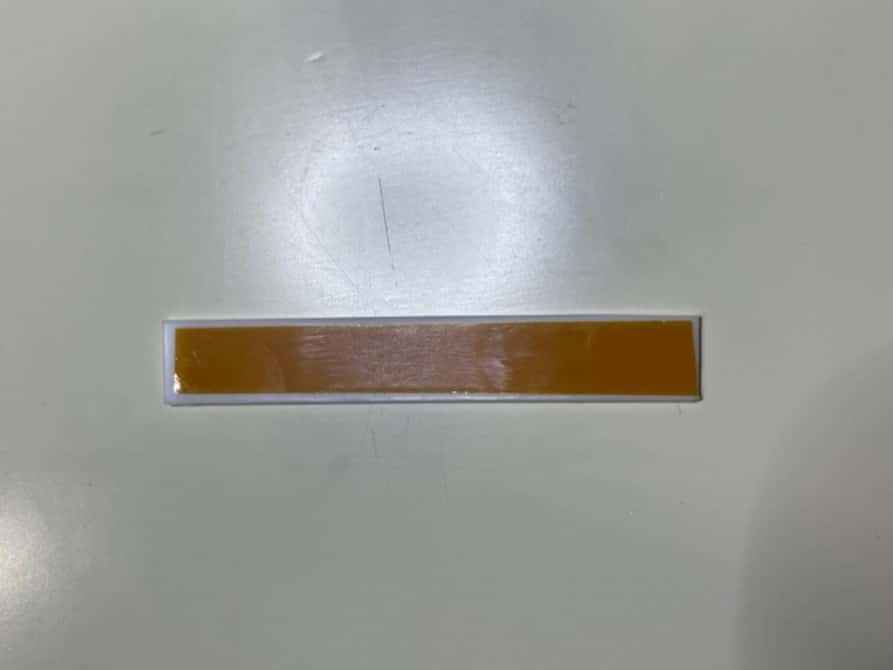
6
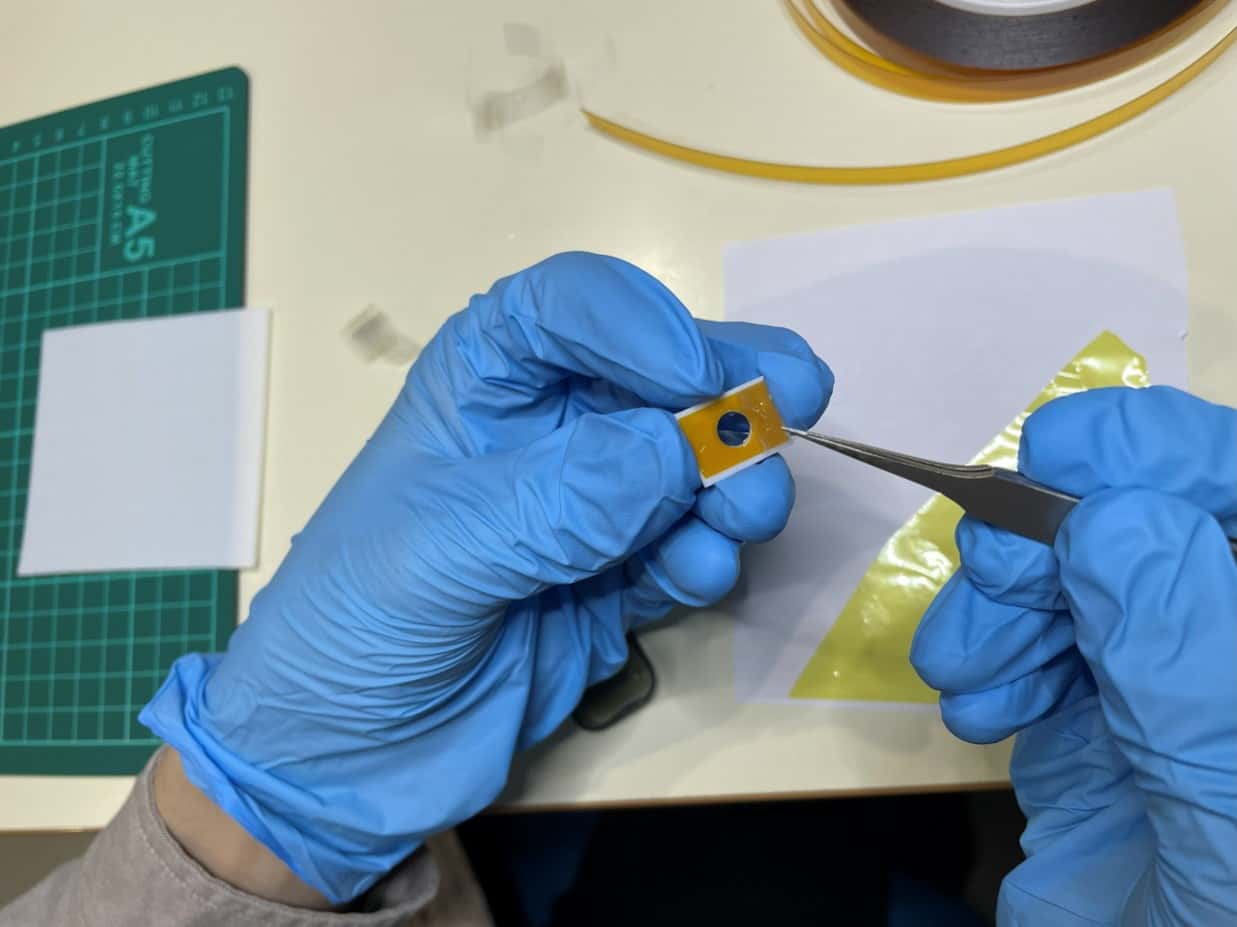
Cut out the cell structure.
7
Peel off the transparent protective film from one side of the Kapton tape on the cell.
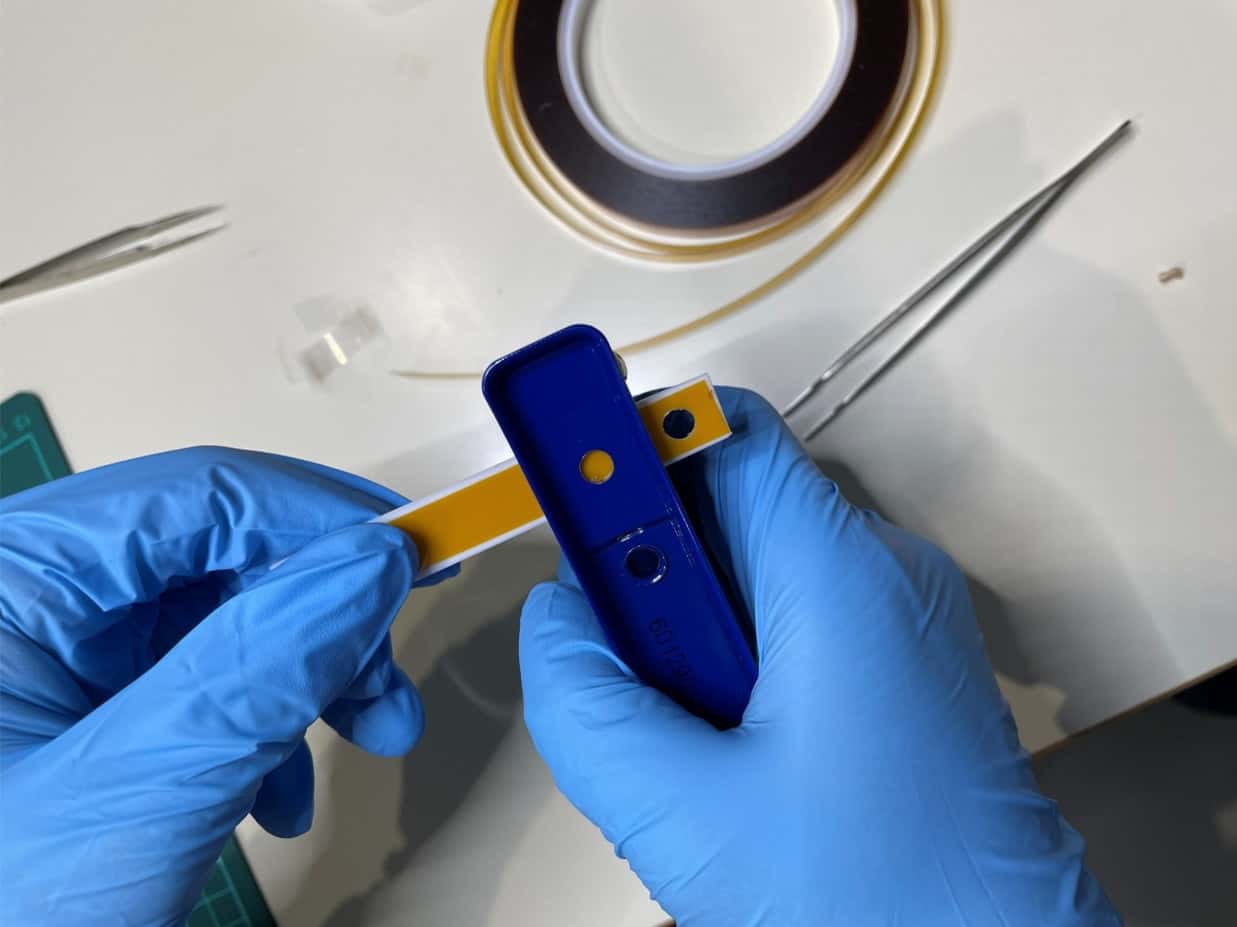
8
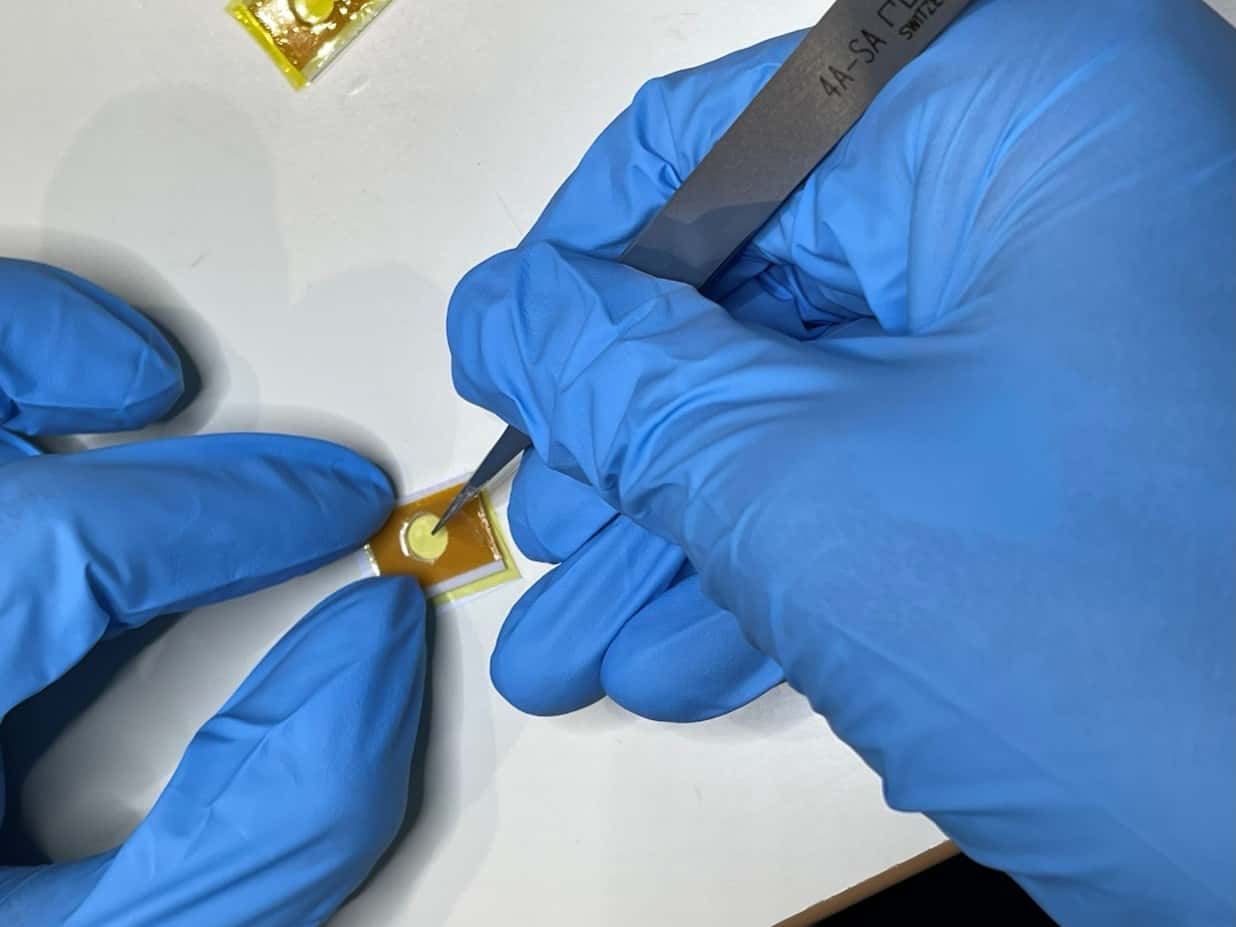
Attach the cell to the Kapton film to complete the empty cell before solution injection.

9
Peel off the remaining transparent protective film from the Kapton tape.
10
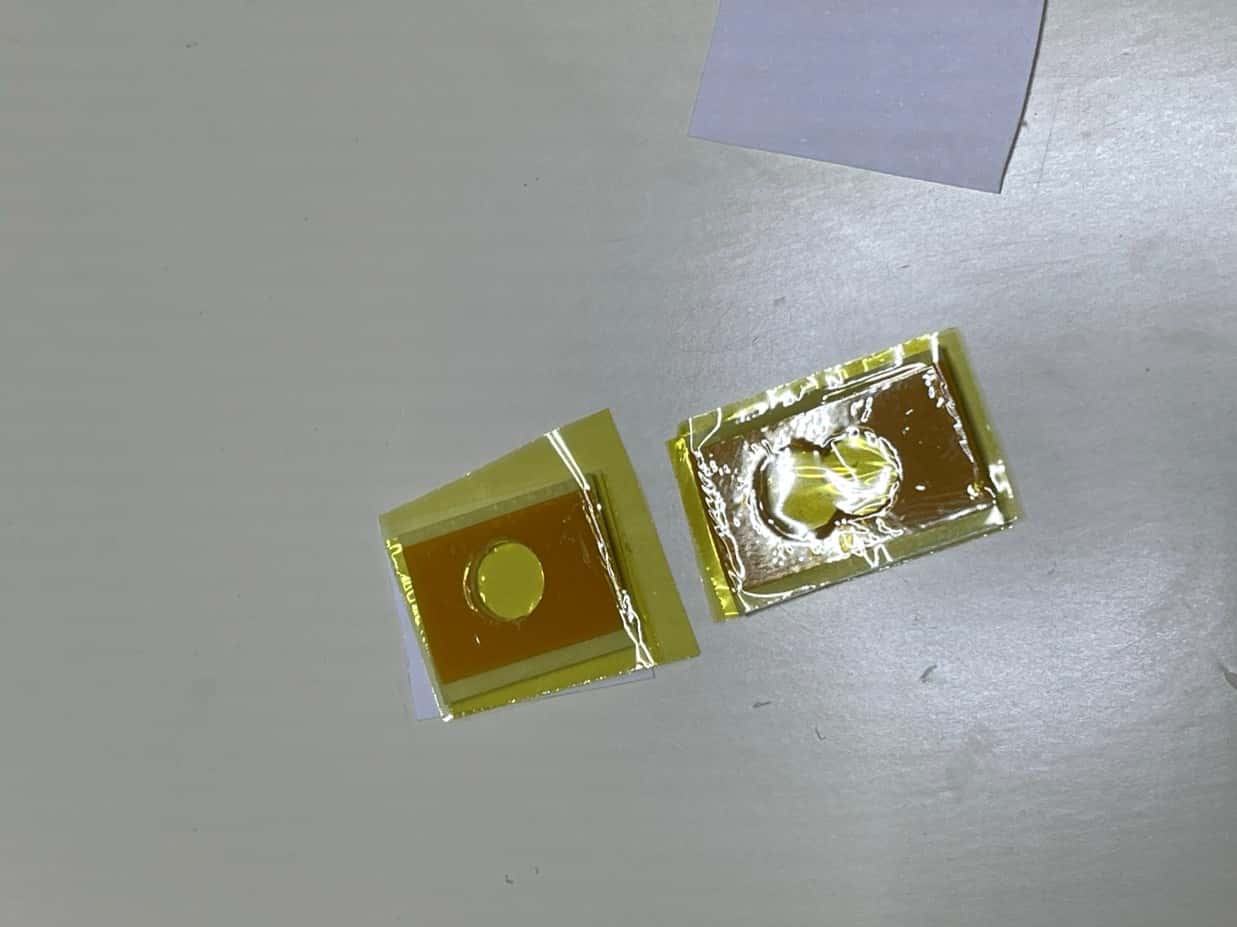
Inject the solution carefully to avoid overflow.
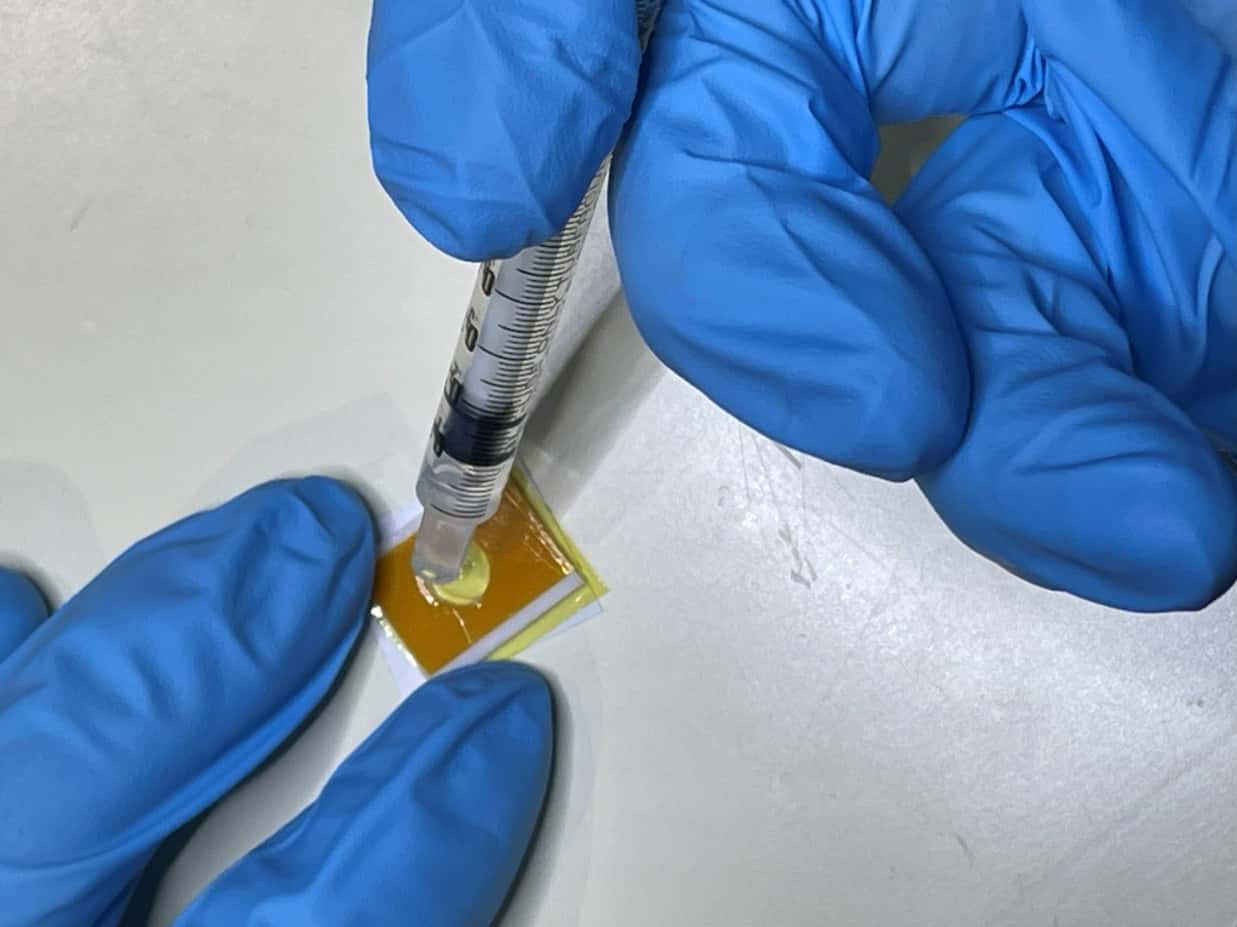
11
Cover the filled cell with another Kapton film.
12
Final setup.
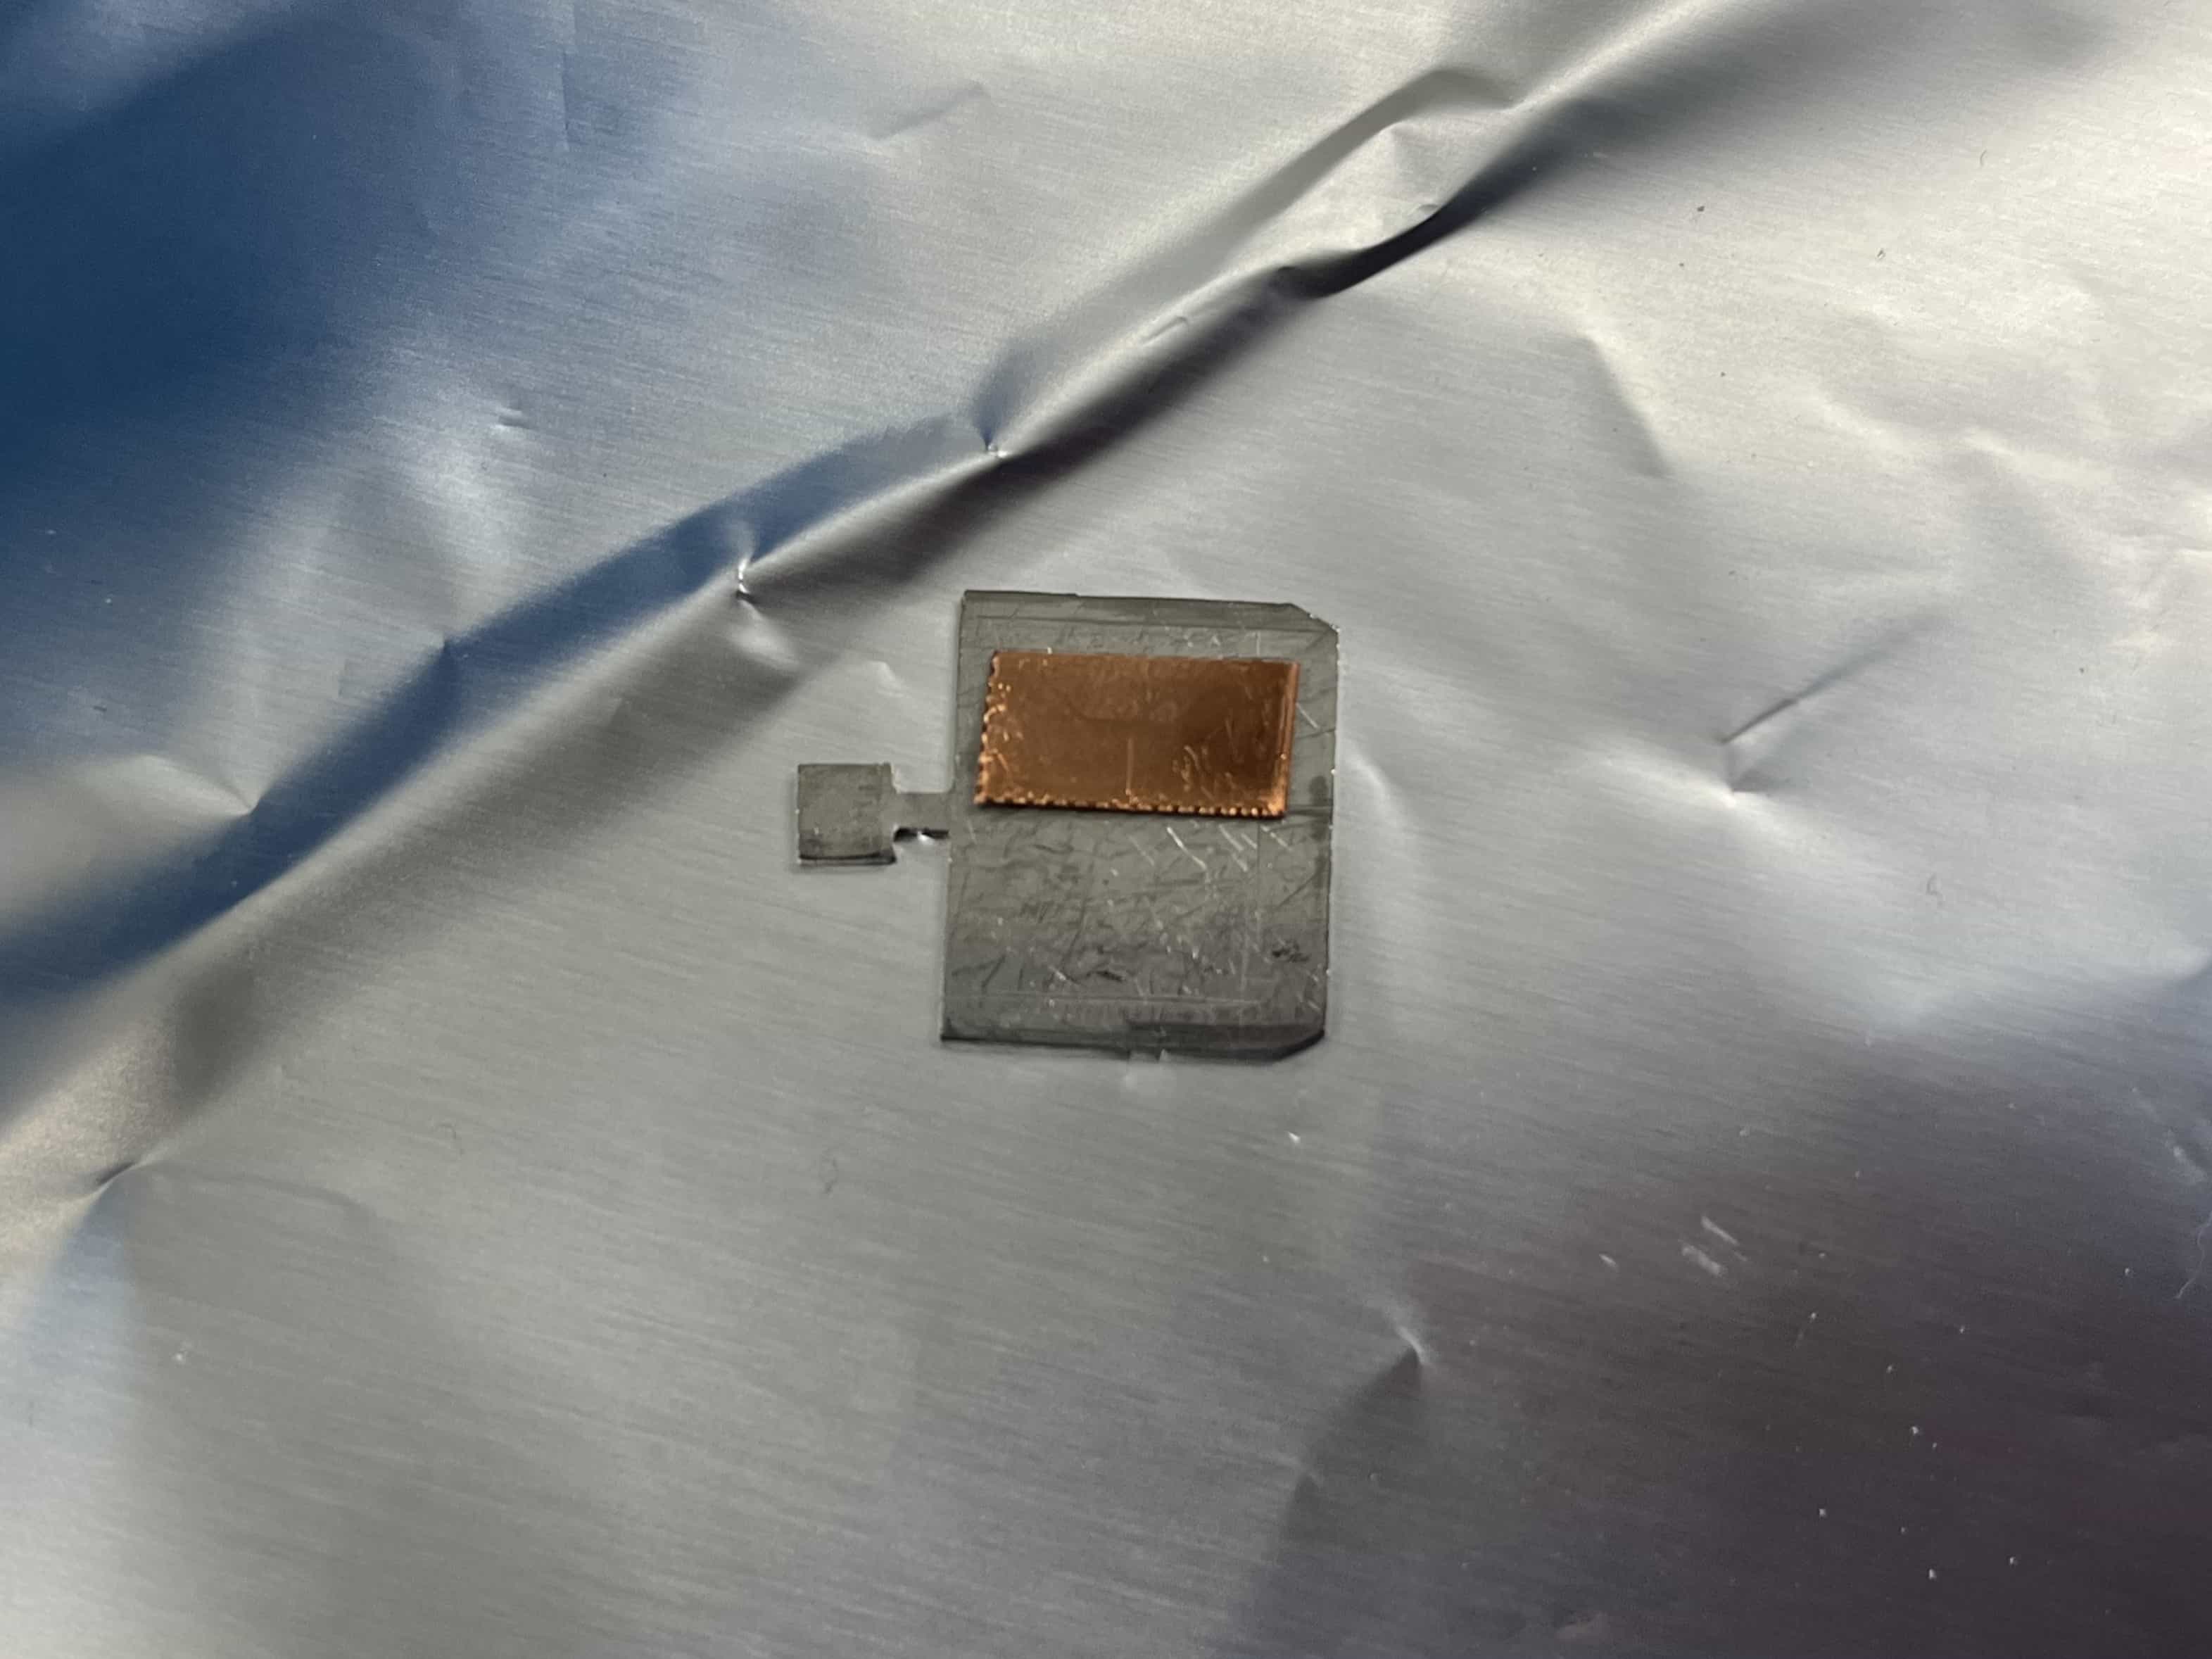
Large Samples(Bulk Materials, Thin-Film Substrates, etc.)
Required Materials
Carbon tape
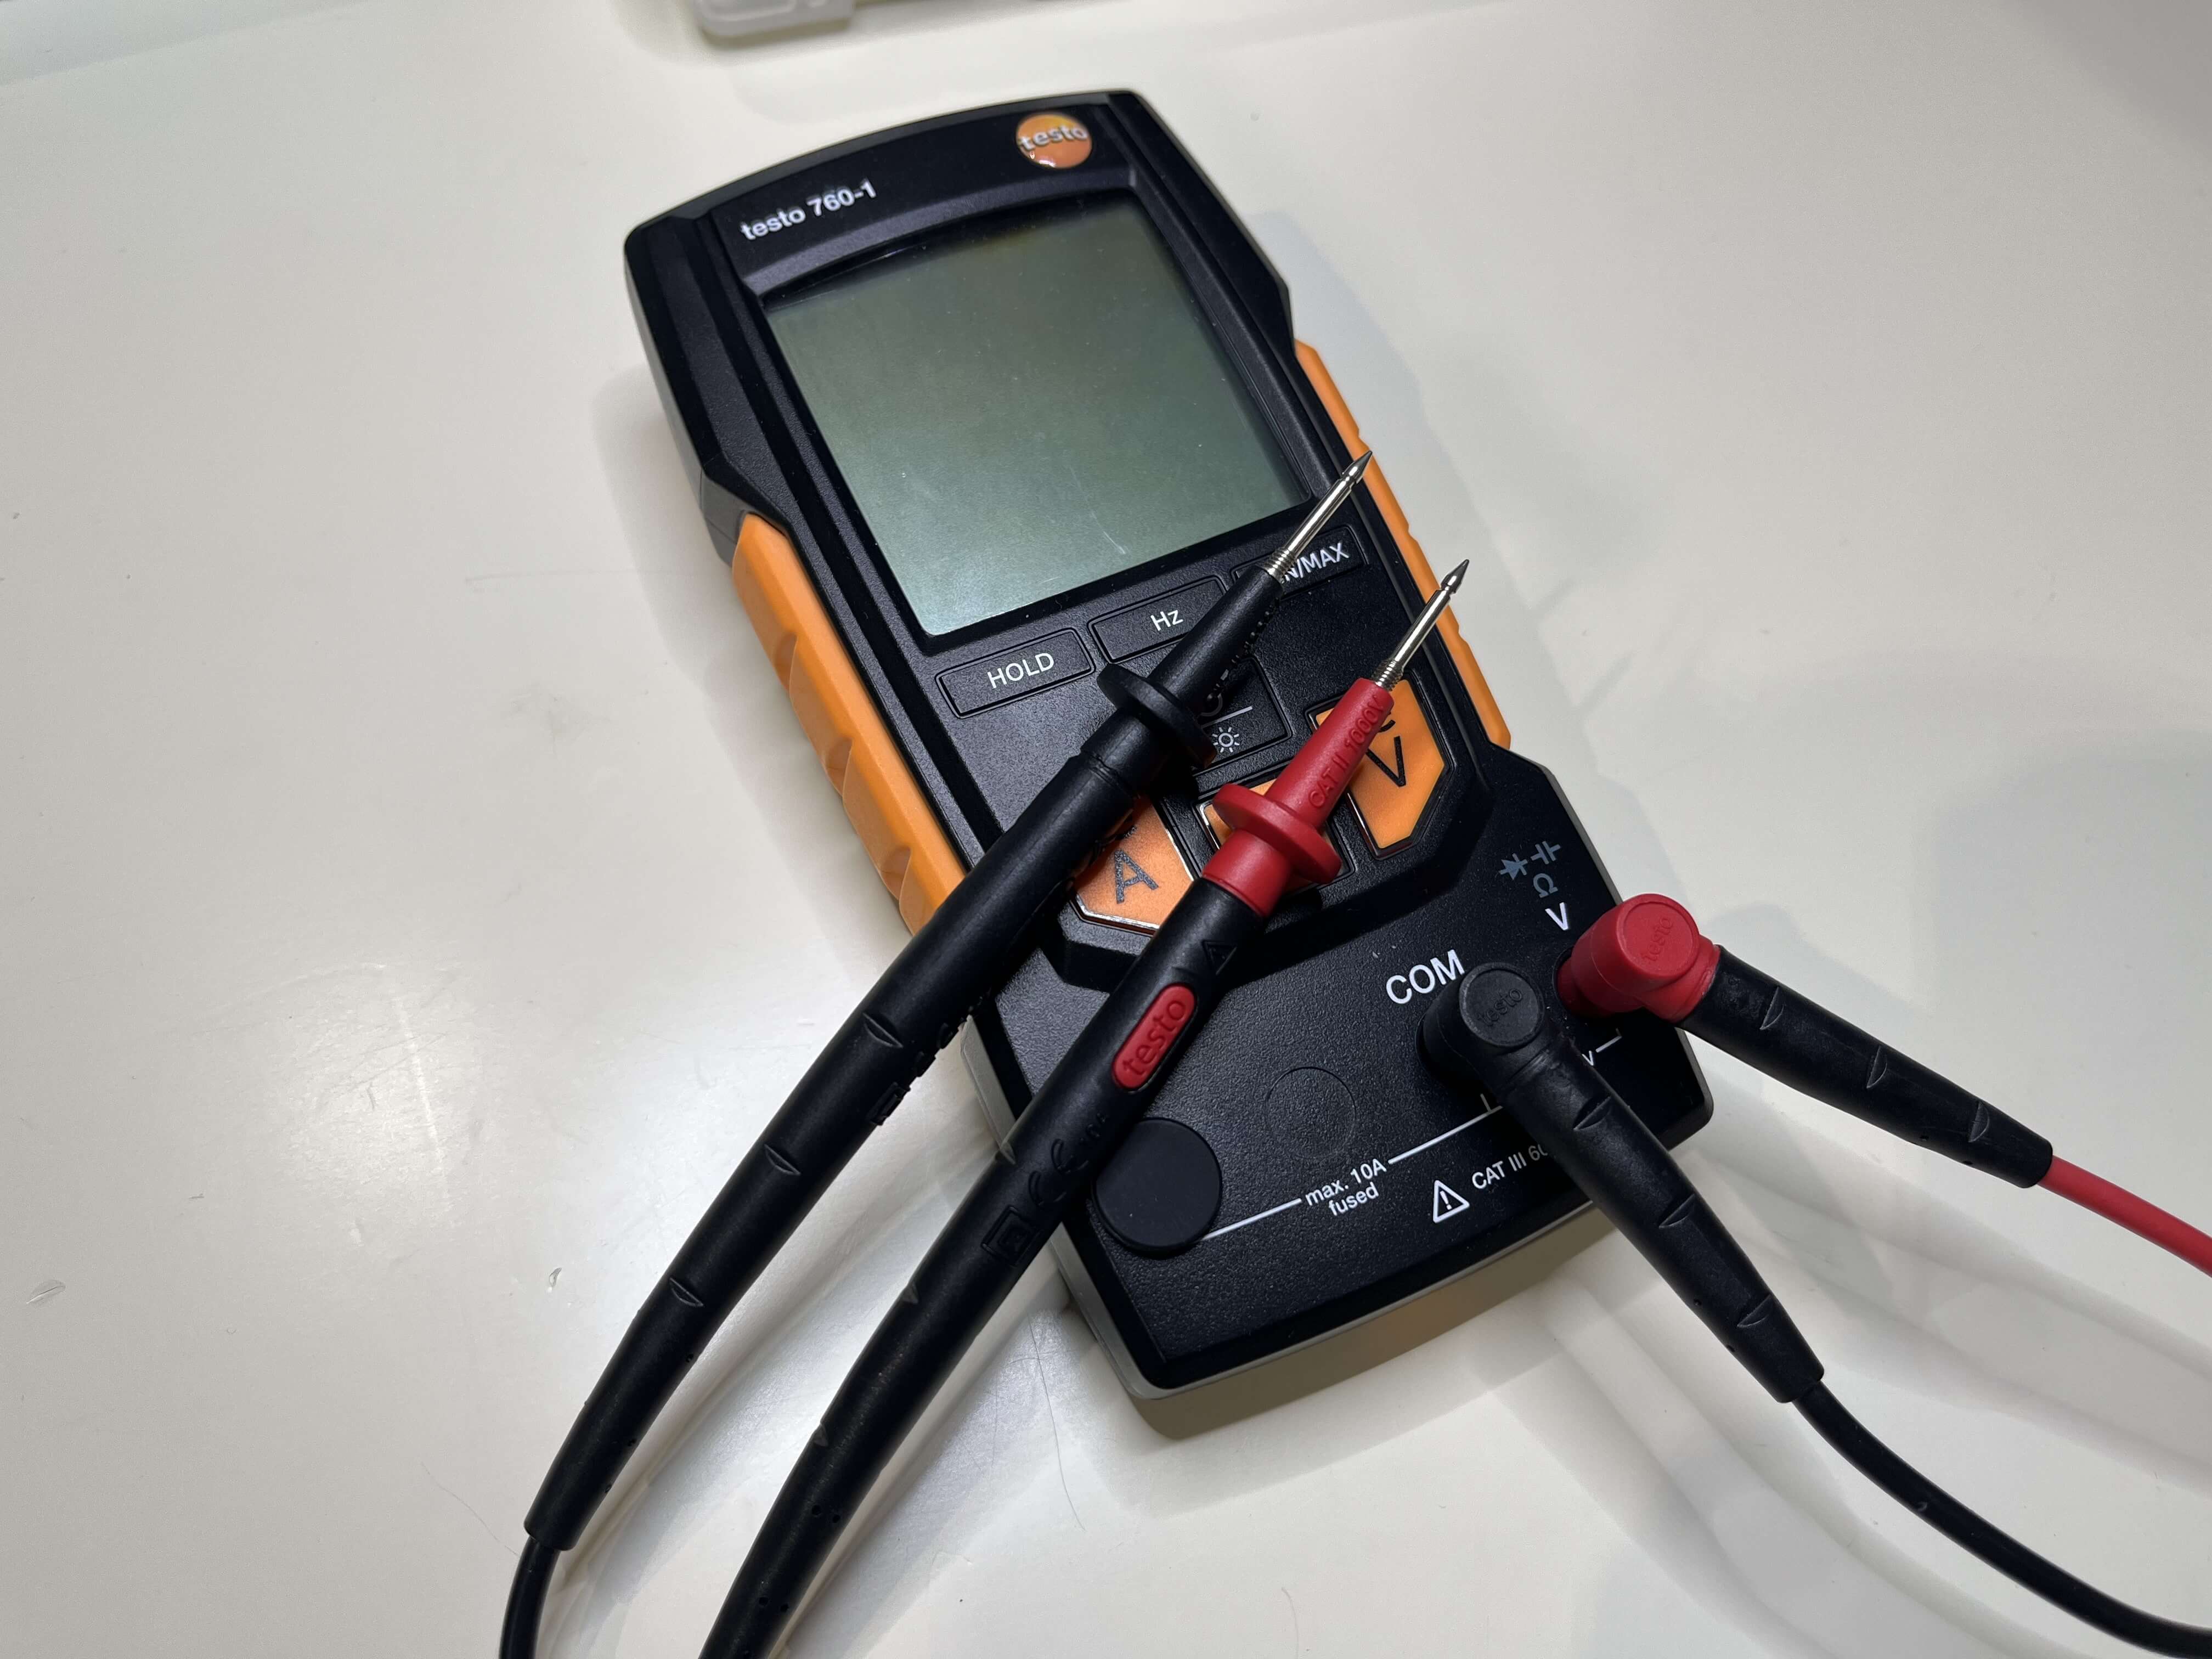
Tester (multimeter)
1
Cut the carbon tape and attach it to the sample plate.
2
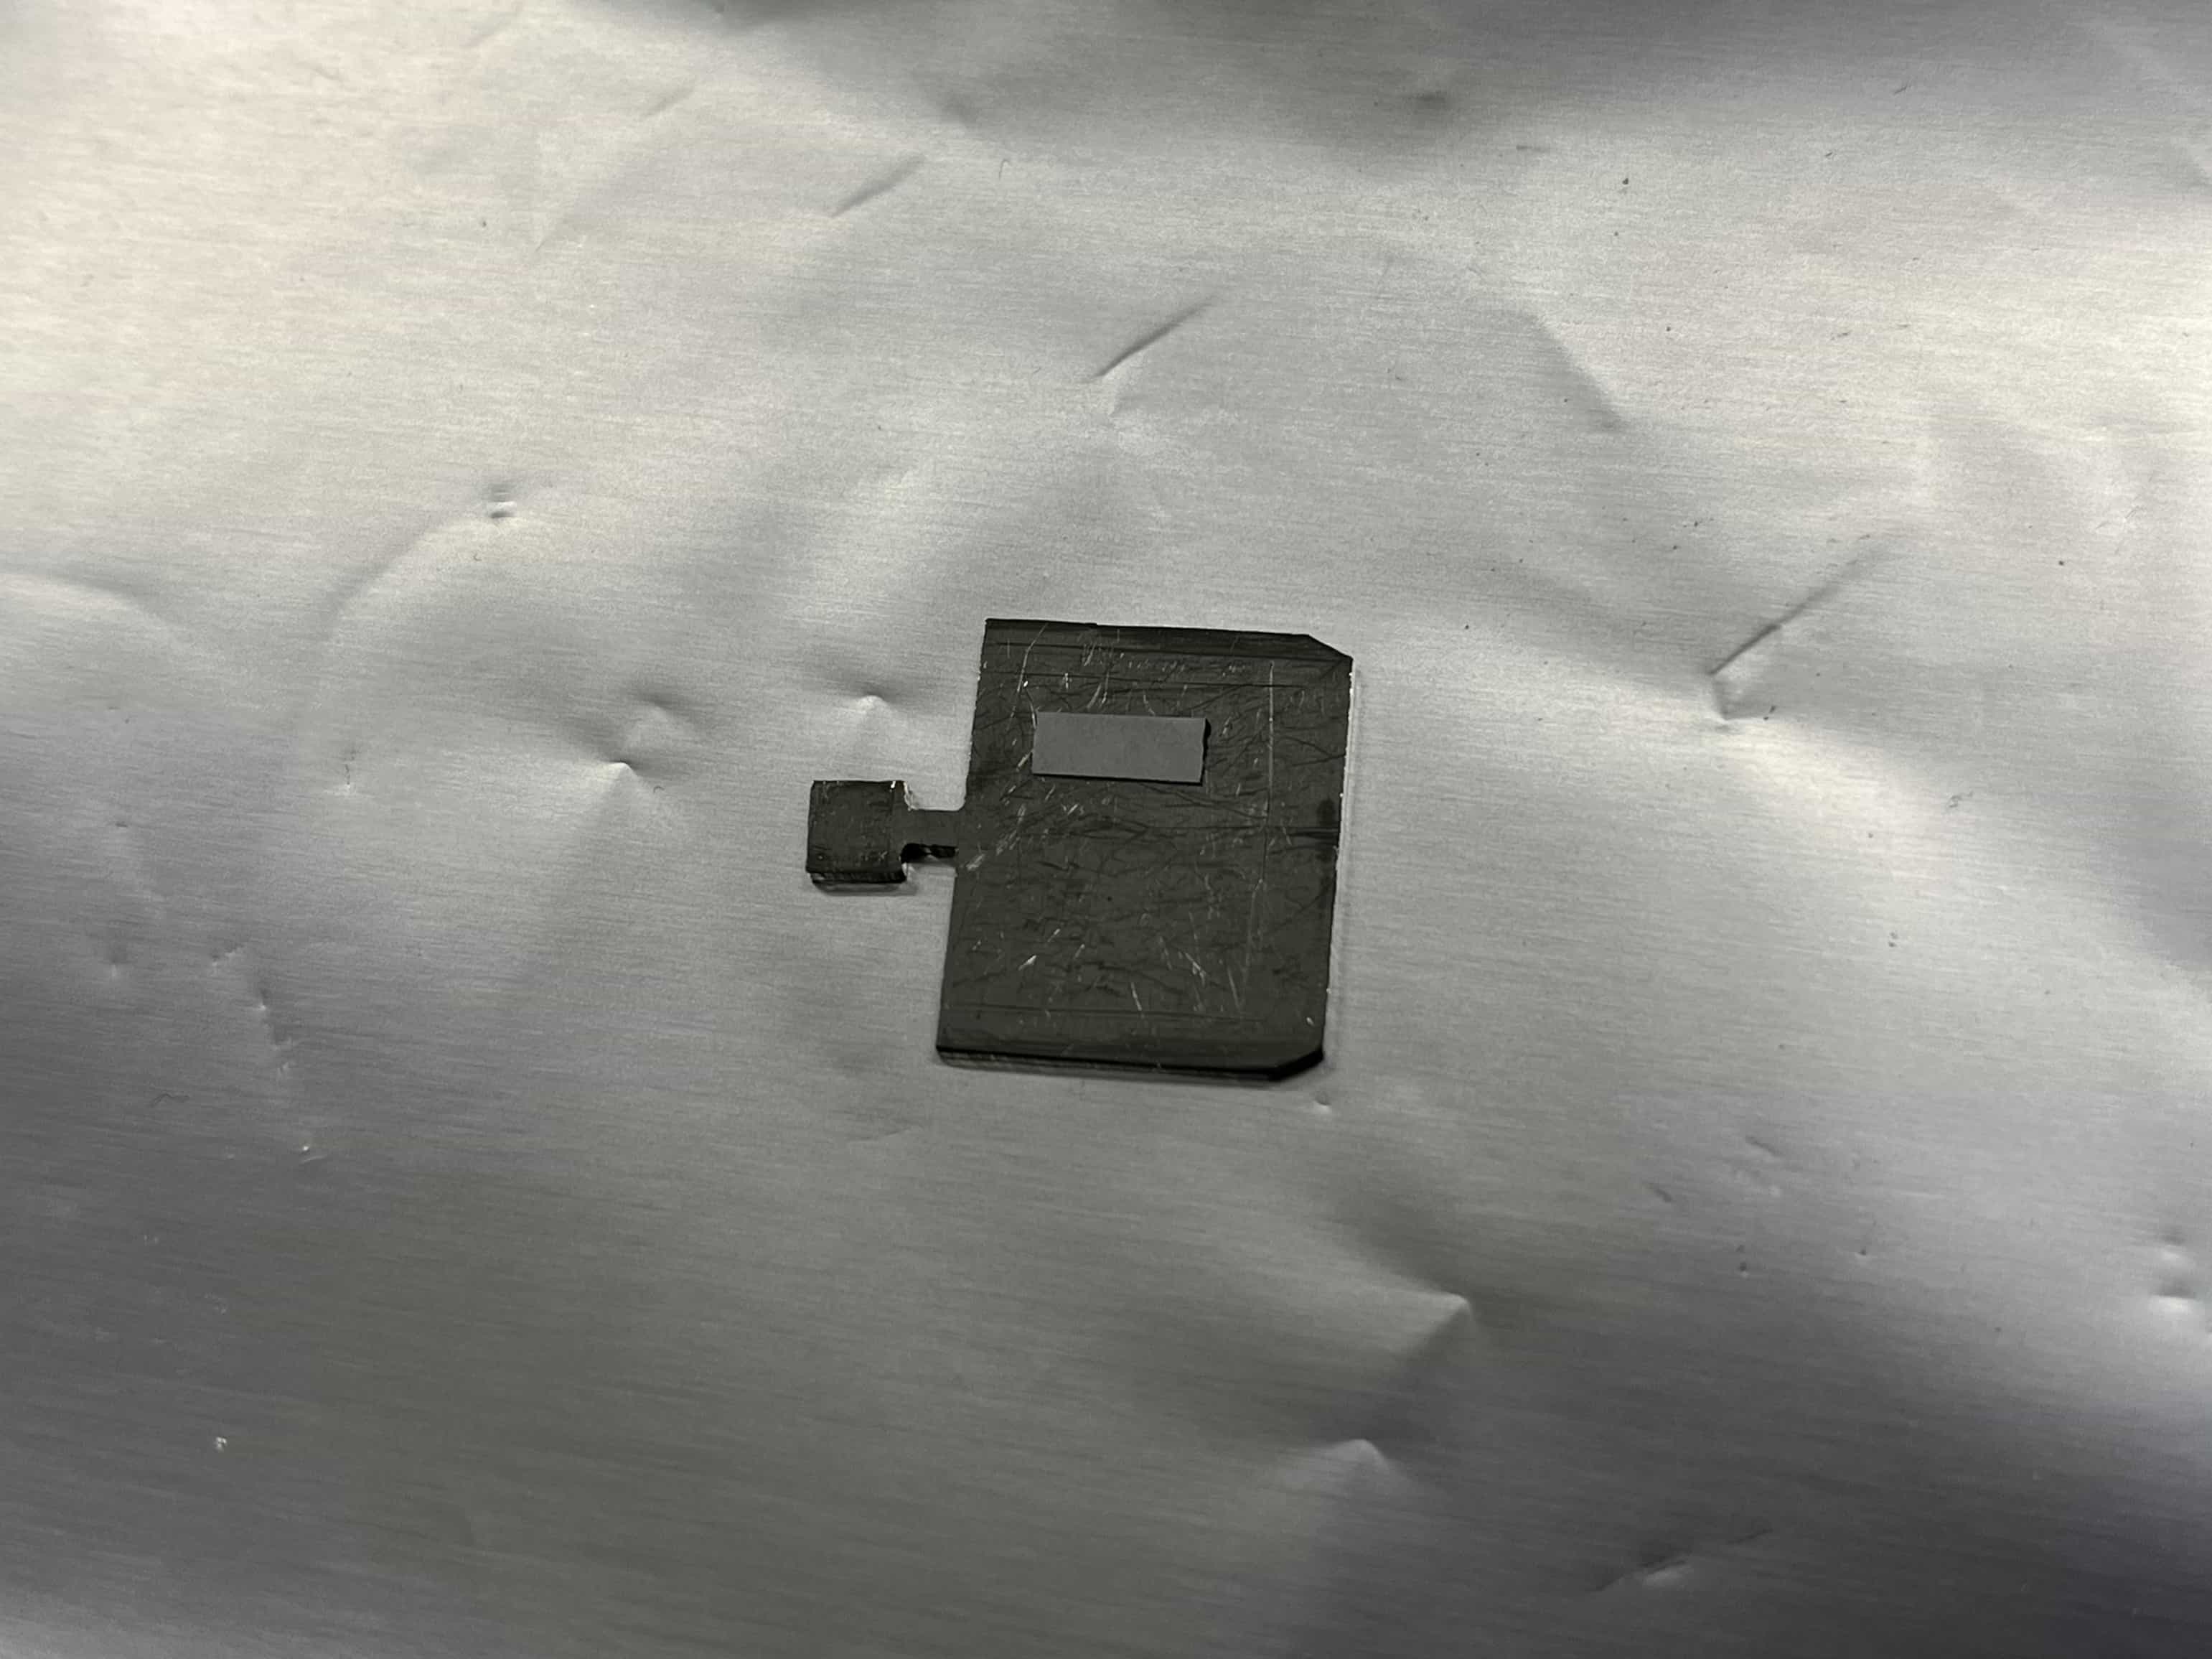
Attach the sample.
Ex: For Insulating Materials or Thin-Film Substrates with Poor Electrical Conductivity
1
Cut the carbon tape and attach it to the sample plate.
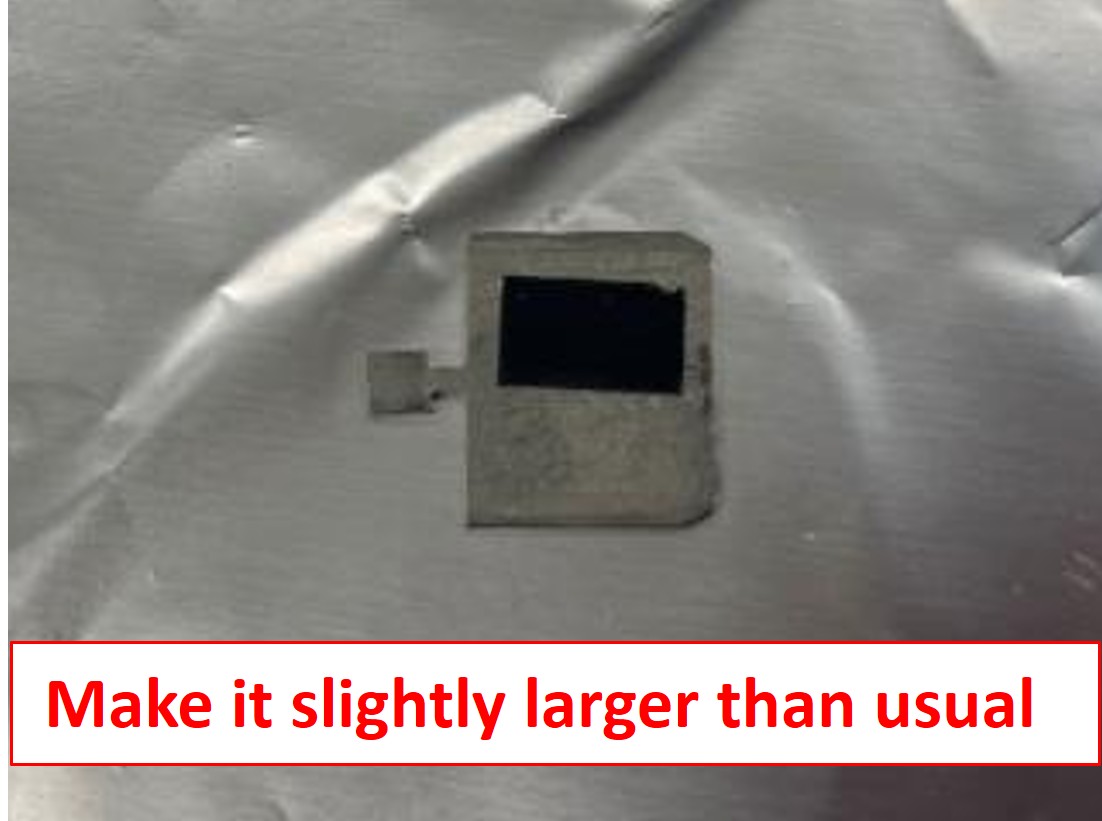
2
Attach the sample.
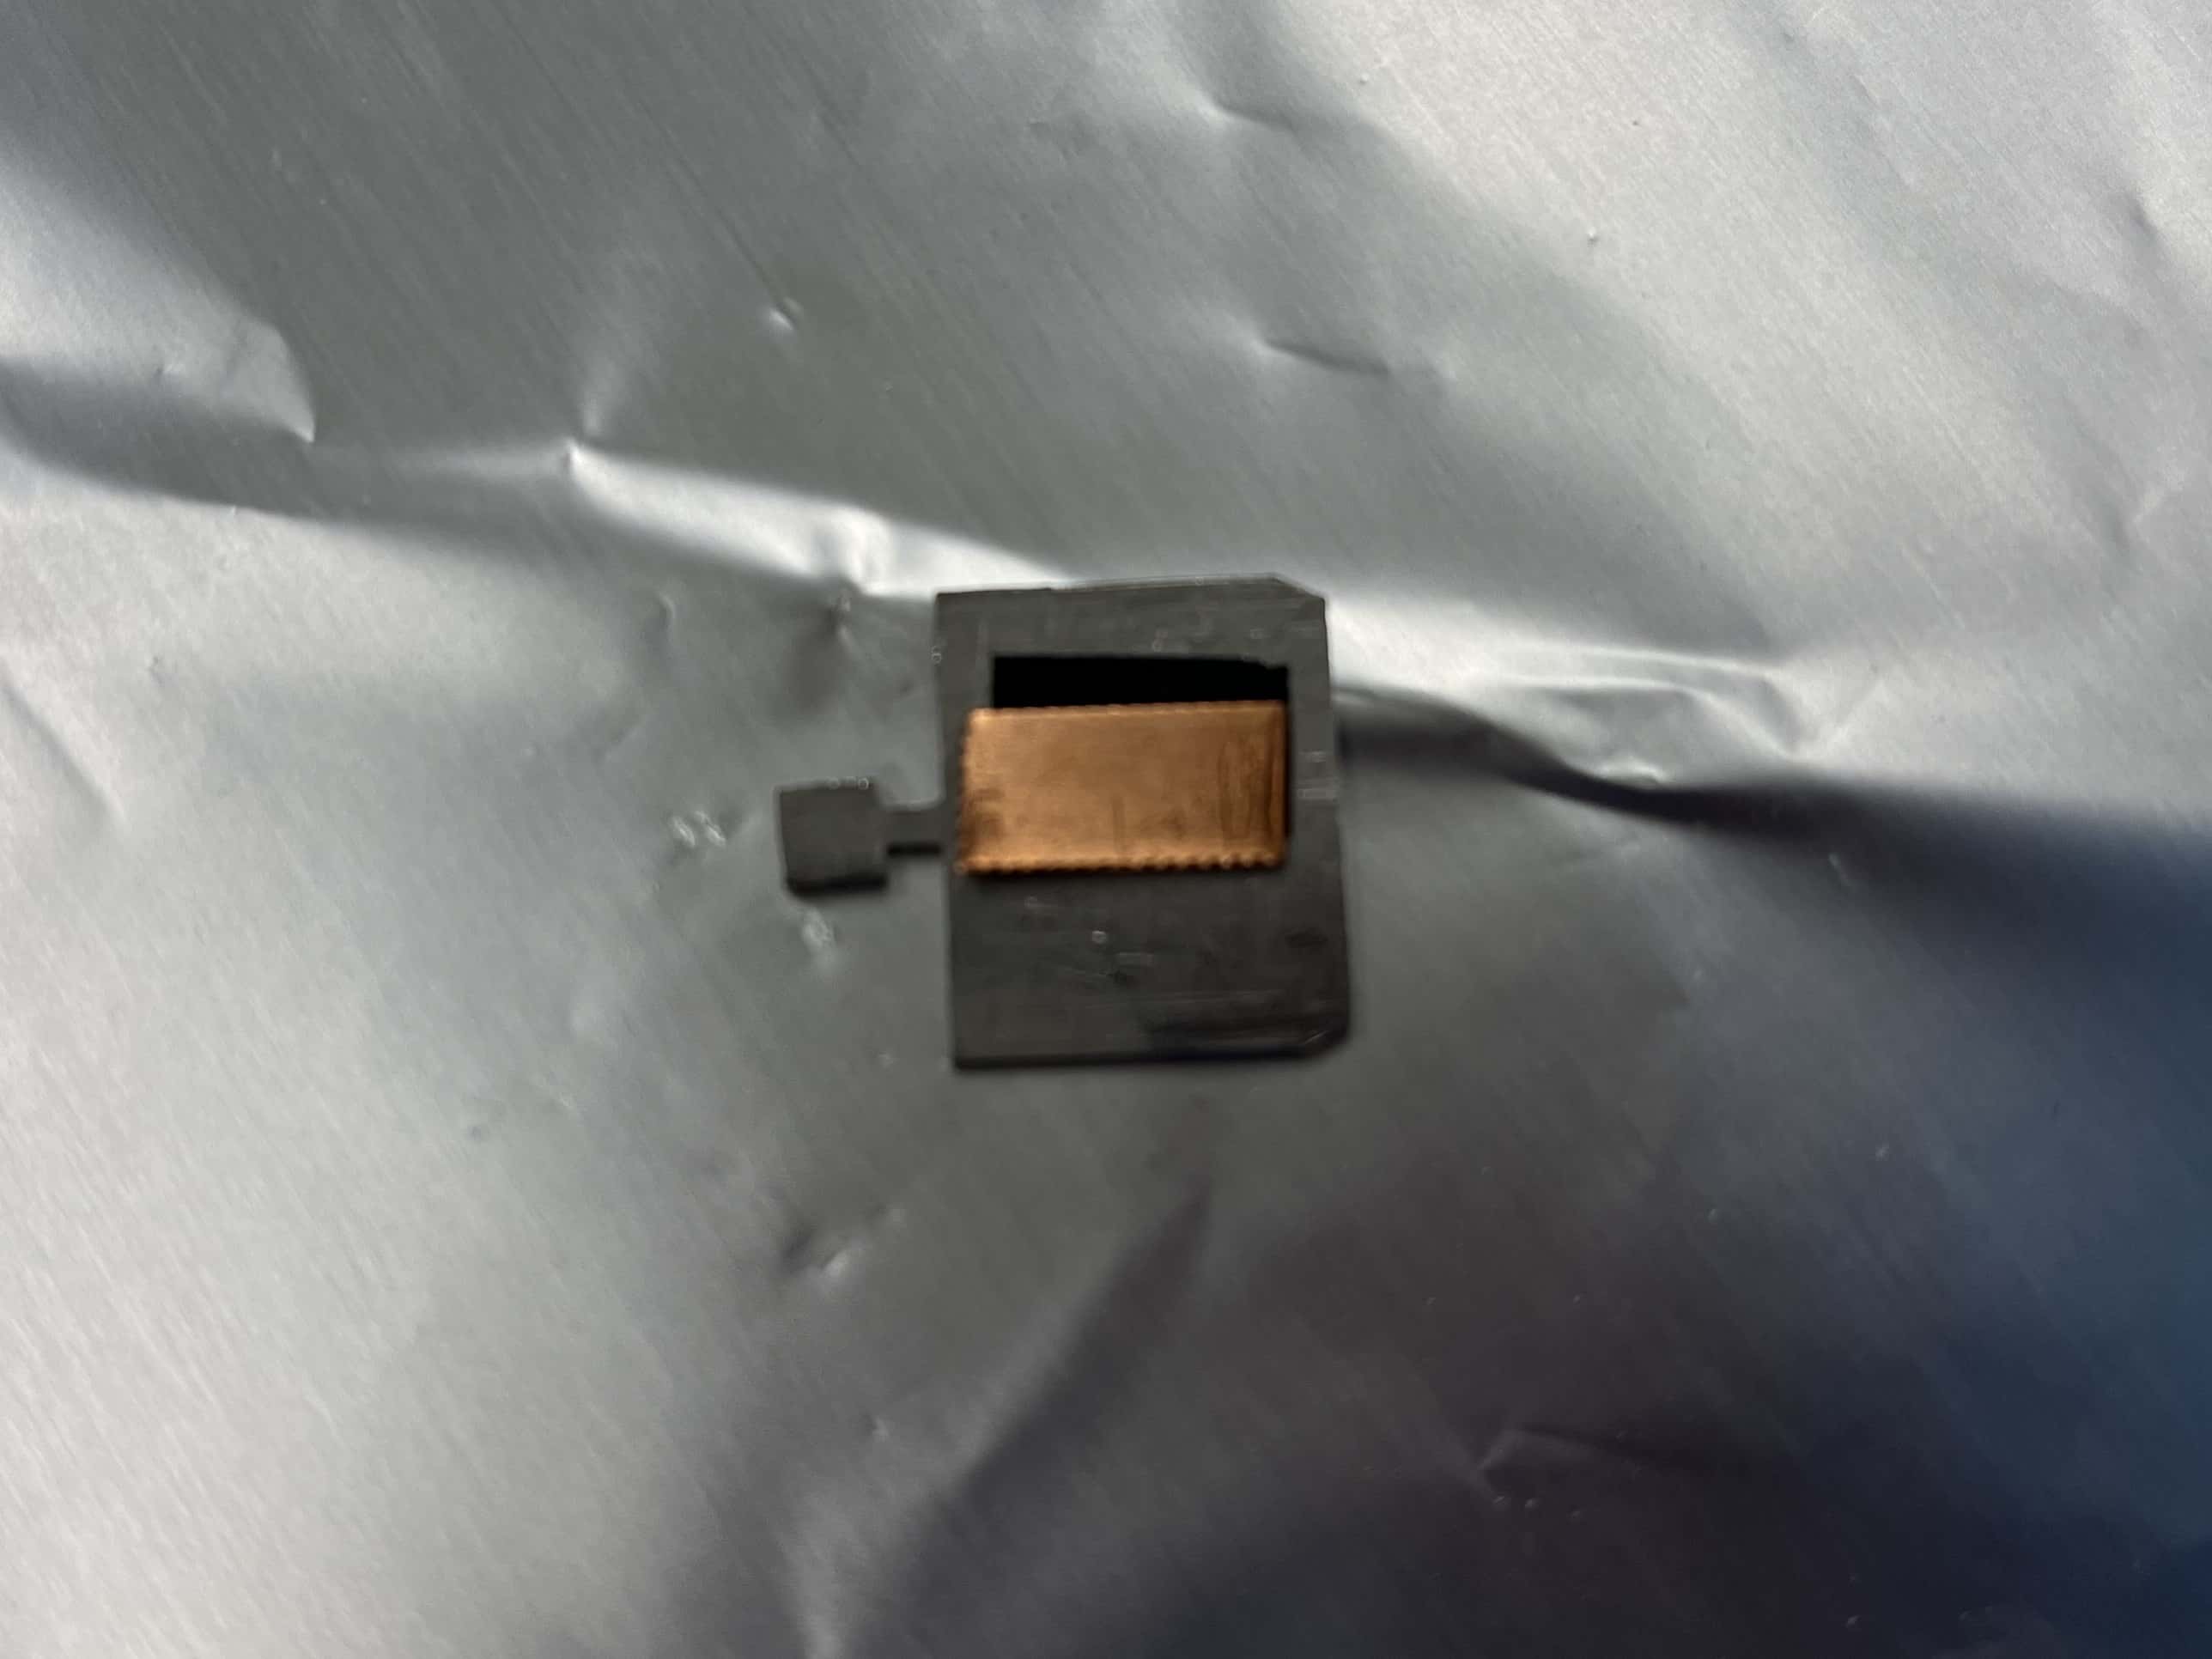
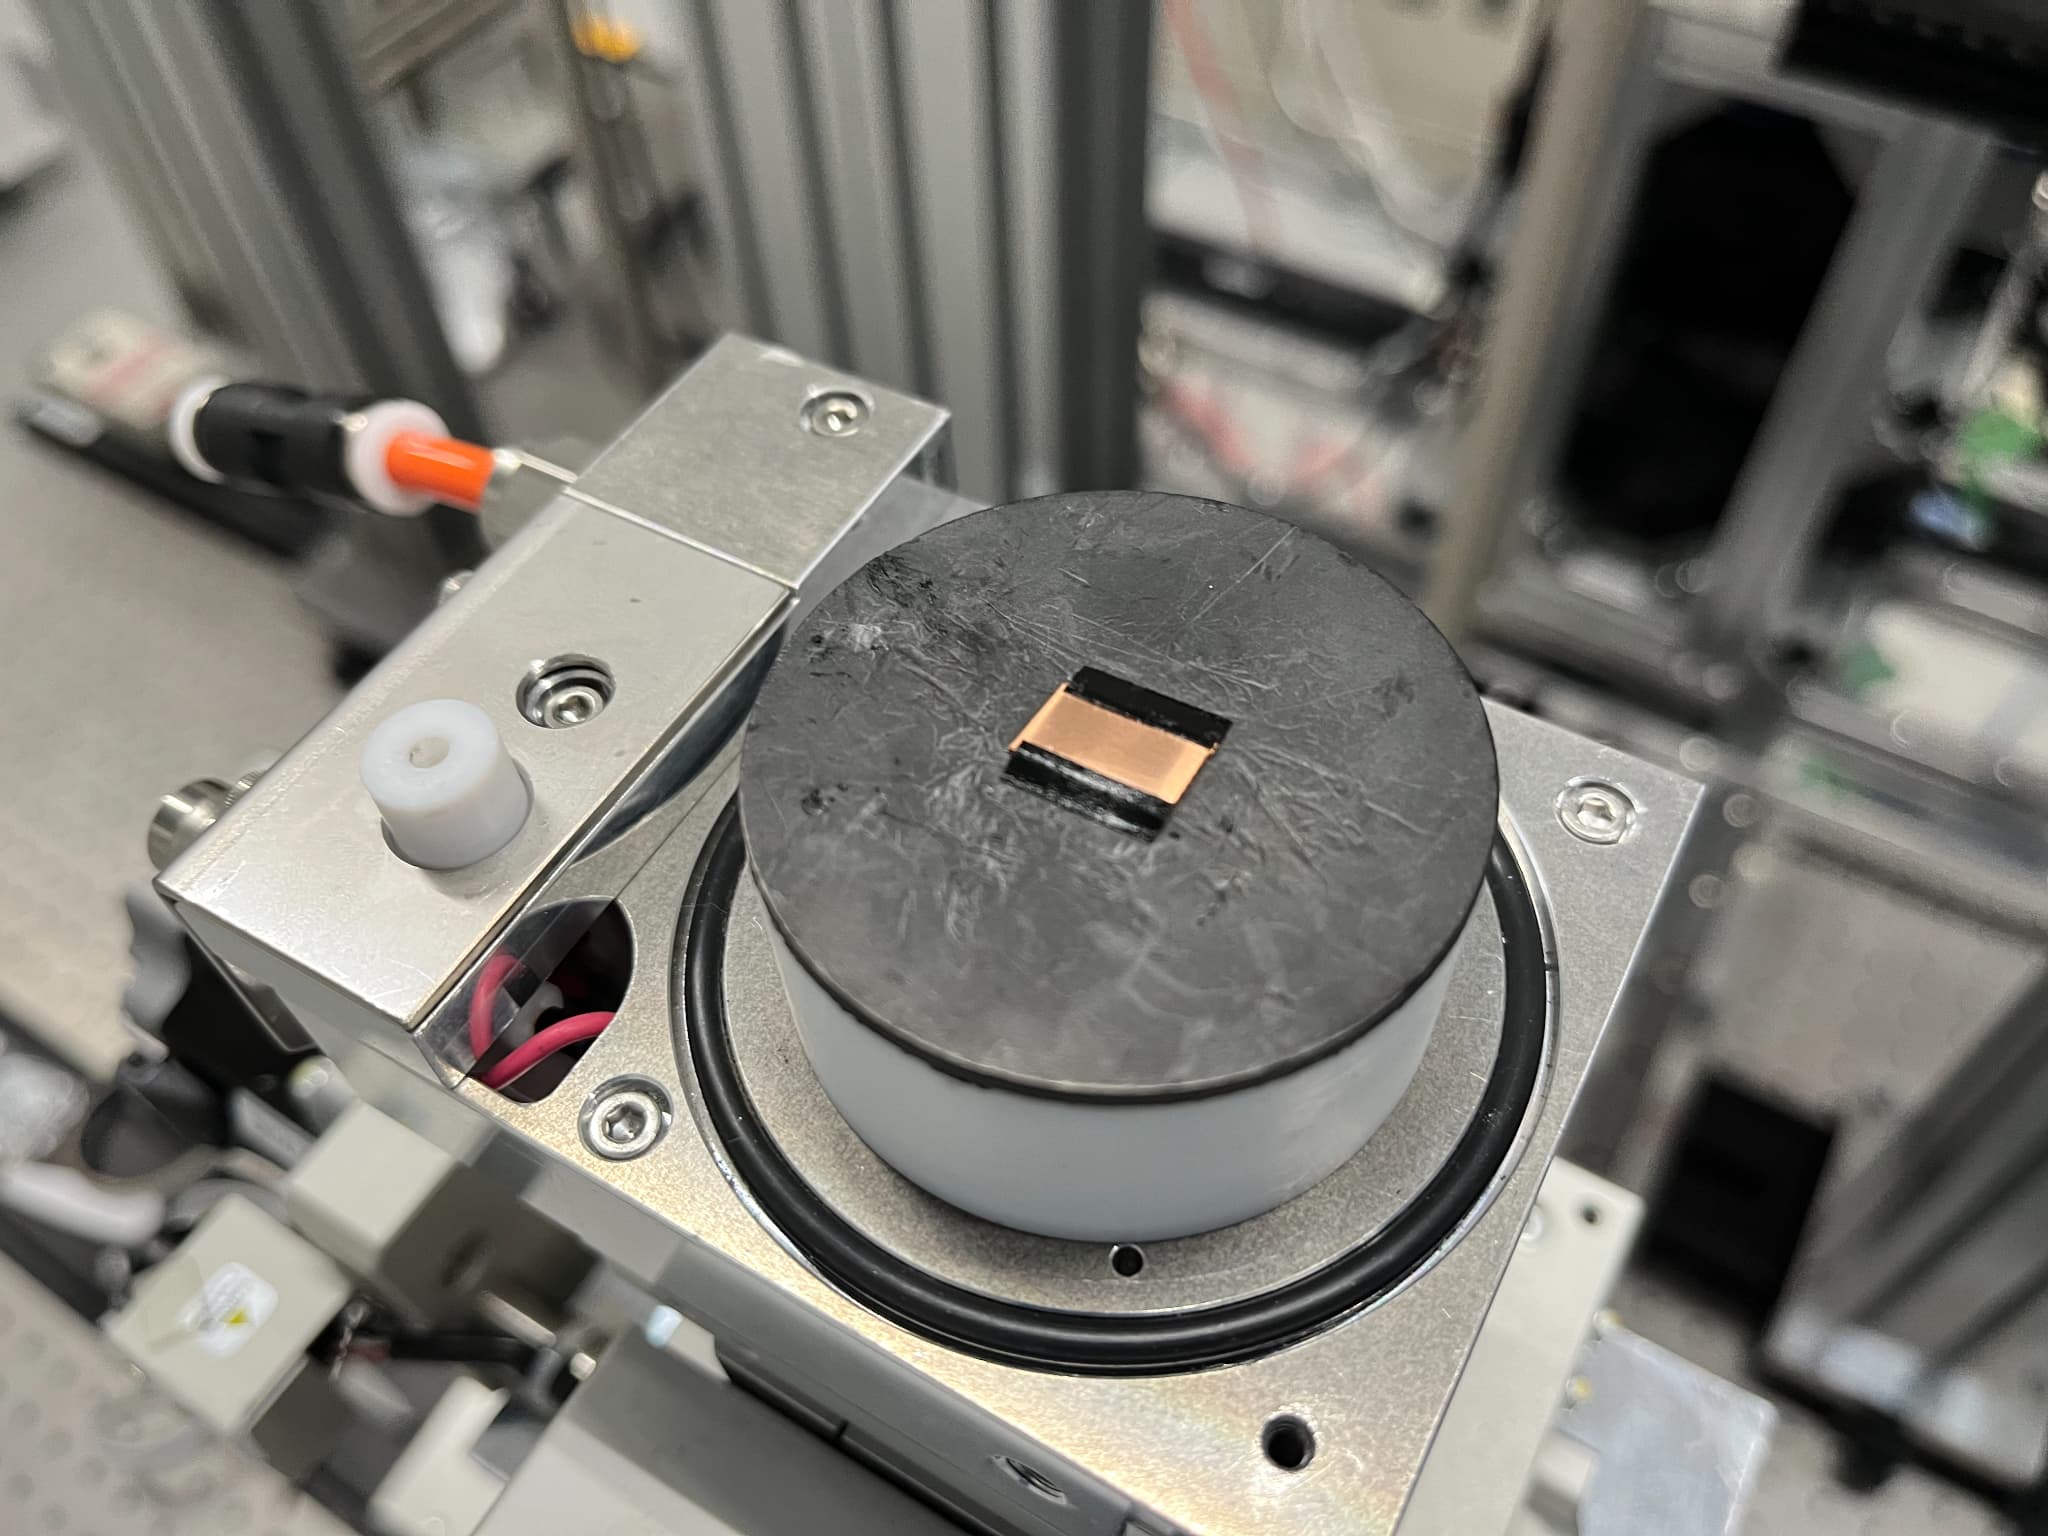
3
Apply carbon tape from the top surface of the sample to the plate to ensure electrical continuity.
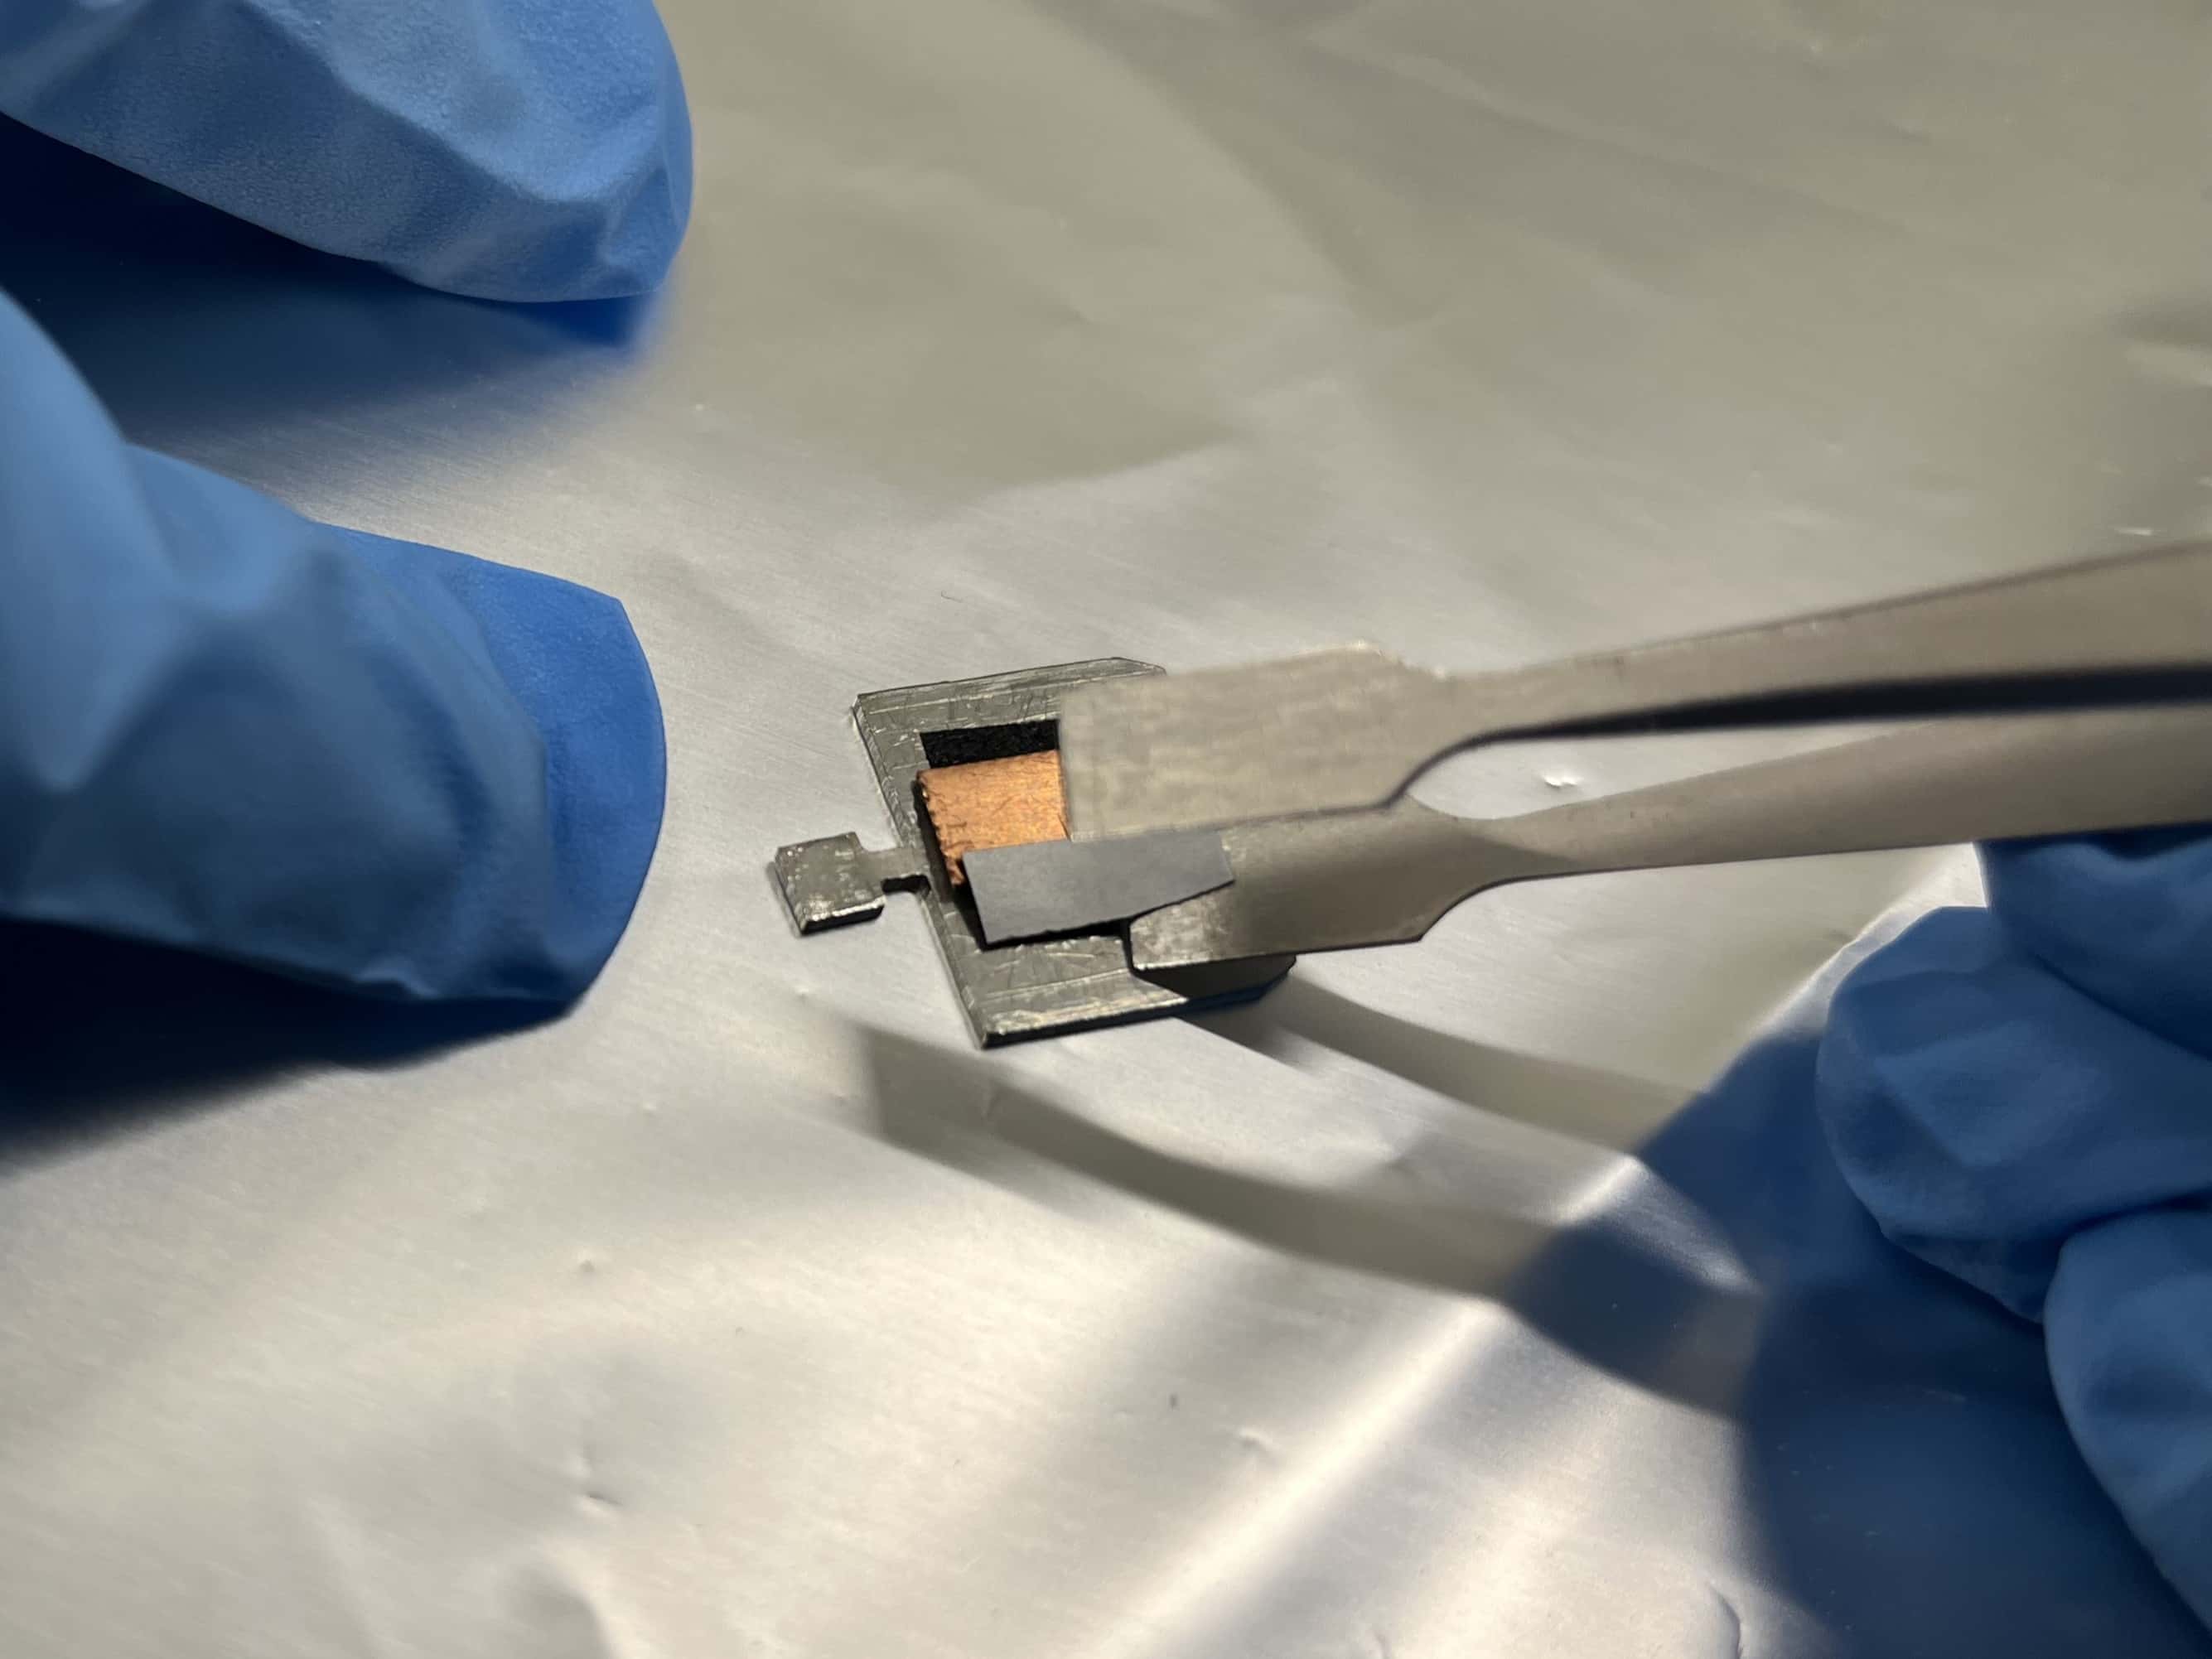
4
Final setup.
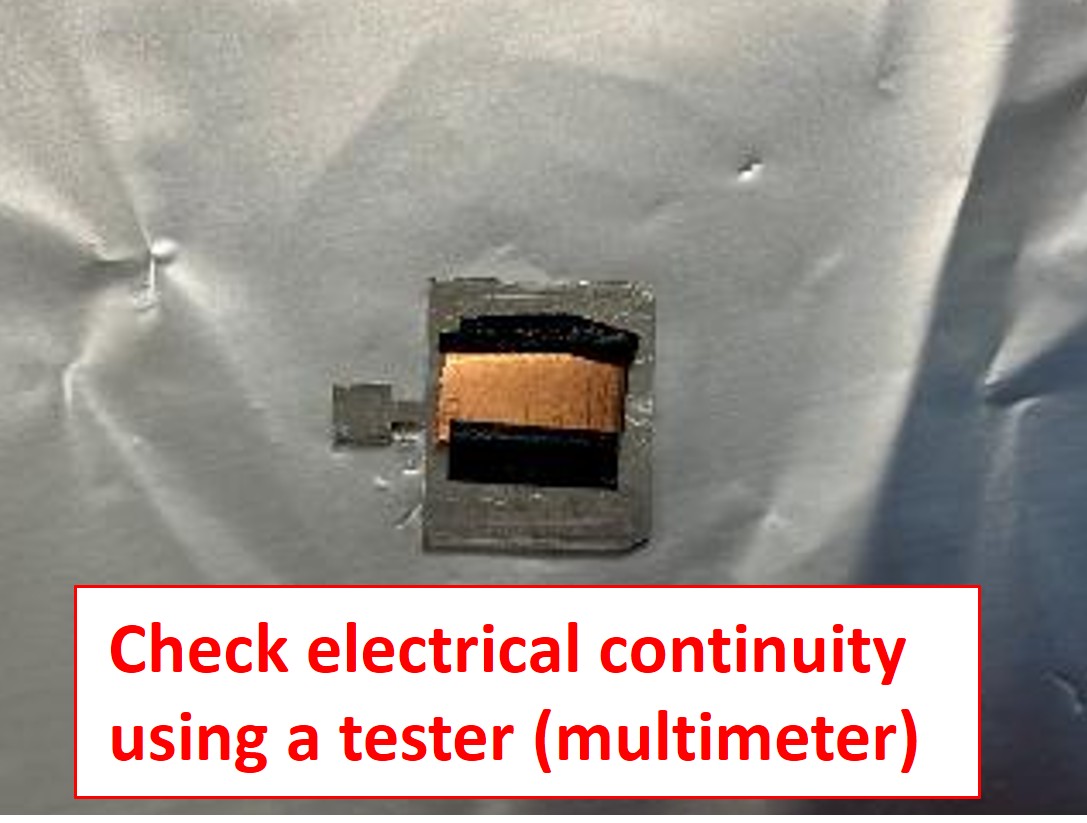
5
When using an ion chamber for Conversion Electron Yield (CEY) measurements.